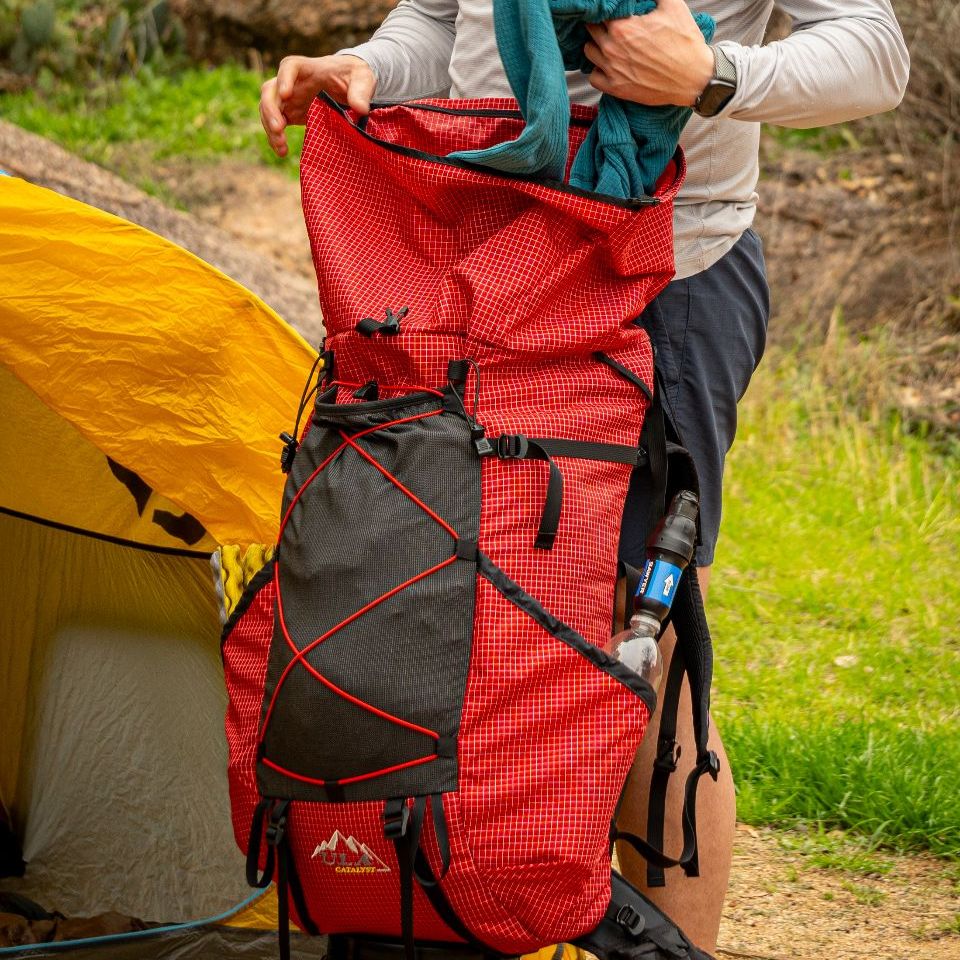
How To Choose Your Gear: Packing for the long haul pt.1 Backpack and Shelter
In this multipart series we’re getting into the nitty gritty on all things gear from how to choose to what the differences between different types of gear are like sleeping bags vs quilts, tents vs tarps, etc.
One of the first things that will pop up while researching for backpacking gear is the “Big Three”. The Big Three are considered the core components of your gear setup and refers to your Backpack, Shelter, and Sleeping System(Sleeping Pad, Sleeping Bag or Quilt, Pillow, etc.)
Additionally, these items have a direct impact on your safety and comfort while on the trail. These are the items that are most likely to save your butt when things go south even if you’re headed north.
Backpack
Your backpack is not only a means to carry all your gear but also a critical factor in distributing weight and ensuring comfort.
A well-fitted and appropriately sized backpack can prevent strain and discomfort during long hikes. Understanding how big of a pack you’ll need will depend on the trail you’re hiking and what kind of gear you’ll need for those conditions. I.e. longer water/food carries, bulkier gear for colder temperatures, etc.
We recommend buying your backpack last as your other gear items might change rendering you with a pack either too big or too small for your stuff. There are a lot of different types of backpacks from internal frame, external frame, frameless, hip-beltless etc. and if you want more insight into what the differences between framed and frameless packs are we’ve got you covered.
A good way to determine what size backpack you’ll need is to:
- Collect all of your other gear first. – Shelter, Sleeping Bag or Quilt, Sleeping Pad, Food System(cooking and storage), clothing, etc.
- Find some discarded cardboard to create a box shape that is inline with the size of your gear. Be sure to include a full sized food bag.
- Find the volume of the pack you think you need and work backwards. For instance, while looking at a Circuit, we list the cubic inches saving you a step. The Circuit has a 2400 cu in main body and a 500 cu in extension collar meaning the internal capacity of the Circuit is 2,900 cu in. This works out to a box that is 11.5 inches wide, 7 inches deep, and 36 inches long.
To convert the cubic inches to liters, divide the volume by about 61.02 or use a converter online. With this we find that the Circuit’s main body is about 47 liters including its extension collar. Depending on how the gear fits in your makeshift box bag, you’ll know how easily things will fit in the Circuit and be able to determine if it’s the right pack for your needs. It’s important to note that this will only give you the internal or main body measurements for the bag and will likely have additional storage on the outside via side pockets, hip-belt pockets, and a dorsal pocket.
For example, if your container is 5 inches long, 7 inches wide, and 3.5 inches deep, your calculation will look this:
- 5 x 3.5 x 7 = 122.5 cubic inches. Then converted to liters is about 2 liters so we now know we need to look for a pack that has a main body of 2L to fit everything inside in this example.
Choose a backpack with the right capacity for your trip duration and gear. Pay attention to the fit, adjustability, and features like pockets and straps. A comfortable backpack is monumental for avoiding back pain and fatigue. A couple tips to consider while picking the right pack are:
- Torso Fit: A backpack comes in different sizes so it’s important to know the length of your torso and what pack will fit you the most comfortably. We have a pack fit guide that gives sizing recommendations based on your torso length on every pack page if you hover over the sizes. Our Torso lengths are adjustable thanks to our hip belt design but not every brand operates this way so it’s important to be armed with exact measurements while shopping elsewhere.
- You can measure your torso by first standing upright and then tilting your chin to your chest. (We recommend a partner for this step) From there locate your C7 Vertebrae (the large lump at the base of your neck) and measure down the length and natural curvature of your hip bone with flexible tape. We recommend measuring the middle of this vertebrae as opposed to the top or bottom. This will give you your torso fit. Most backpacks will come with a suggested length for each size. You can see a video example here.
- Shoulder Straps: The downward slope of your shoulder profile usually determines strap preference. You can assess your shoulder slope profile by looking in a mirror. If there is relatively little or no downward slope, you have what is referred to as flat or squared shoulders. If there is a noticeable downward slope, you have what is referred to as standard or sloping shoulders. There are two different kinds of straps that apply to the two different body types. J-straps are the traditional straight straps. They are best suited for people with flat or square shoulders, as their flat shape provides better surface contact and less rub. S-Straps contour body curves. They are best suited for people with standard or sloping shoulders as their contoured shape better hugs your shoulder slope and follows around the chest.. We typically suggest S-straps for women and those with curvier body types. You can see a video example here.
In addition to the size of pack you’ll need for all your gear it’s important to consider your total pack weight or the weight of your gear plus consumables like food and water. Even if you have a smaller amount of gear, you might find that your food and water carries required for a particular trip dramatically impact the weight carrying capacity you’ll need in a pack. For example – the Catalyst is a framed pack that has a recommended comfort rating of 40lbs. While the Nexus is a frameless pack that has a recommended comfort rating of 25lbs. You wouldn’t want to purchase a pack that isn’t rated for the total pack weight you plan on carrying.
Shelter (Tarp or Tent)
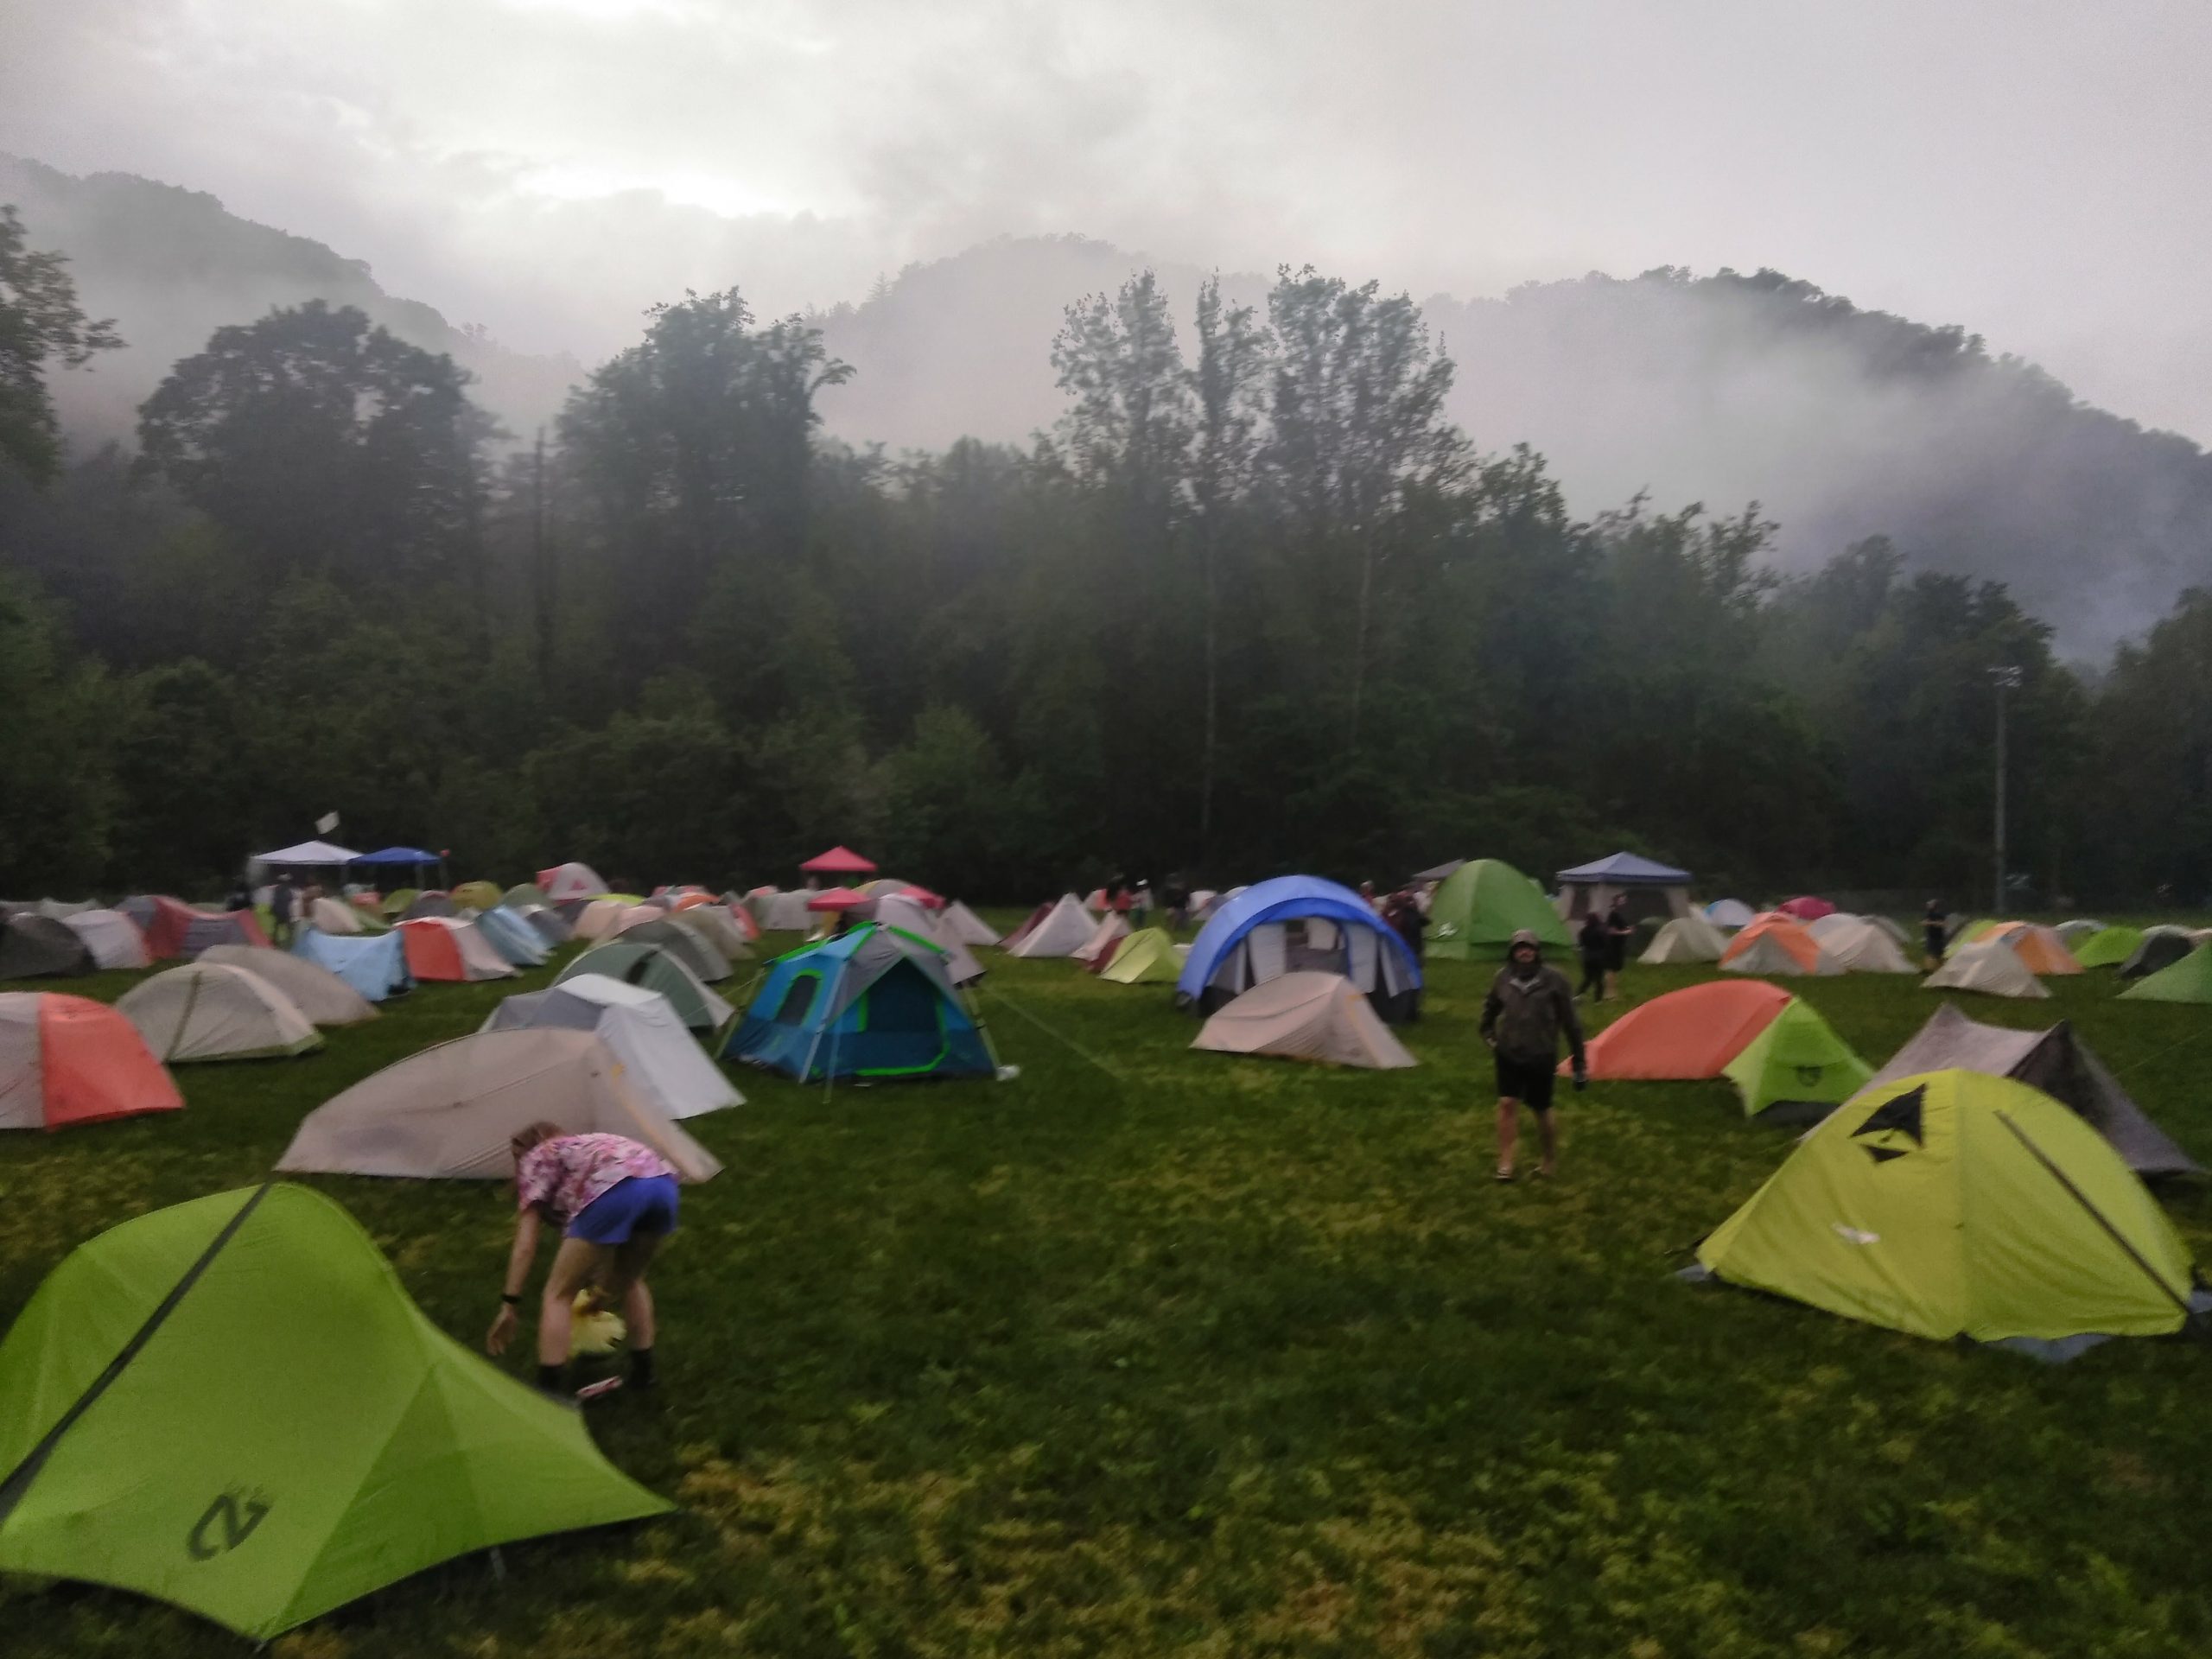
Your shelter protects you from the elements, including rain, wind, and insects. It provides a safe and comfortable place to rest and sleep during each backpacking trip. Be sure to select a shelter that suits your needs and the conditions you’ll encounter while backpacking. Many modern day backpackers will recommend trekking pole tents due to their lightweight nature and packability. However, they can be a pain to set up in the desert or rocky portions of trails because of reliance on the stakes to set the correct tension. Ensure your shelter is easy to set up and provides adequate ventilation. To decide what will provide the most comfort for you we’ve put together some additional details about tarps and tents then the different types of each:
Pros of a Tarp:
- Lightweight: Tarps are generally much lighter than tents, making them a preferred choice for ultralight backpackers looking to reduce pack weight.
- Versatility: Tarps offer multiple setup options, allowing you to adapt to different conditions. You can use them as a basic overhead shelter or set up in various configurations to suit your needs.
- Breathability: Tarps provide excellent ventilation since they are not sewn into a bug net, reducing condensation inside the shelter, which can be a concern in some tents.
- Packability: Tarps are highly compressible and take up very little space in your backpack since there is typically not as much material as a traditional tent would utilize.
Cons of a Tarp:
- Minimal Protection: Tarps on their own, and depending on their style, typically offer less protection from wind, rain, and insects compared to traditional tents. But, they can be paired with bug nets and tub floors to enhance their protection. There are also different styles of tarp like a Mid, Cat-cut, etc.
- Learning Curve: Setting up a tarp effectively can require some practice to ensure it provides adequate protection. Site selection also comes into play a lot more so than a traditional tent set up requires.
Pros of a Tent:
- Full Protection: Tents offer comprehensive protection from rain, wind, and insects. They are a reliable choice in various weather conditions.
- Comfort: Tents provide an enclosed and sheltered space, which can be more comfortable and reassuring, especially for hikers who are new to backpacking or prefer a secure feeling.
- Ease of Setup: Most tents are straightforward to set up, even for beginners, and they often come with color-coded components for added convenience. They often come with a “skeleton” which consists of aluminum poles that make it stand on its own.
- Privacy: Tents provide a private sleeping space, which can be valuable when sharing campsites with others.
Cons of a Tent:
- Weight: Tents are typically heavier than tarps, which can add significant weight to your backpack. There is typically more material and components involved in a tent.
- Bulk: Tents can take up more space in your backpack, especially if they have multiple poles and a rainfly.
- Ventilation: Some tents may suffer from condensation in humid conditions, although many modern tents are designed to minimize this issue.
Types of Shelters
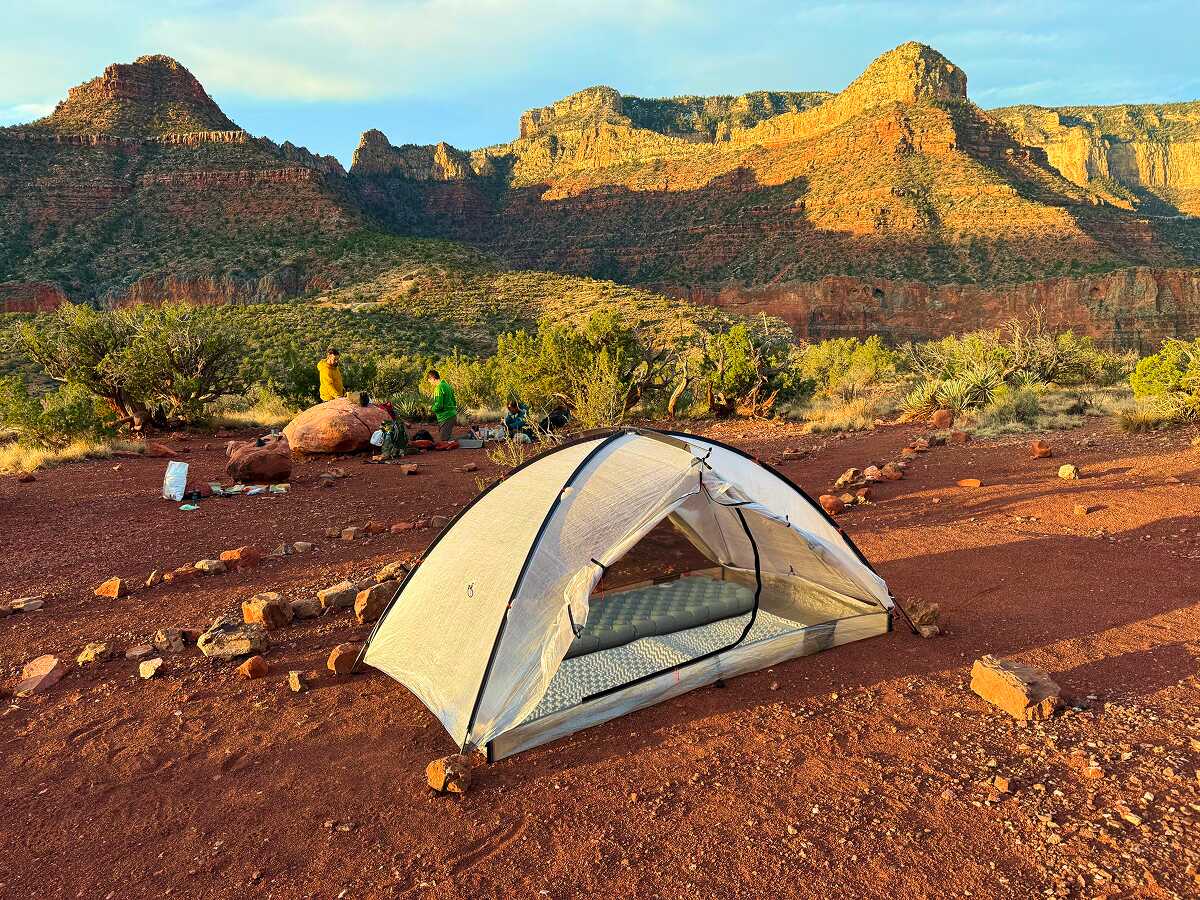
Free-standing tent: Free standing tents typically have a “skeleton” involved with its set up that enables the tent to stand on its own without the additional assistance of tension caused by tent stakes.
- Pros: Easier to learn how to set up. Easier to set up in areas where soil does not allow tent stakes to penetrate. Can provide a greater sense of security in the shelter due to the hiker’s confidence in it.
- Cons: Typically require a “floor” in order for the rainfly to be installed before the bug net resulting in a wetter set up during a rain event. Typically bulky with the extra items involved in the skeletal system. Usually heavier than the trekking pole options.
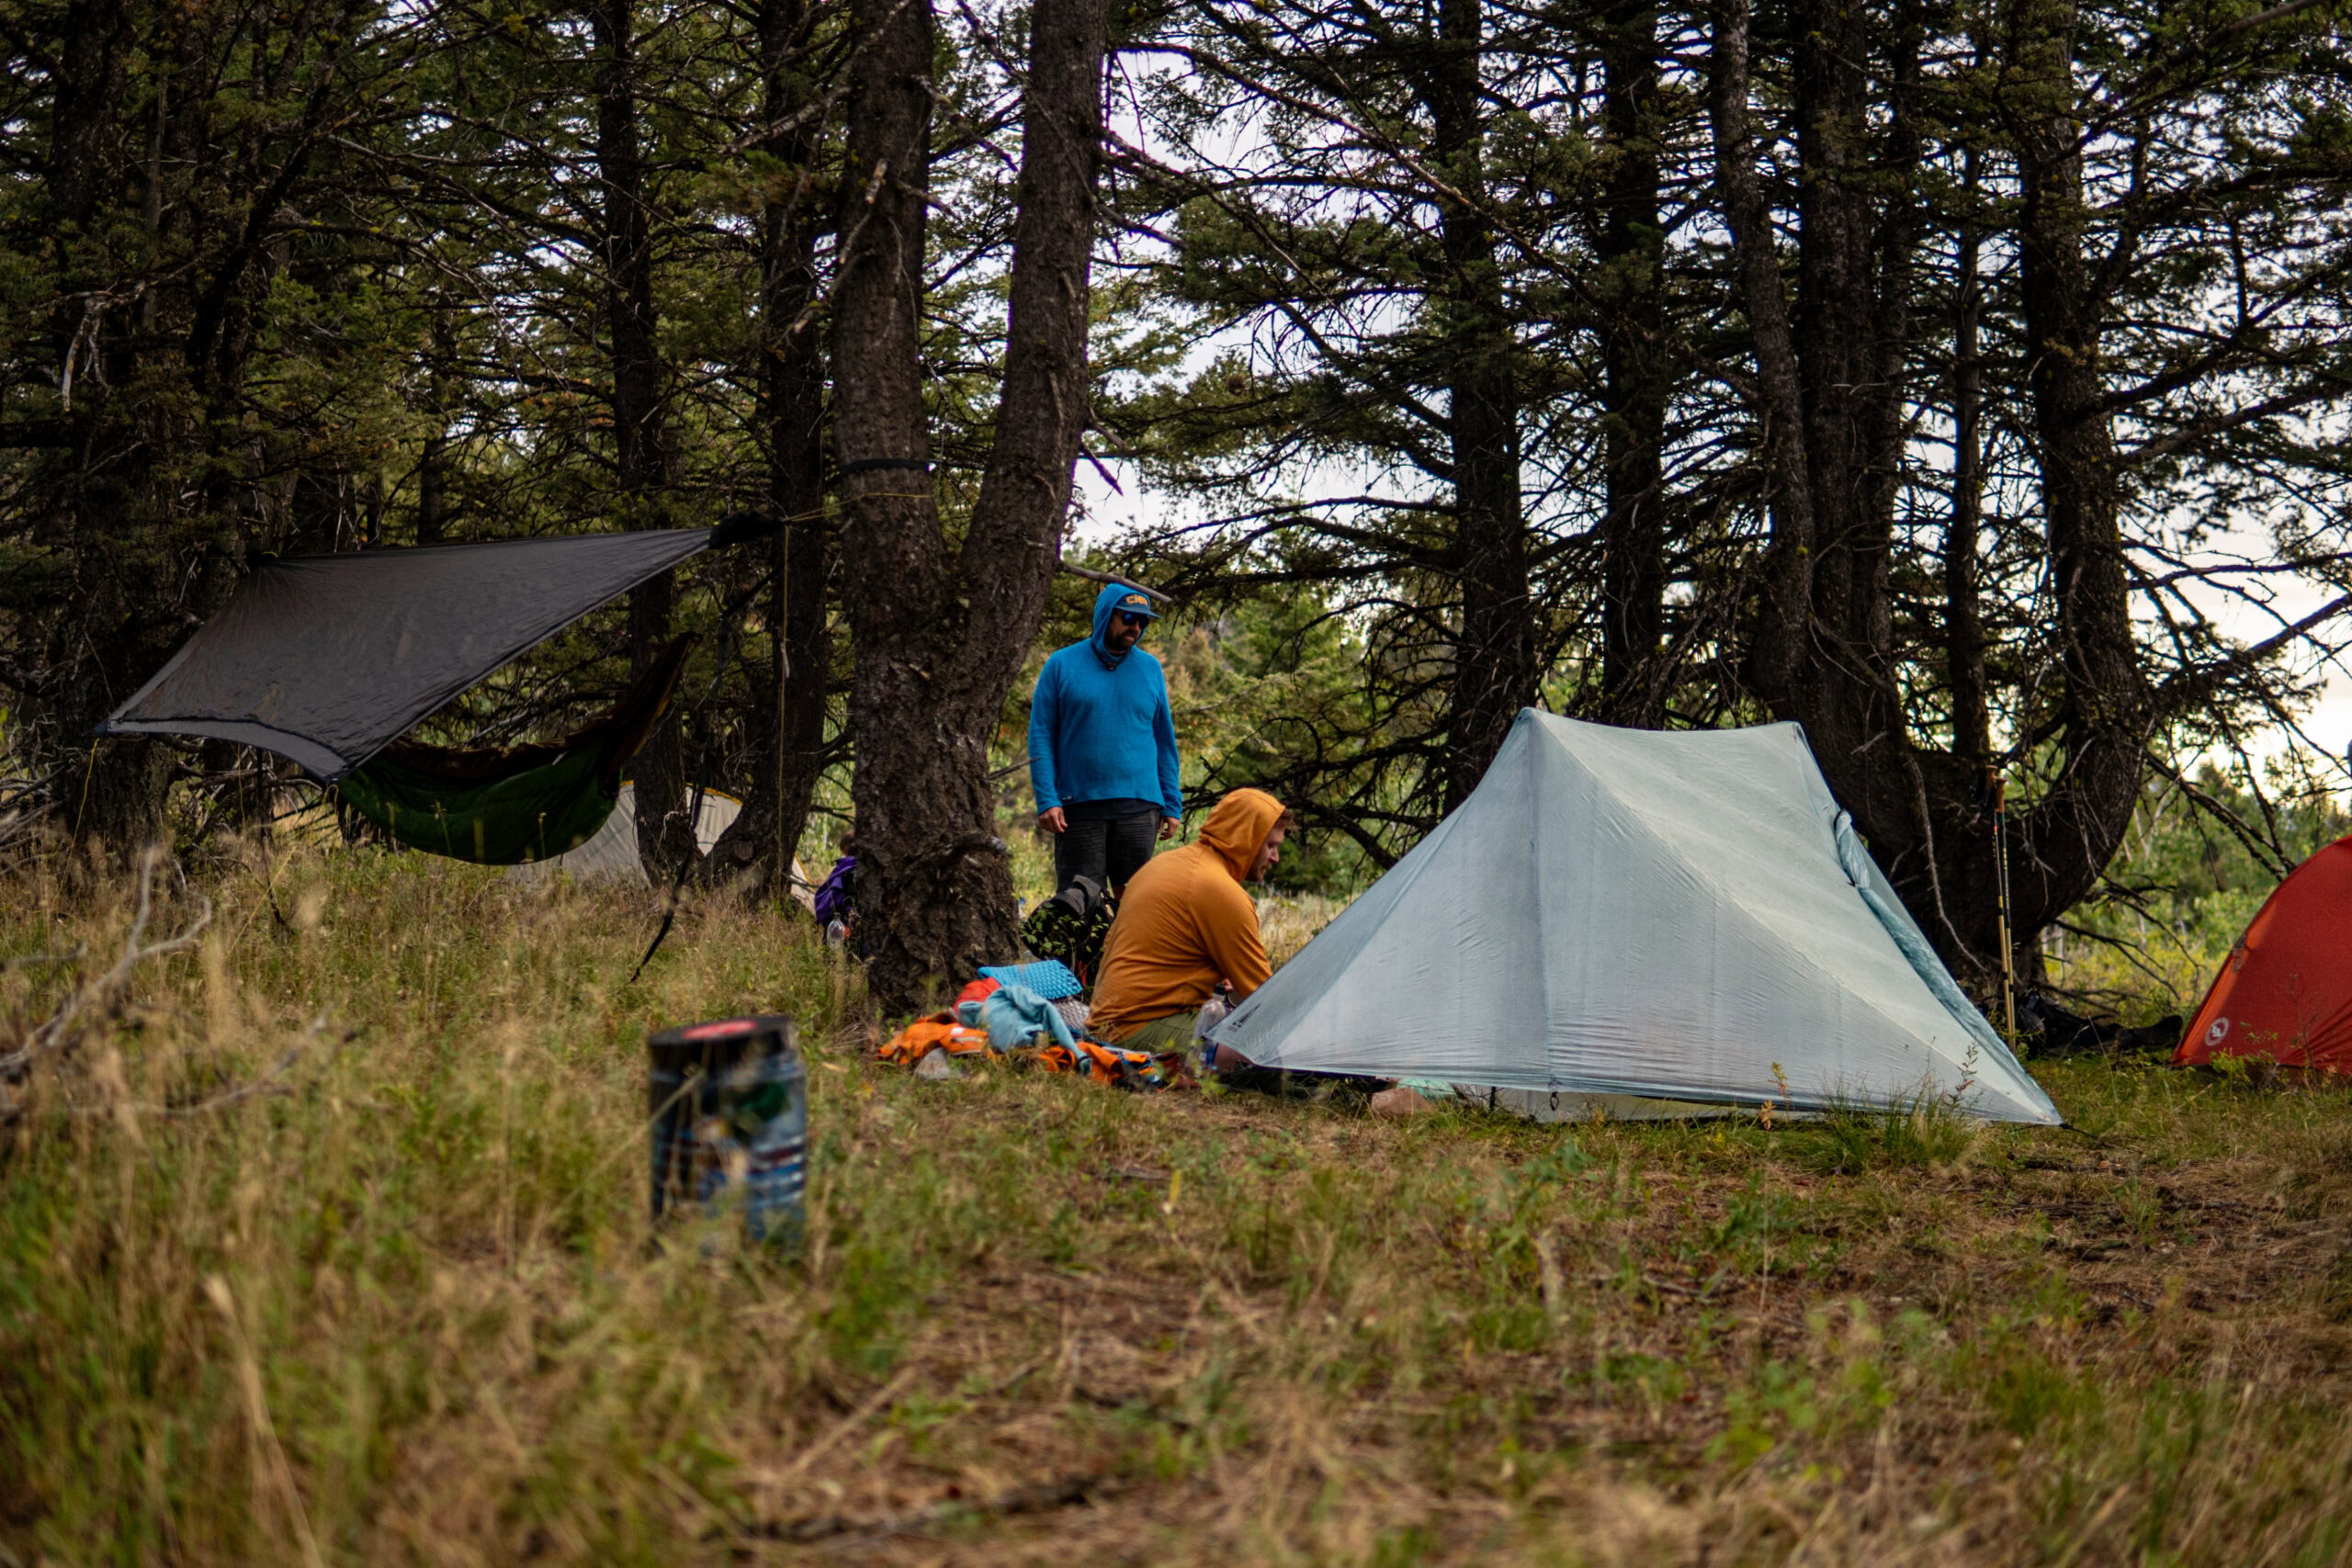
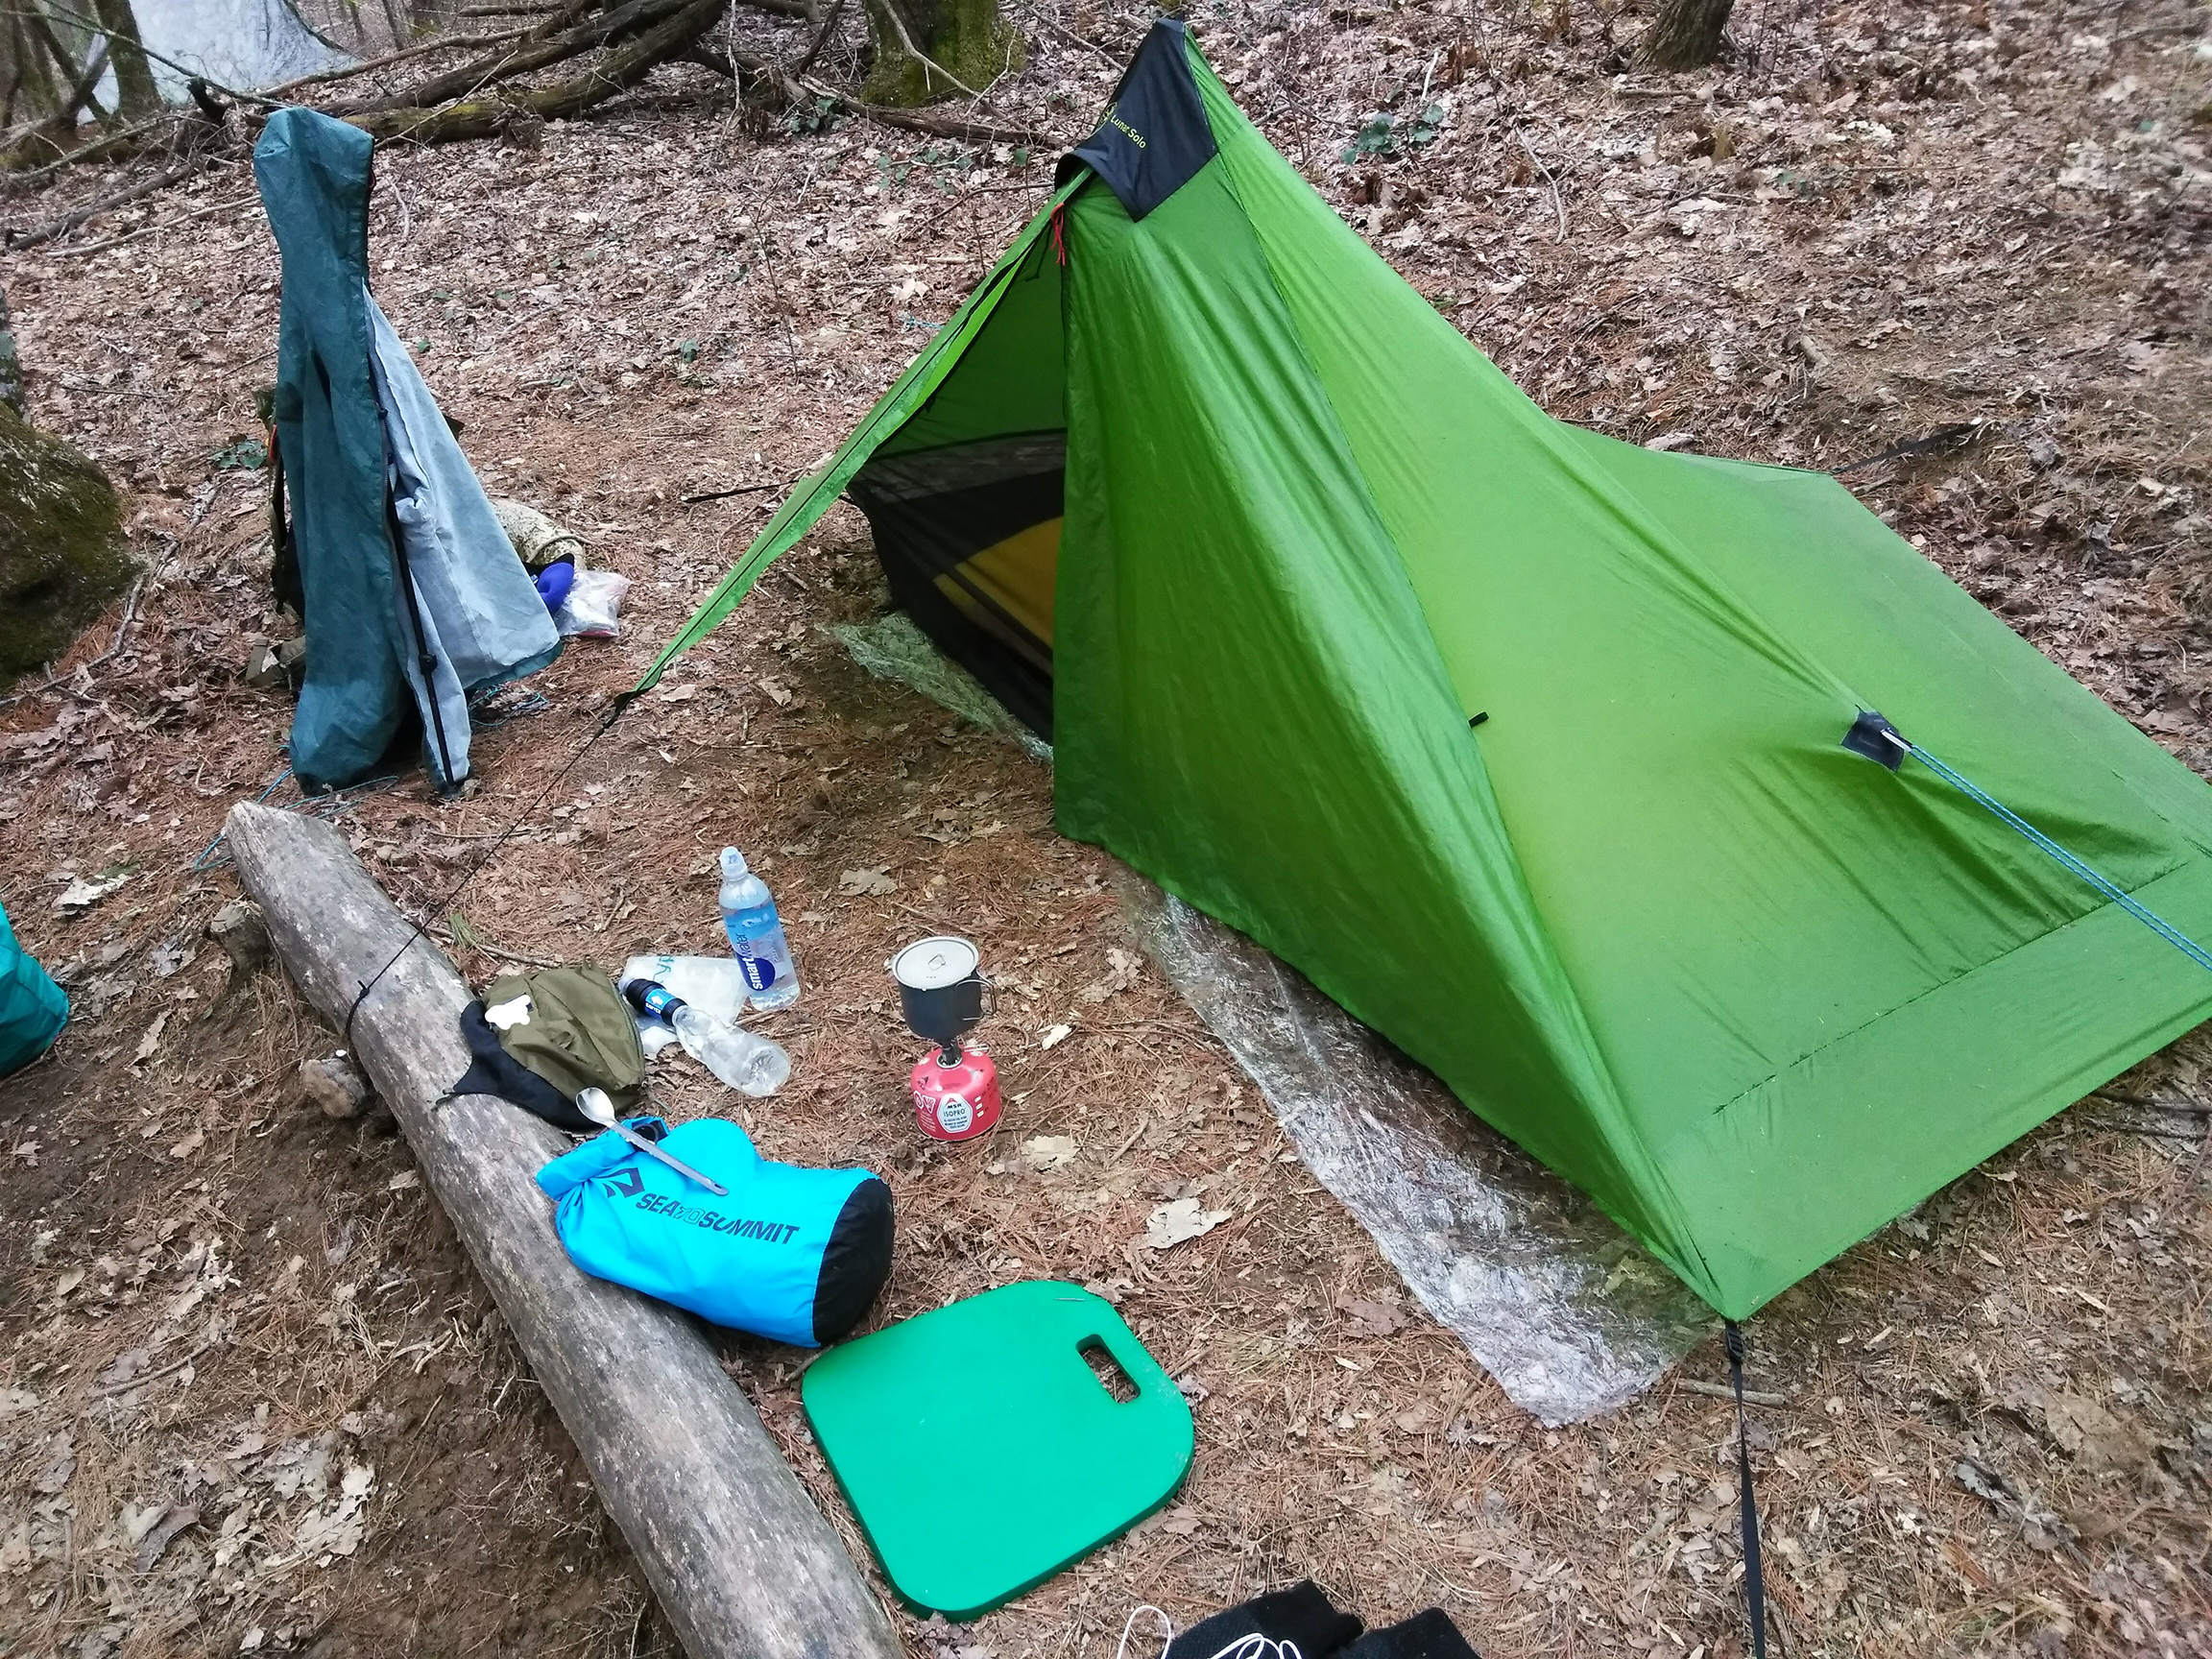
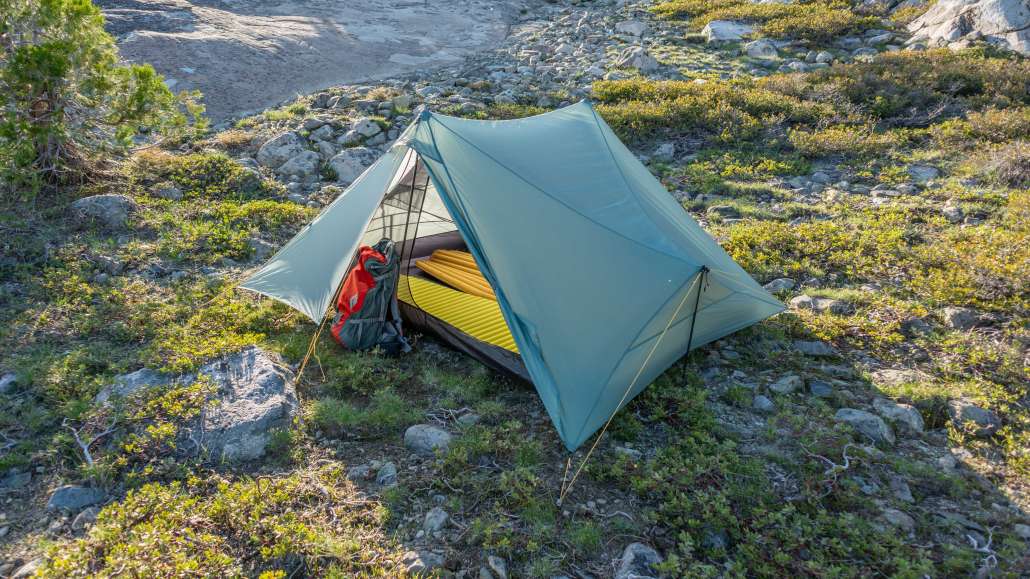
Trekking pole tent: Trekking pole tents utilize trekking poles and points of tension to keep them propped up. These require a larger learning curve to use, but can be more versatile and lighter weight than freestanding tents.
- Pros: Lighter weight than freestanding tents with less items needed. Makes you look very cool when in camp with traditional backpackers.
- Cons: Larger learning curve with not so forgiving user error. If you don’t enjoy hiking with trekking poles.
Single Walled Tent: Typically features a bug-net that is sewn to a rainfly complete with a bathtub floor. This is an important distinction as to not confuse standard tarps as single wall shelters, while it is technically true.
- Pros: Easier to set up. Usually lighter than double wall shelters. Warmer in most cases due to body heat retention and less airflow.
- Cons: Generally create more condensation in wet conditions as respiration and lack of ventilation combine to create a humid environment. When this happens the water that accumulates at the top of the shelter has nowhere to go but down.
Double Wall Shelter Systems(Tarps + Tents): These typically feature a bug-net with a bathtub floor that is detachable from its rainfly providing two pieces to the system.
- Pros: More versatile to set up. You don’t have to set up the bug-net to set up the tarp, this comes in handy for flash rain or hail storms. Can split between two hikers that are sharing a system making packable weight lower.
- Cons: Bulkier than single wall shelters and heavier if carried by one person. Can be a little more tedious to set up and require a learning curve.
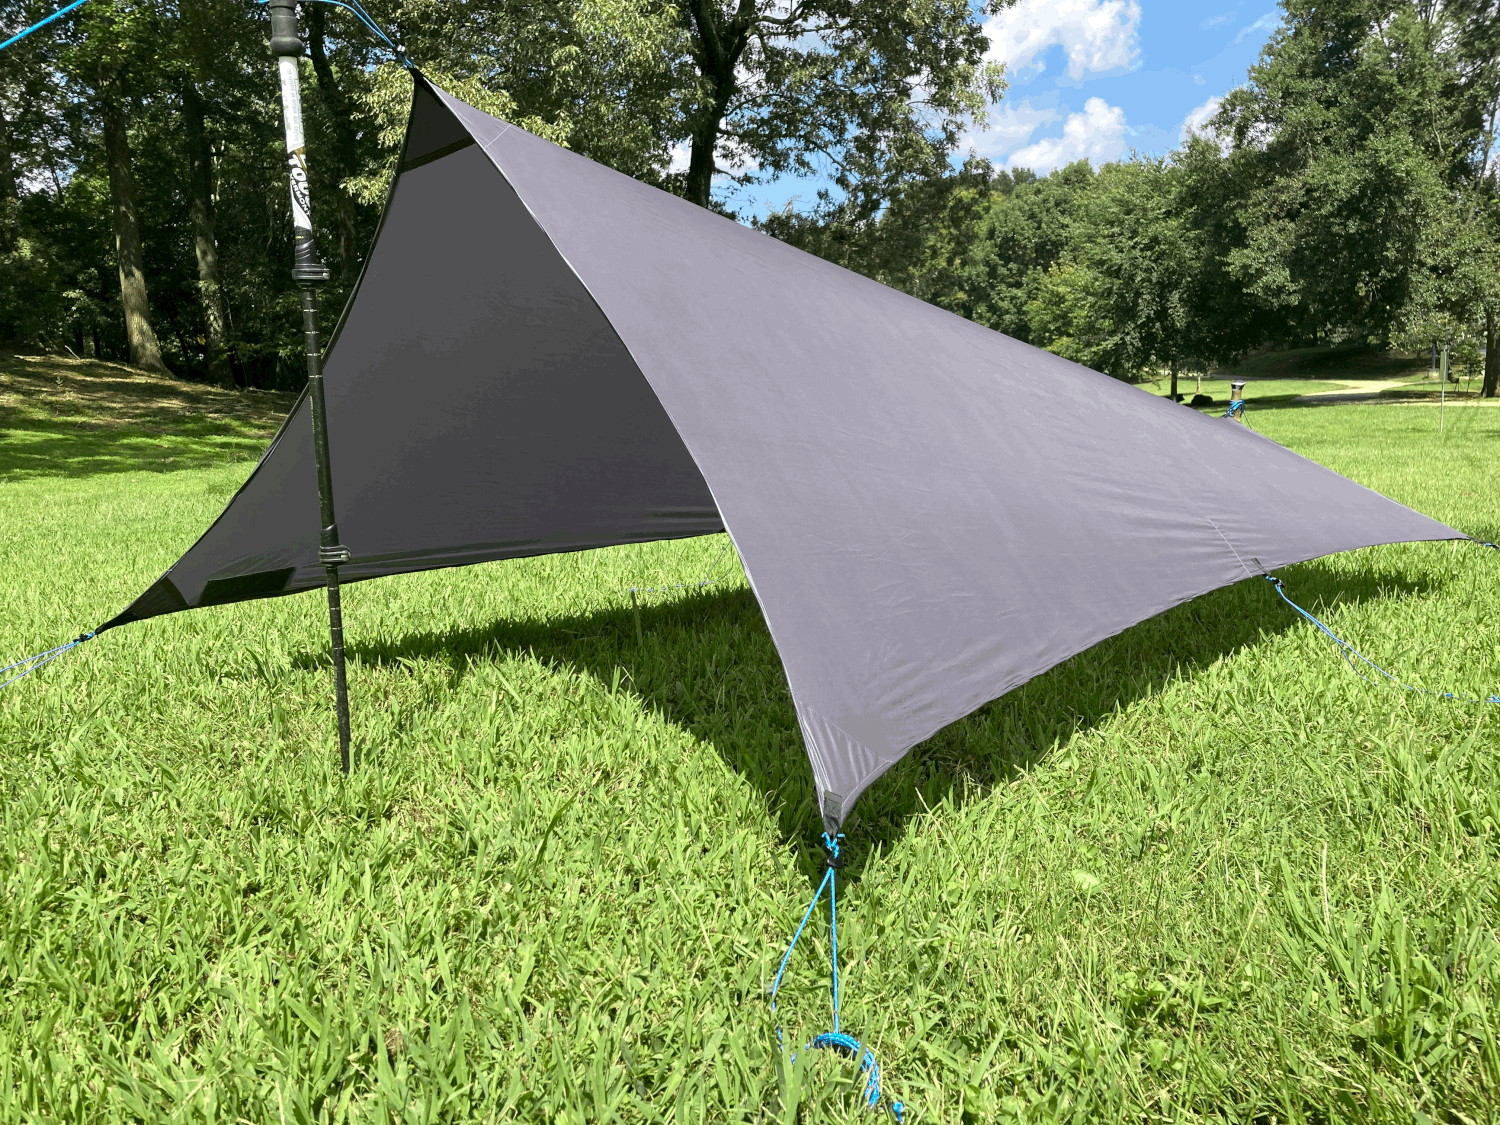
Standard Tarps: Standard tarps come in a variety of designs like Flat, Cat cut, Mids, etc. These are often just the tarp itself and does not include a bug net. Many hikers prefer to carry only a tarp with no bug net in those areas with low bug pressure or seasons where bugs aren’t expected to save some weight.
- Pros: Lightest shelter option next to cowboy camping. Most versatile given the different cuts and ways you can hang a tarp along with add-ons like tub floors and bug net. Typically the cheapest option given the small amount of items required.
- Cons: Higher learning curve on site selection and pitching. Doesn’t provide as much coverage as something with a bathtub floor and bug-net, but as mentioned above, this is easily remedied. Not as warm as more traditional or double walled options due to air flow.
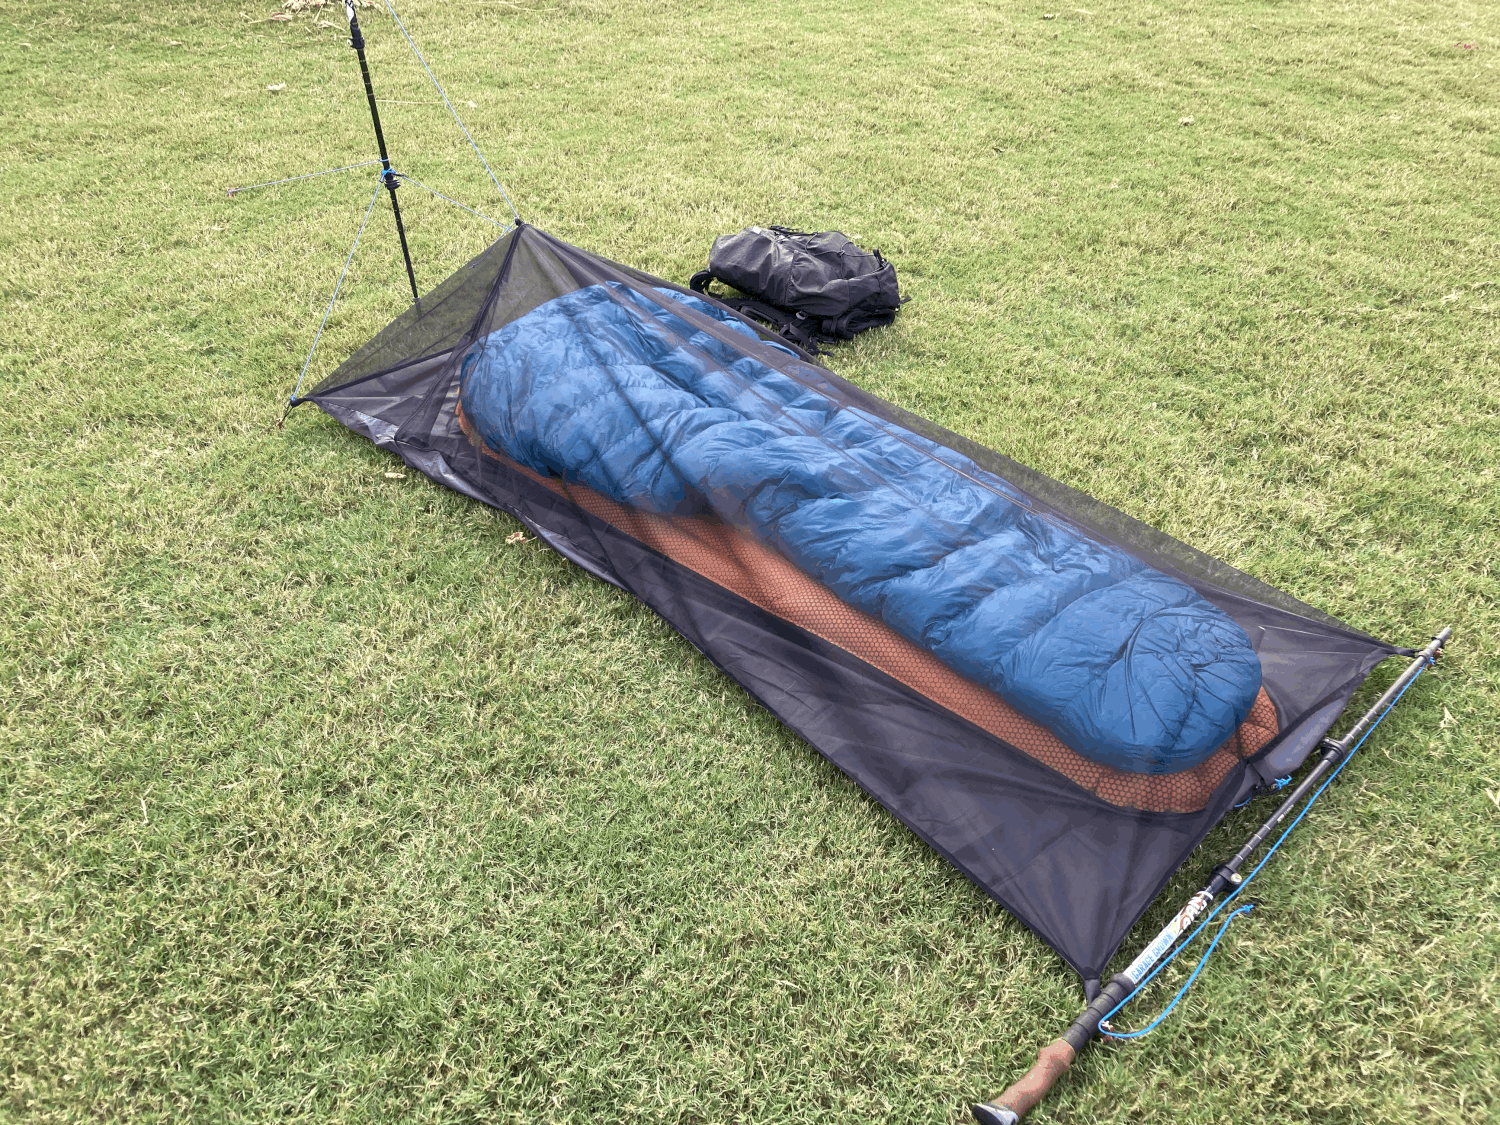
Bivy system: A Bivy is a nearly body sized minimal shelter that doesn’t have a rain fly and typically has bug netting or mesh around the face. These can serve as lighter alternatives to bug nets since there is less material involved. Bivys are technically single wall shelters and can collect condensation inside in certain conditions. They’re usually easier to set up than bug nets because they lay flat on the ground and don’t have a lot of tension points. They’re best paired with a tarp when in bad weather conditions.
Hammock: A Hammock is a sleeve that hangs between two trees and is a favorite amongst many backpackers in forested areas and winter camping. Admittedly the author of this article is a ground dweller so there may be bias in some of the points. Shug Emery is a great resource to check out on the joys of hammock camping and the many versatile conditions they’re good for.
Pros: Usually reported to provide more comfortable sleep for most compared to sleeping on the ground. Keeps you off the ground in areas where flash floods are likely to happen.
Cons: Site selection is extremely limited to non-existent in some areas such as those above tree line, places with sparse trees, and areas that don’t have vegetation that is mature enough to support the weight requirements of a hammock.
Considerations and Conclusions
Consider what season you’ll be hiking in, in areas with unpredictable weather or during colder months, a tent might provide more security and comfort. On the other hand, if you’re hiking in a dry, mild climate, or don’t mind the learning curve, a tarp could be a viable option. If you’re looking for something in the middle, trekking-pole tents would be the way to go.


May I just say how very much I love your r blog posts? They are not only incredibly comprehensive and informative, but very well written and a delight to read. Keep it up! Thank you for putting in so much effort to help us!
Micah, thank you so much for that feedback. I try to give all the knowledge I have when I write our articles because I remember devouring everything I could when getting ready for a thru-hike. – Garrett
have 2 great UAL packs and loads of their quality accessories…absolutely outstanding!!!
did the AT in 1976 and only wish I’d had UAL gear then…so it goes!