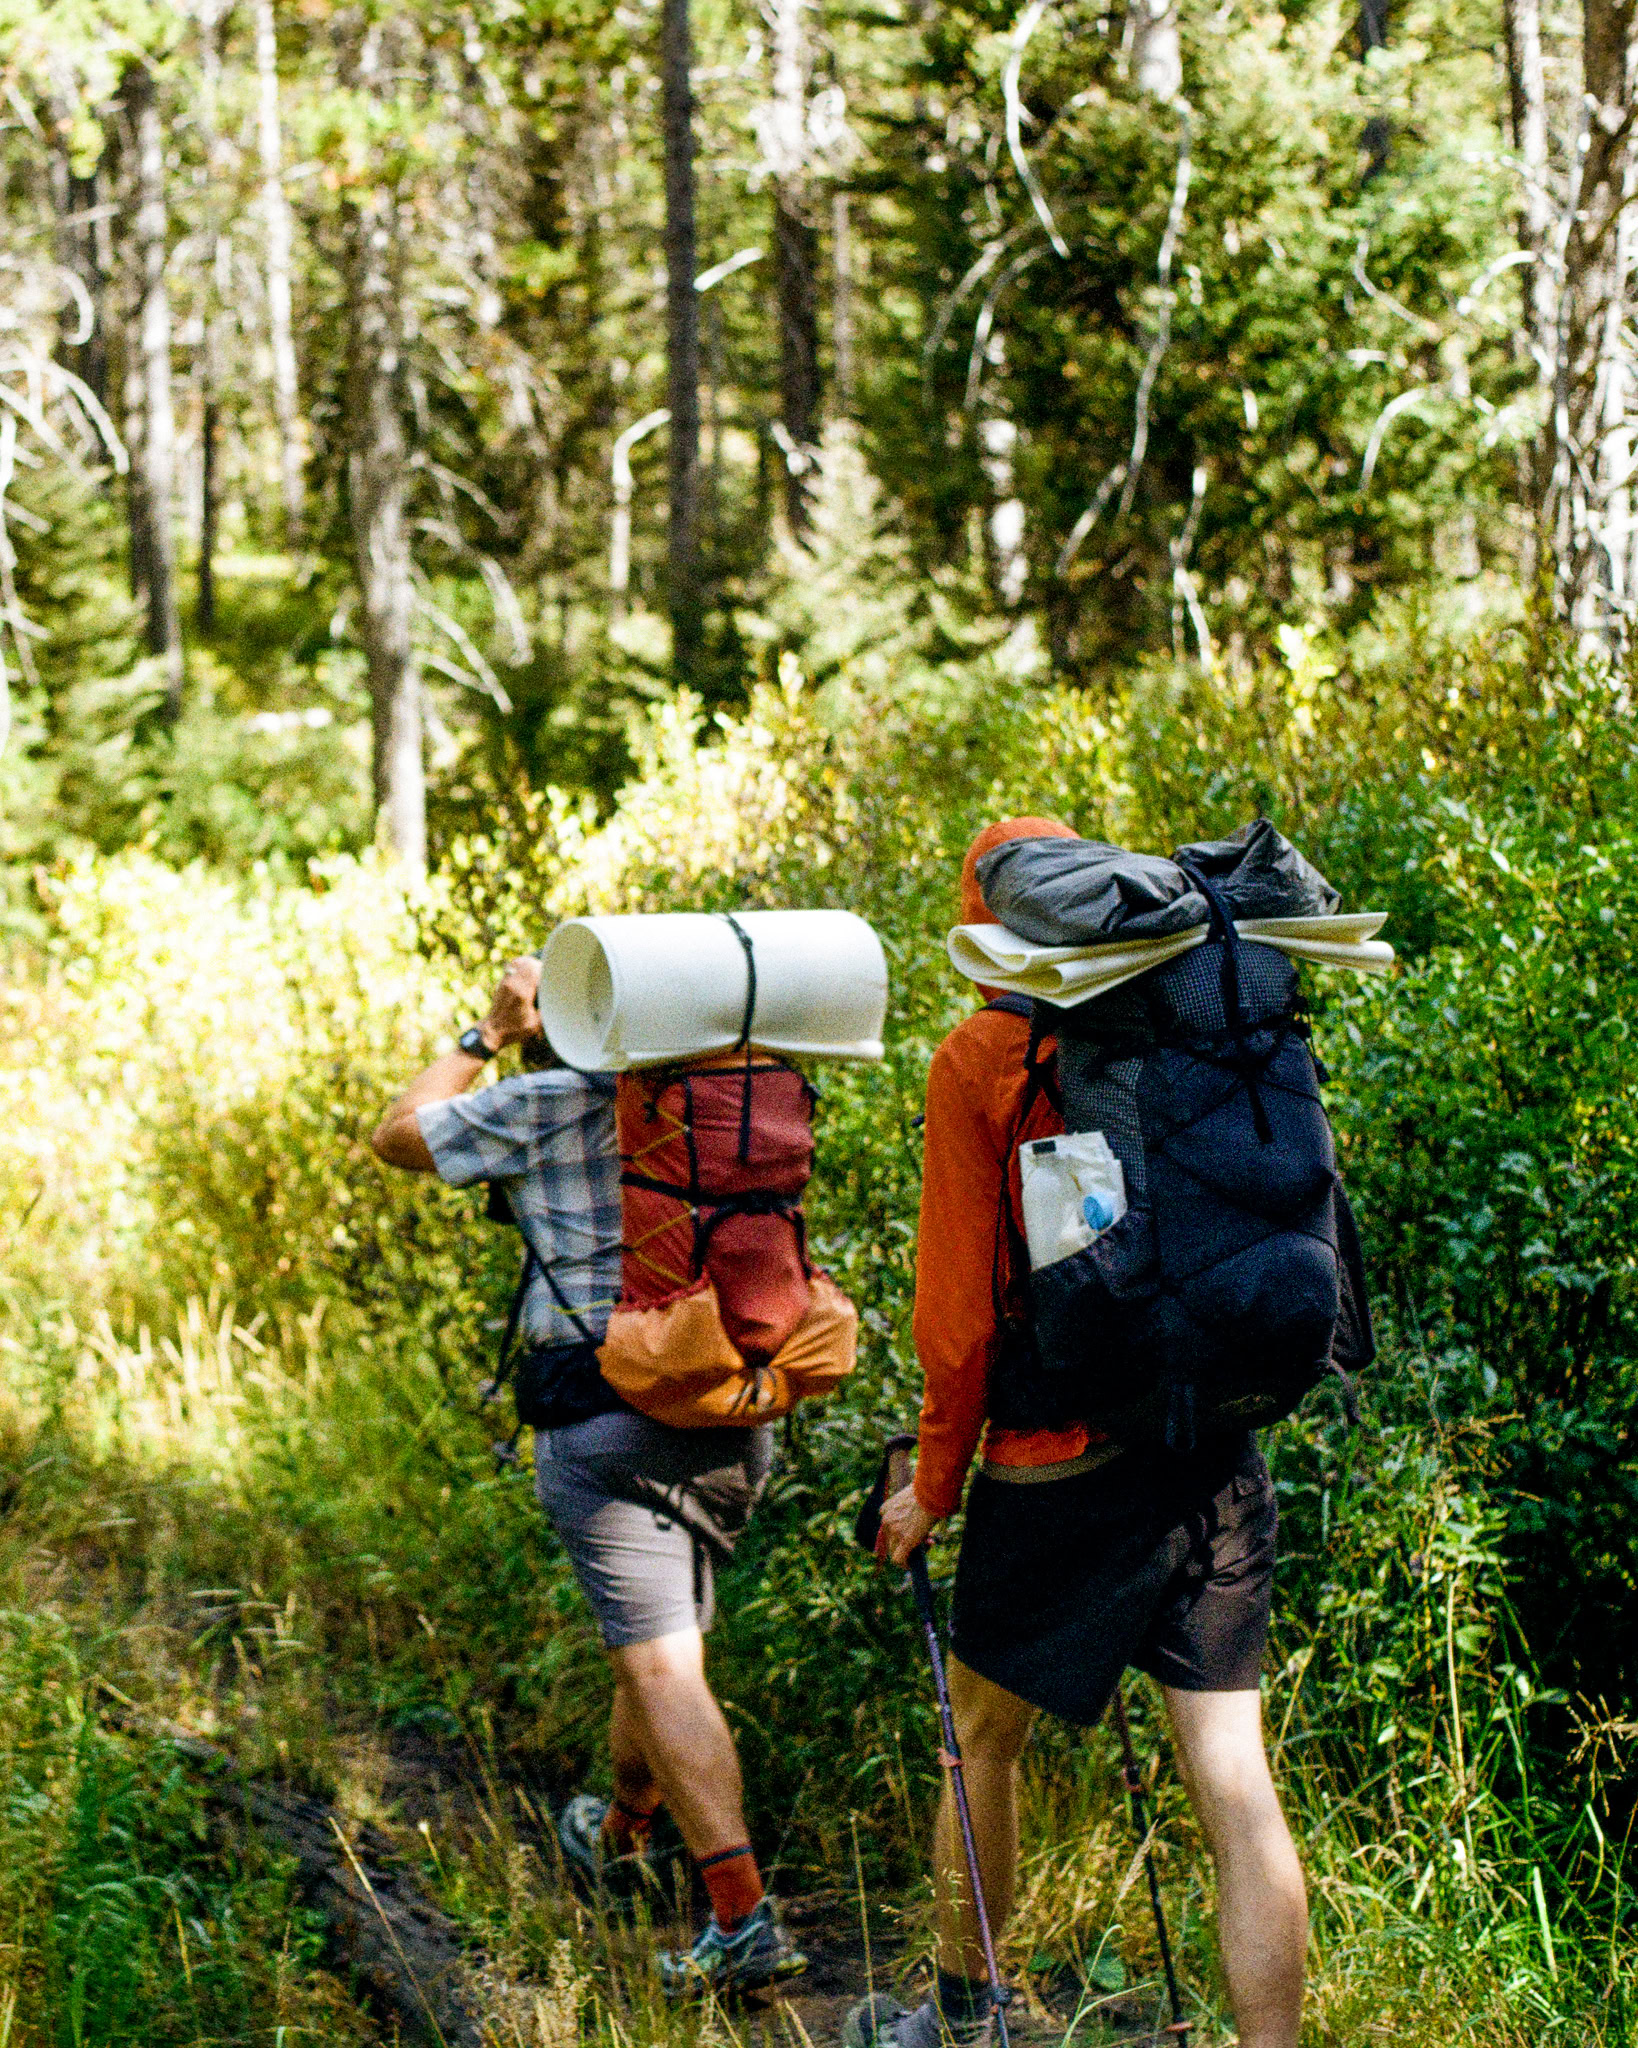
How to Choose Your Backpacking Gear: Pt. 3 Cooking, Toiletries, and Everything Else
In part 3 of our “Backpacking Gear” series we cover all the other stuff that you’ll need to consider when packing for something like a thru-hike or extended time out in the backcountry. In part 1 we covered selecting your backpack and shelter, part 2 saw a take on sleep systems and clothing, and now we bring you food, hygiene, and everything else.
While you might be a seasoned hiker who knows everything mentioned in this piece and more, it’s worth sharing with your friends, family, and even tramily that could use some education on how they pack for trips.
It goes without saying, but we’ll say it anyways – making informed decisions about your gear can make or break your time outside. Think about how it feels to wear shoes that are too small and amplify that feeling to every moment of your life on trail. We’ve known plenty of thru-hiker hopefuls that quit trail because they opted for the 1/8th inch pad before they were ready. This series seeks to familiarize the uninitiated with the different types of gear and systems one can choose before embarking on a long walk in the woods.
FOOD
Proper food storage is essential for both safety and wildlife protection while backpacking. Bears, rodents, and other animals are attracted to the smell of food, and unsecured food can lead to dangerous encounters or lost meals.
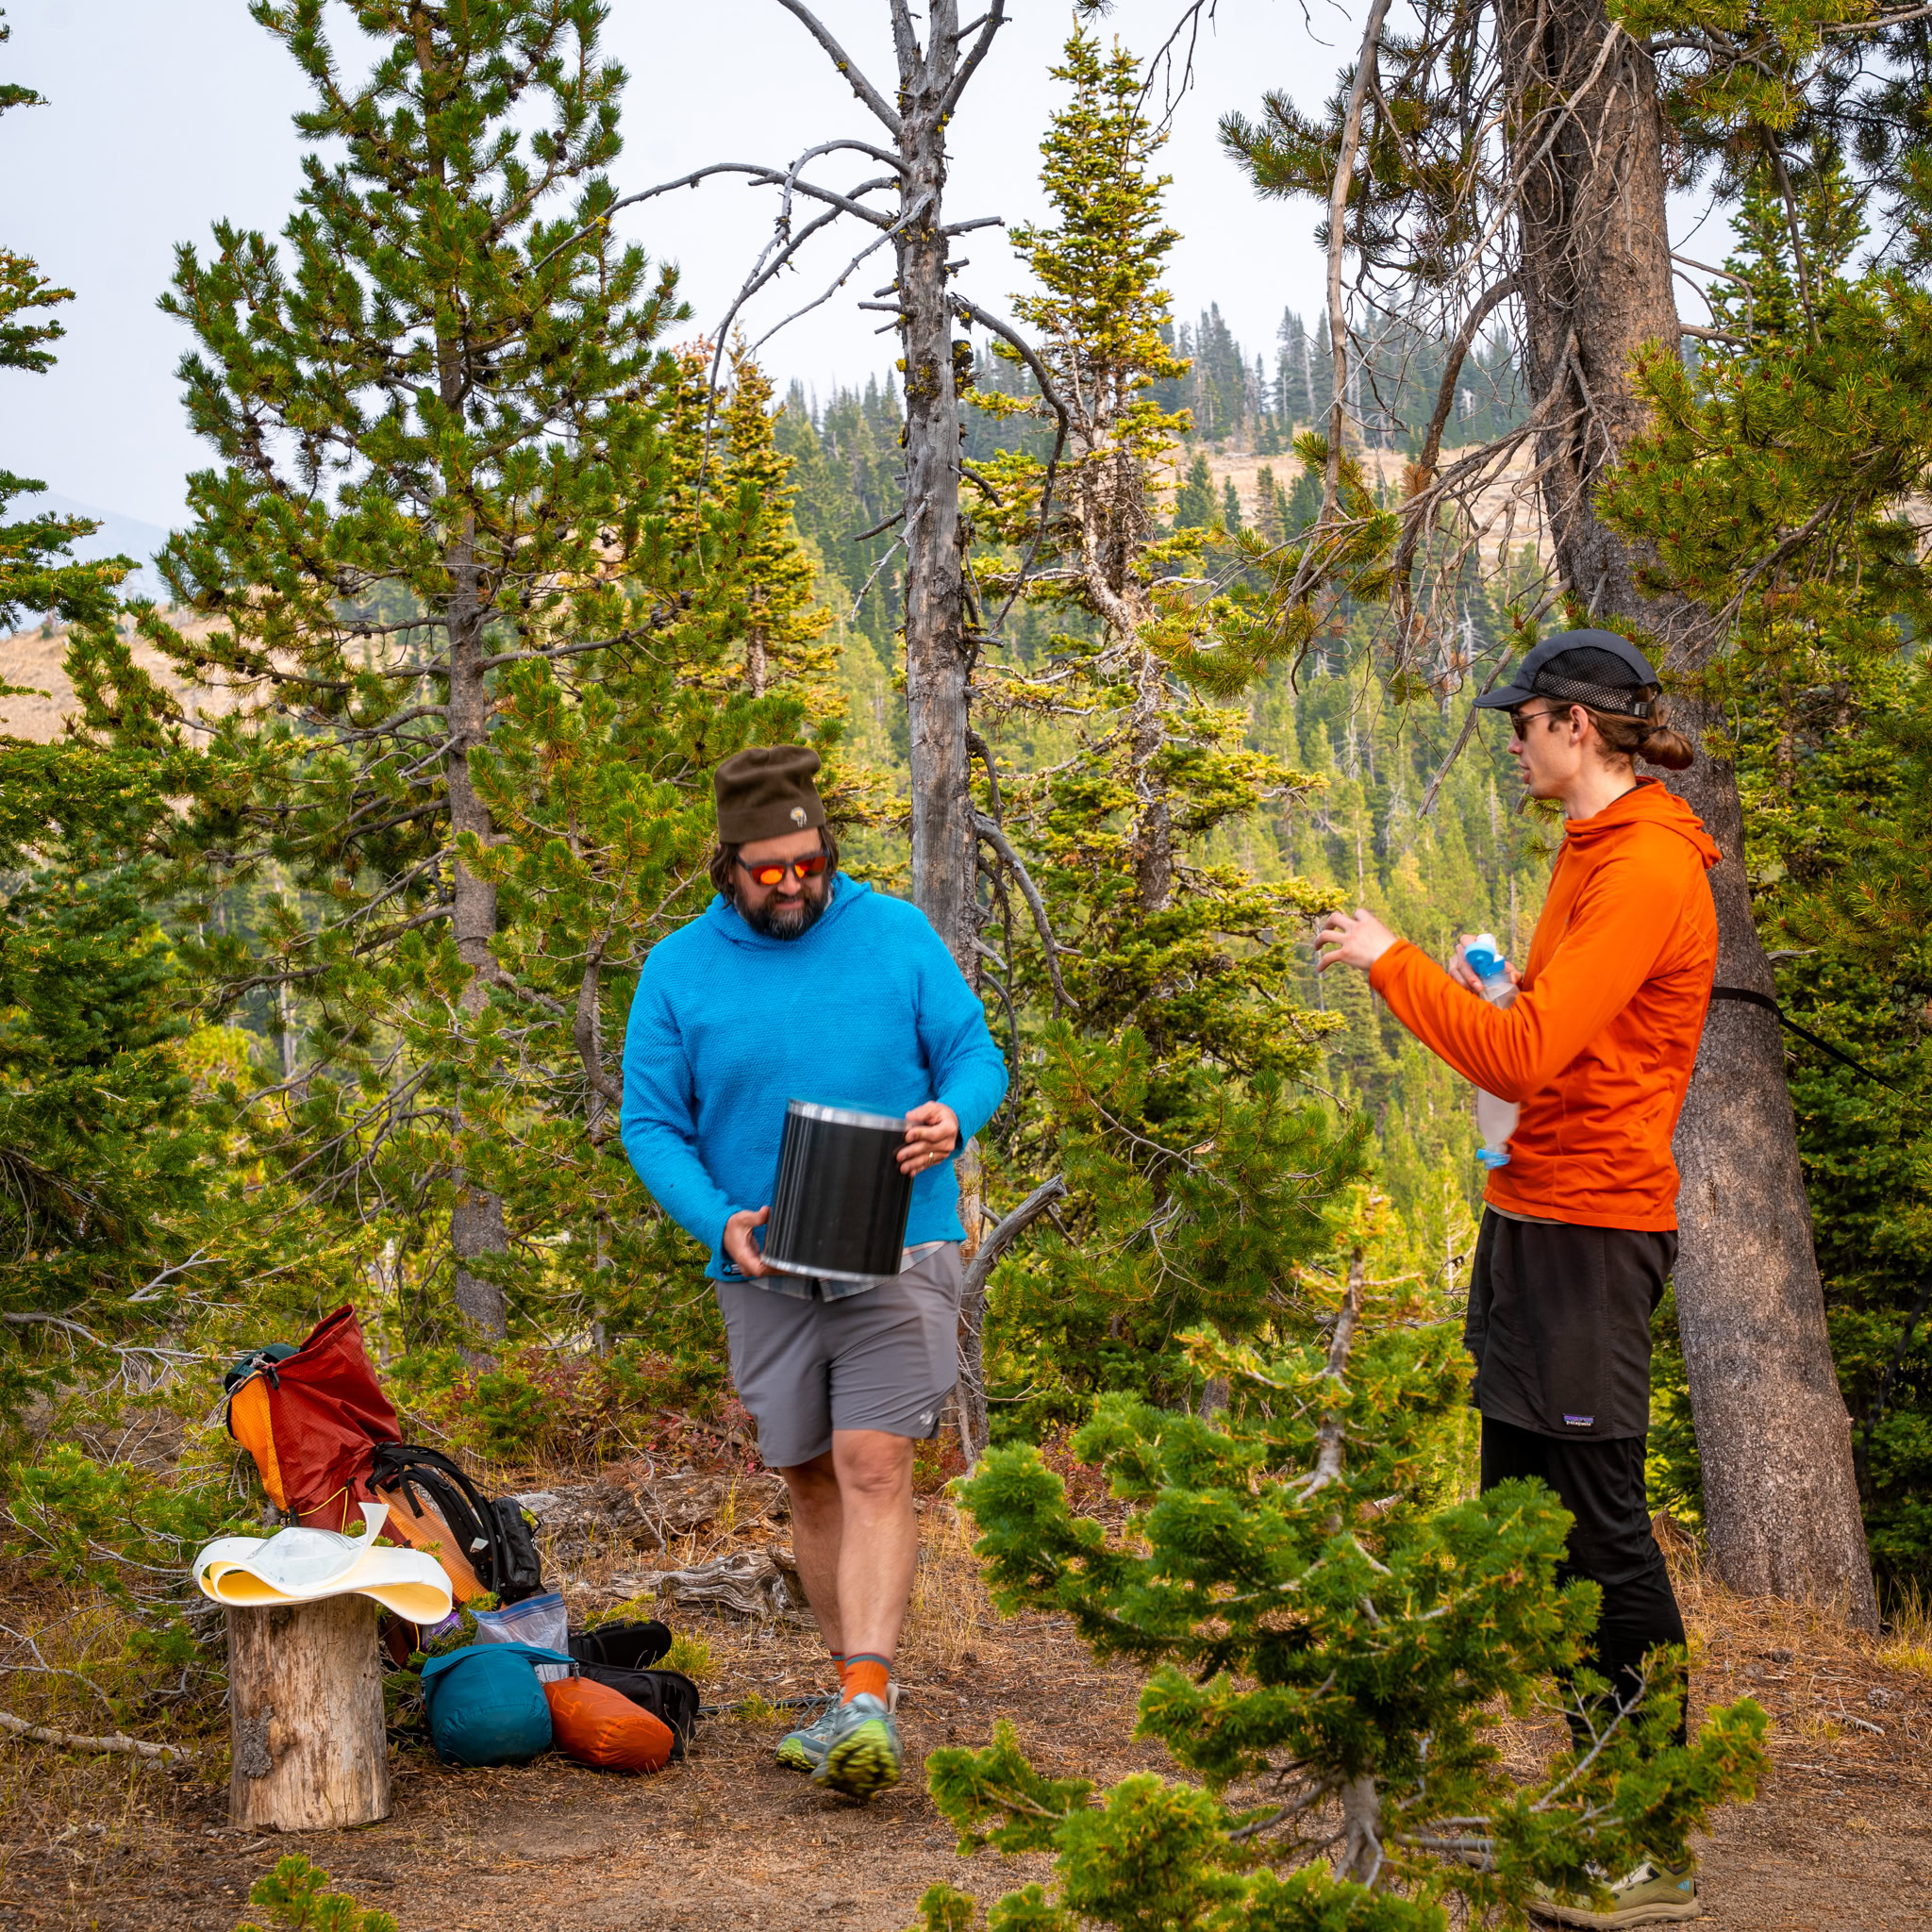
Bear canisters are rigid, bear-resistant containers designed to keep your food safe. They are required in many national parks and are effective against both bears and smaller critters. Be sure to familiarize yourself with the rules of any natural space that you’re going to be traveling through as some natural areas dictate what size canister that can be use. They can be made out of materials like plastic or carbon fiber. Pack all scented items such as food, toiletries, and trash inside the canister, and store it away from your tent at designated spots like bearboxes at campsites.
Hanging food in a bear bag is another common method. Using a sturdy rope and a high tree branch, you suspend your food and scented items out of reach of wildlife. Techniques such as the PCT or counterbalance hang work well in most forested areas. Please be aware there will be plenty of times you find yourself in a campsite with less than ideal tree selection for a proper bear hang. Alternatively if you lack the proper arm strength or mobility to throw a rock over a limb high enough to perform a proper hang, it’s recommended that you look into other options like an ursak or bear canister. Food pouches and odor-proof bags can help reduce smells and organize items, but they are not bear-proof. They are best used inside a canister or when hanging food.
Tips for safe food storage:
- Keep your cooking area at least 100 feet from your sleeping area
- Do not store food inside your tent
- Keep trash sealed and pack it out
- Avoid bringing highly aromatic foods if you are in sensitive wildlife areas
Using proper food storage protects both you and wildlife. It allows you to sleep peacefully and enjoy your trip without unexpected encounters.
“Cook” Kit
Two of the main philosophies of trail food are those that cook, and those that don’t.
Those that don’t cook their food typically either use a method called “cold soaking” where you let dehydrated foods sit or “soak” in water until it is rehydrated and ready to eat. Or they just eat dry foods and snacks. The gear required for this is usually just a closable container for you to let your food soak in. This can be something like a Talenti jar, an old peanut butter container, or a small Nalgene.
We really like these cold soak jars from Litesmith. Cold soaking helps cut down time in camp and is generally a lighter way to go as you only really need a container to soak in and a spoon, spork, or stick.
Pros: Less gear required – you don’t need a stove and fuel source meaning less weight. Allows you to “cook” dinner while walking – you can put your dehydrated food into your jar with water a couple or few miles before camp and by the time you get to camp you’ll be ready to eat.
Cons: More limited options of meals. Potential drop in morale if you’re not about it. Cold morning coffee.
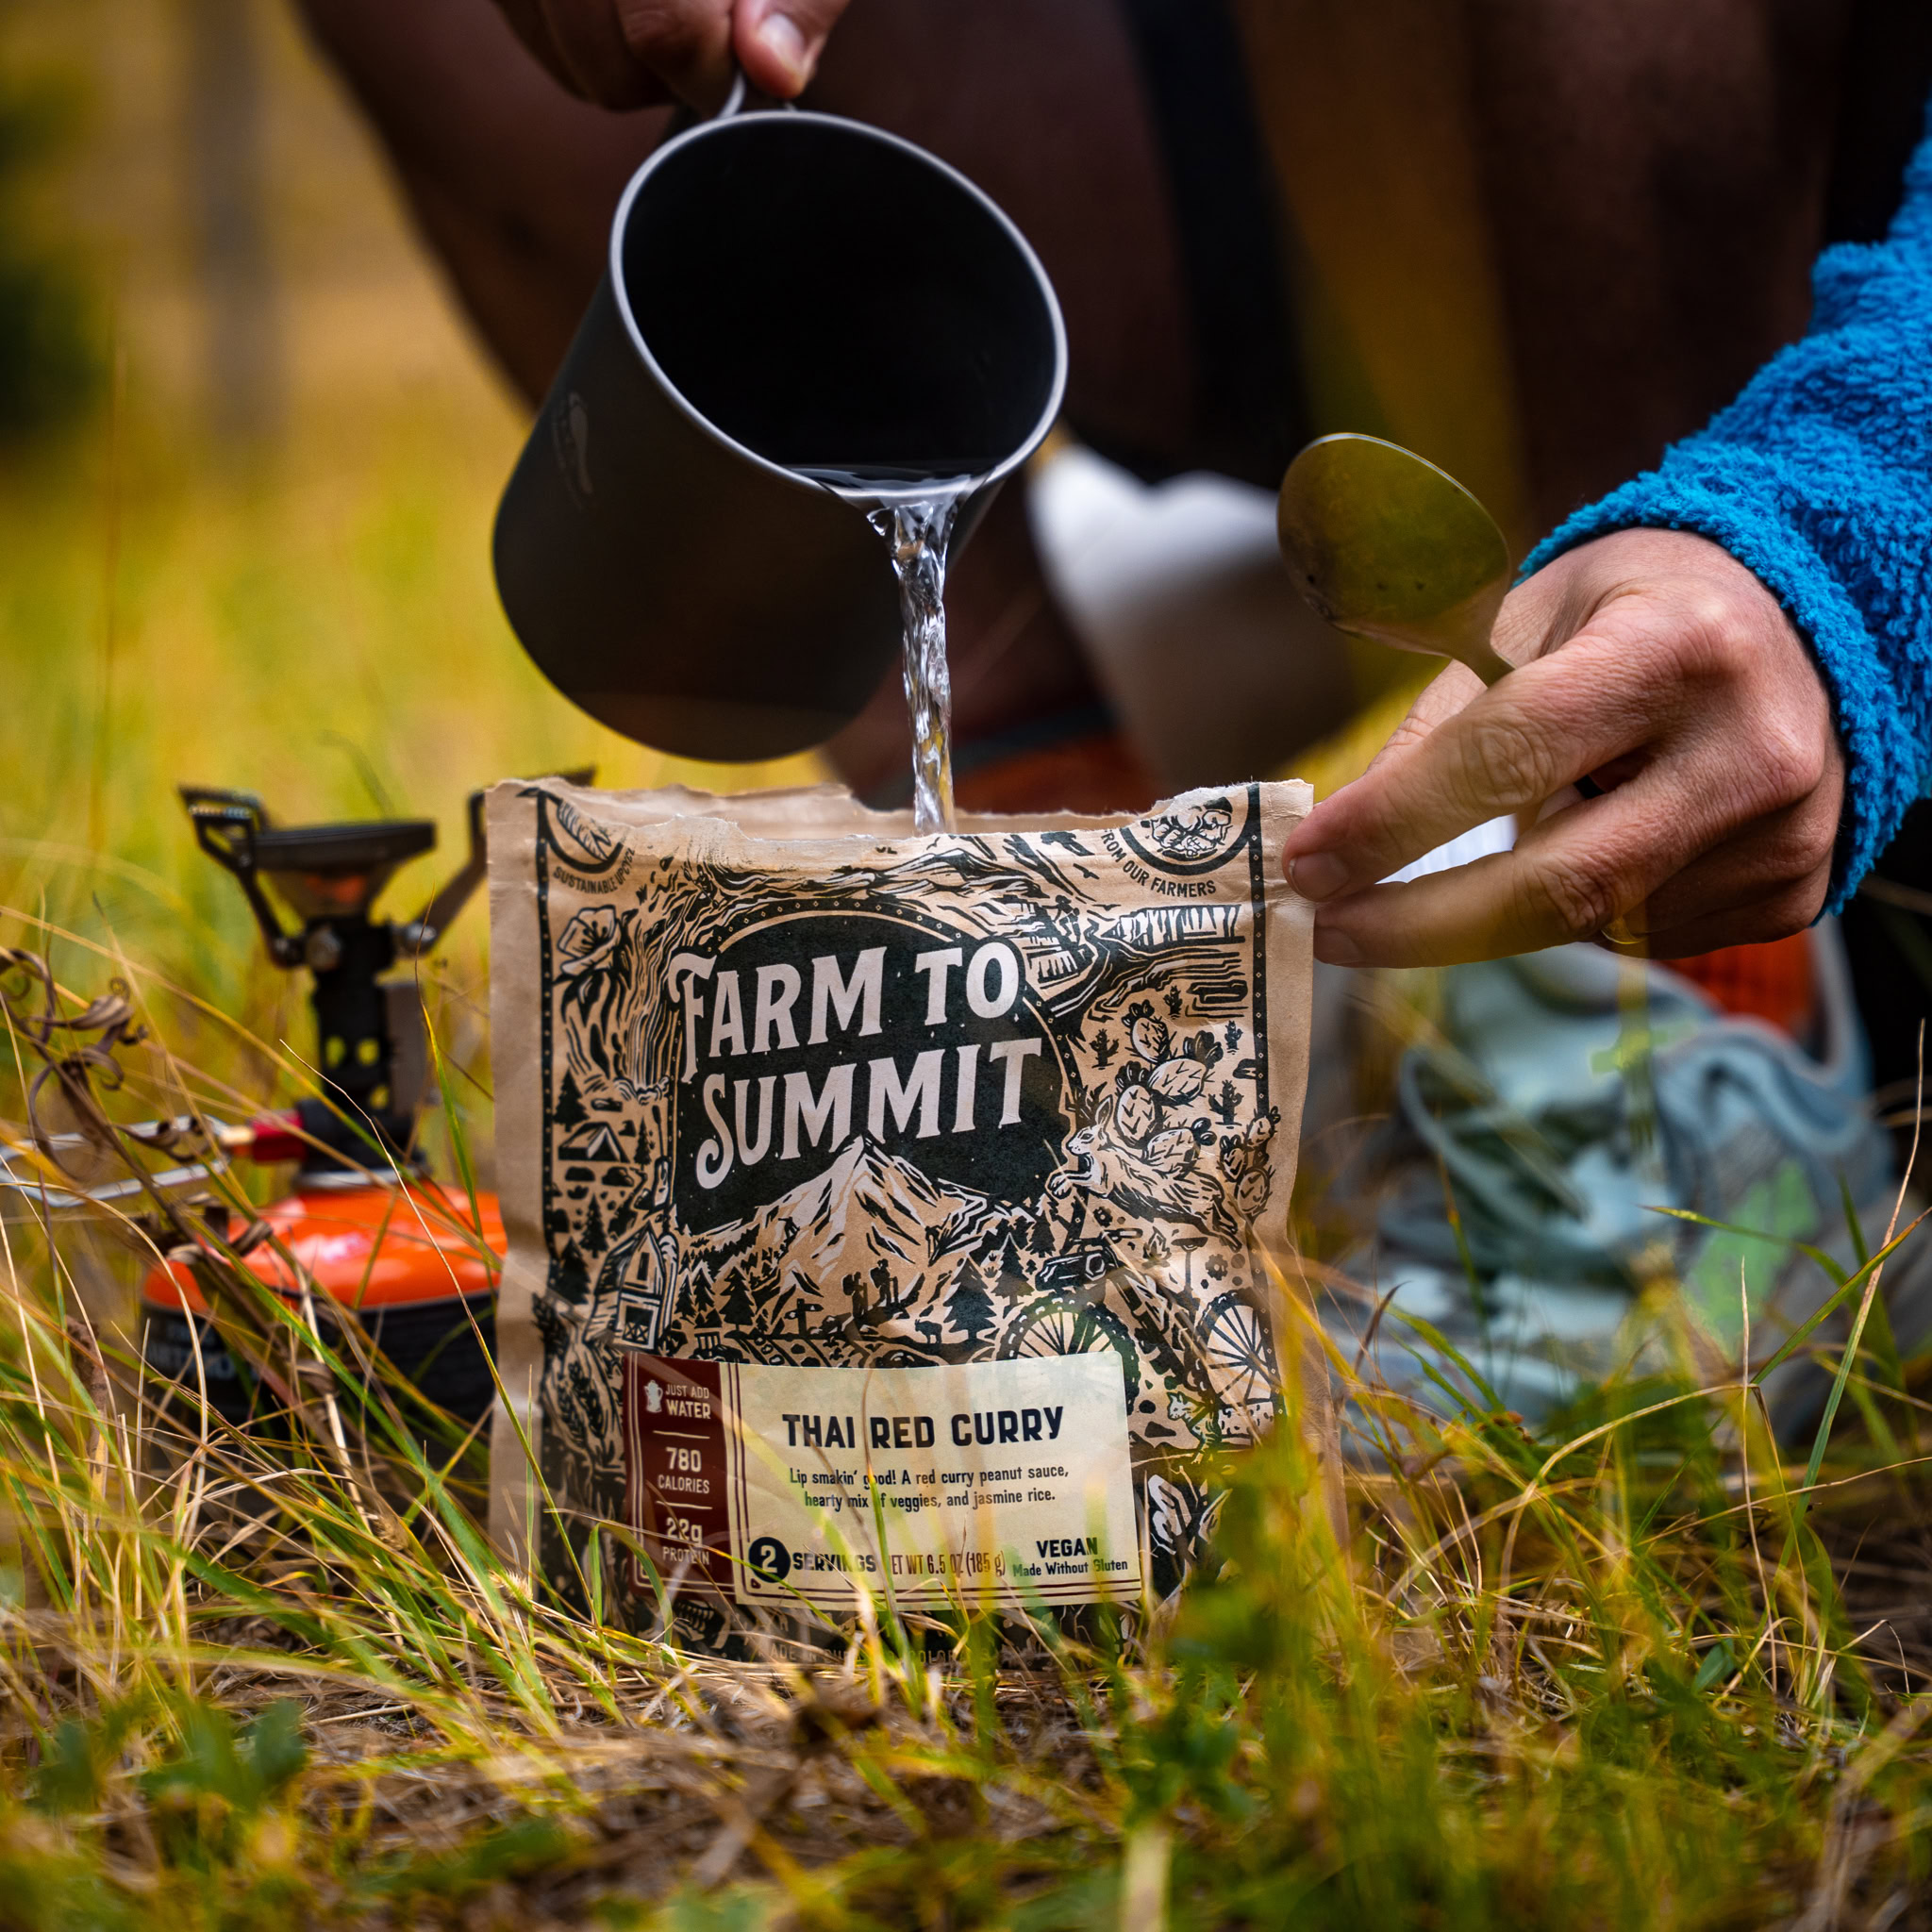
The second camp, those that cook their food, typically need a fuel canister, a stove or some way to create fire(lighter, matches, etc.), and a container that you can cook in. There are lightweight skillets, titanium cups, pretty much anything you could think of that you think you’d need to cook in the real world, there is a backcountry equivalent. Some alternatives to a fuel canister and stove would be an ultralight wood stove and an alcohol stove that you can make yourself out of catfood cans, tin cans, etc. When it comes to alcohol burning stoves or starting wood fires, check the regulations on the wilderness area you’ll be in as some areas don’t allow these methods during fire bans.
Pros: Wide variety of pre-made dehydrated meals, wider variety of available options, enables you to drink hot coffee or cocoa, higher morale boost with fancy on trail dinners.
Cons: More gear to carry. More weight. Longer set up/breakdown time in camp. More reliant on outfitters for fuel sources. More to keep track of where fuel is concerned.
WATER FILTRATION AND TREATMENT
Safe drinking water is one of the most important parts of any backpacking trip, and how you treat it can make or break your experience. Most backcountry water sources look pristine, but they can contain pathogens like giardia, cryptosporidium, or bacteria that can ruin a trip fast. That’s why carrying a reliable filtration or treatment method is essential.
Filters like the Sawyer Squeeze, Katadyn BeFree, or Platypus GravityWorks physically remove protozoa and bacteria by forcing water through a fine membrane. They are lightweight, easy to use, and allow you to drink immediately after filtering. However, filters can freeze in cold weather and must be protected from damage.
Chemical treatments such as AquaMira drops, chlorine dioxide tablets, or iodine kill pathogens without mechanical filtration. They are lightweight backups that take up little space, though they usually require a wait time (30 minutes to 4 hours depending on the method) and do not remove sediment or improve taste.
Boiling is the most foolproof option. Bringing water to a rolling boil for at least one minute, longer at higher elevations, kills all pathogens. The drawback is that it requires extra fuel and time, making it less practical for daily use.
Most backpackers rely on a filter as their primary method, paired with a chemical backup in case of failure. Whatever system you choose, always treat your water. It is a simple step that keeps you healthy and able to enjoy the miles ahead.

DITTY BAG AND ITS WARES
A ditty bag is the catch-all pouch that keeps all your small but essential items organized on trail. Instead of having loose odds and ends floating around your pack, you can toss them into one lightweight stuff sack or zippered pouch and always know where to find them. Typical contents include things like a repair kit, first aid basics, hygiene items, electronics accessories, and personal extras like a small notebook and writing materials. What goes in your ditty bag is personal, but the idea is to consolidate all the little items that don’t have a natural “home” elsewhere in your pack so they’re easy to access and harder to lose.
Repair Kit – We recommend carrying needle, floss for thread, safety pins, duct tape, and a patch repair kit for your tent(bug net + rainfly) or inflatable pad. We don’t recommend zipper grease in this kit because it causes dirt to stick to your zipper.
First Aid Kit – We recommend a good mix of anti-diarrhea, pain relief, iodine or something to sterilize cuts, bandages, and a field kit. While we obviously recommend carrying what you think you’d need, it’s important not to go too heavy and bring the kitchen sink, but there’s a lot of information out there that encourages hardly carrying anything. We’d recommend checking out this kit that has supplies and weighs only 3.6 ounces.
Hygiene/Toiletries – This typically looks like a travel size toothbrush, toothpaste or tabs, hand sanitizer, period products, personal medication, contacts/glasses supplies. We recommend taking spare contacts or at least glasses in addition to contacts in case you get pink eye in New York and need a nice local man to drive you into town, not that we’d know…
Electronics – We usually keep a small bag inside of our ditty bag that houses our electronics and typically contains the following:
Headlamp: We recommend familiarizing yourself with your ability to see in the dark and then base your lumen needs on that. Lower lumen powers don’t emit as much light, while higher lumens create a brighter light. We’d recommend something that has a red light so you’re not beaming campsite mates in the middle of the night. We like to use USB charging headlamps but battery operated work just fine as well.
Power Bank – usually 5,000 mah will give you 2 cell phone charges and will suffice. If you’re carrying extra electronics or documenting your hike via video, we’d recommend taking a 10,000 mah size or larger.
Charging Block : We recommend a dual usb port charging block and any appropriate cables related to your gear or cell phone. Having a dual port will help you charge multiple devices at once when outlet real estate is scarce.
SOS device – First and foremost it’s important to note that your SOS device should not be inside of your pack in a ditty bag. We’re putting it in this section since it is an electronic device. We recommend an SOS device for all backpackers in case something should happen. Not only are some areas without cell phone service and remote, but there have been many accounts of people getting off the trail to go to the bathroom and getting lost. Never overestimate your experience in the backcountry. Always be prepared for the worst. There is also an advantage in having a way to contact the upcoming hostel via your Garmin to book a room and shuttle when no service is available.
Lighter/match set – Even if you’re not carrying a stove to cook your food you should always carry some way to start a fire while out in the backcountry.
EVERYTHING ELSE
Bag Liner or Pack Cover : A pack cover’s primary function is to shield the pack from getting wet and keeping things dry but it is doubly important to keep your pack from getting saturated and the material from holding onto all of that water that can add significant weight to your pack.
Because pack covers only cover 60ish% of the pack and the entire back panel is exposed we recommend something like a Nylofume Pack liner or trash compactor bag to go inside of the pack as a bag liner. These are some of the cheapest and lightest ways to ensure your kit is as water resistant as possible.
Non-laminated materials like Robic Nylon are more prone to getting saturated and holding onto water which adds weight to the pack. A good material alternative to this is a laminated one like X-PAC or ULTRA which repel water and prevent the material from getting saturated. ALWAYS USE A BAG LINER NO MATTER WHAT MATERIAL YOUR PACK IS MADE OUT OF EVEN IF IT IS SEAM SEALED.
Tent stakes: Shepherd hooks, Titanium, glow in the dark. You need to be sure you have the appropriate amount of stakes for your shelter system. Realizing that you’re a couple or a few short and can’t put it into storm mode really sucks.
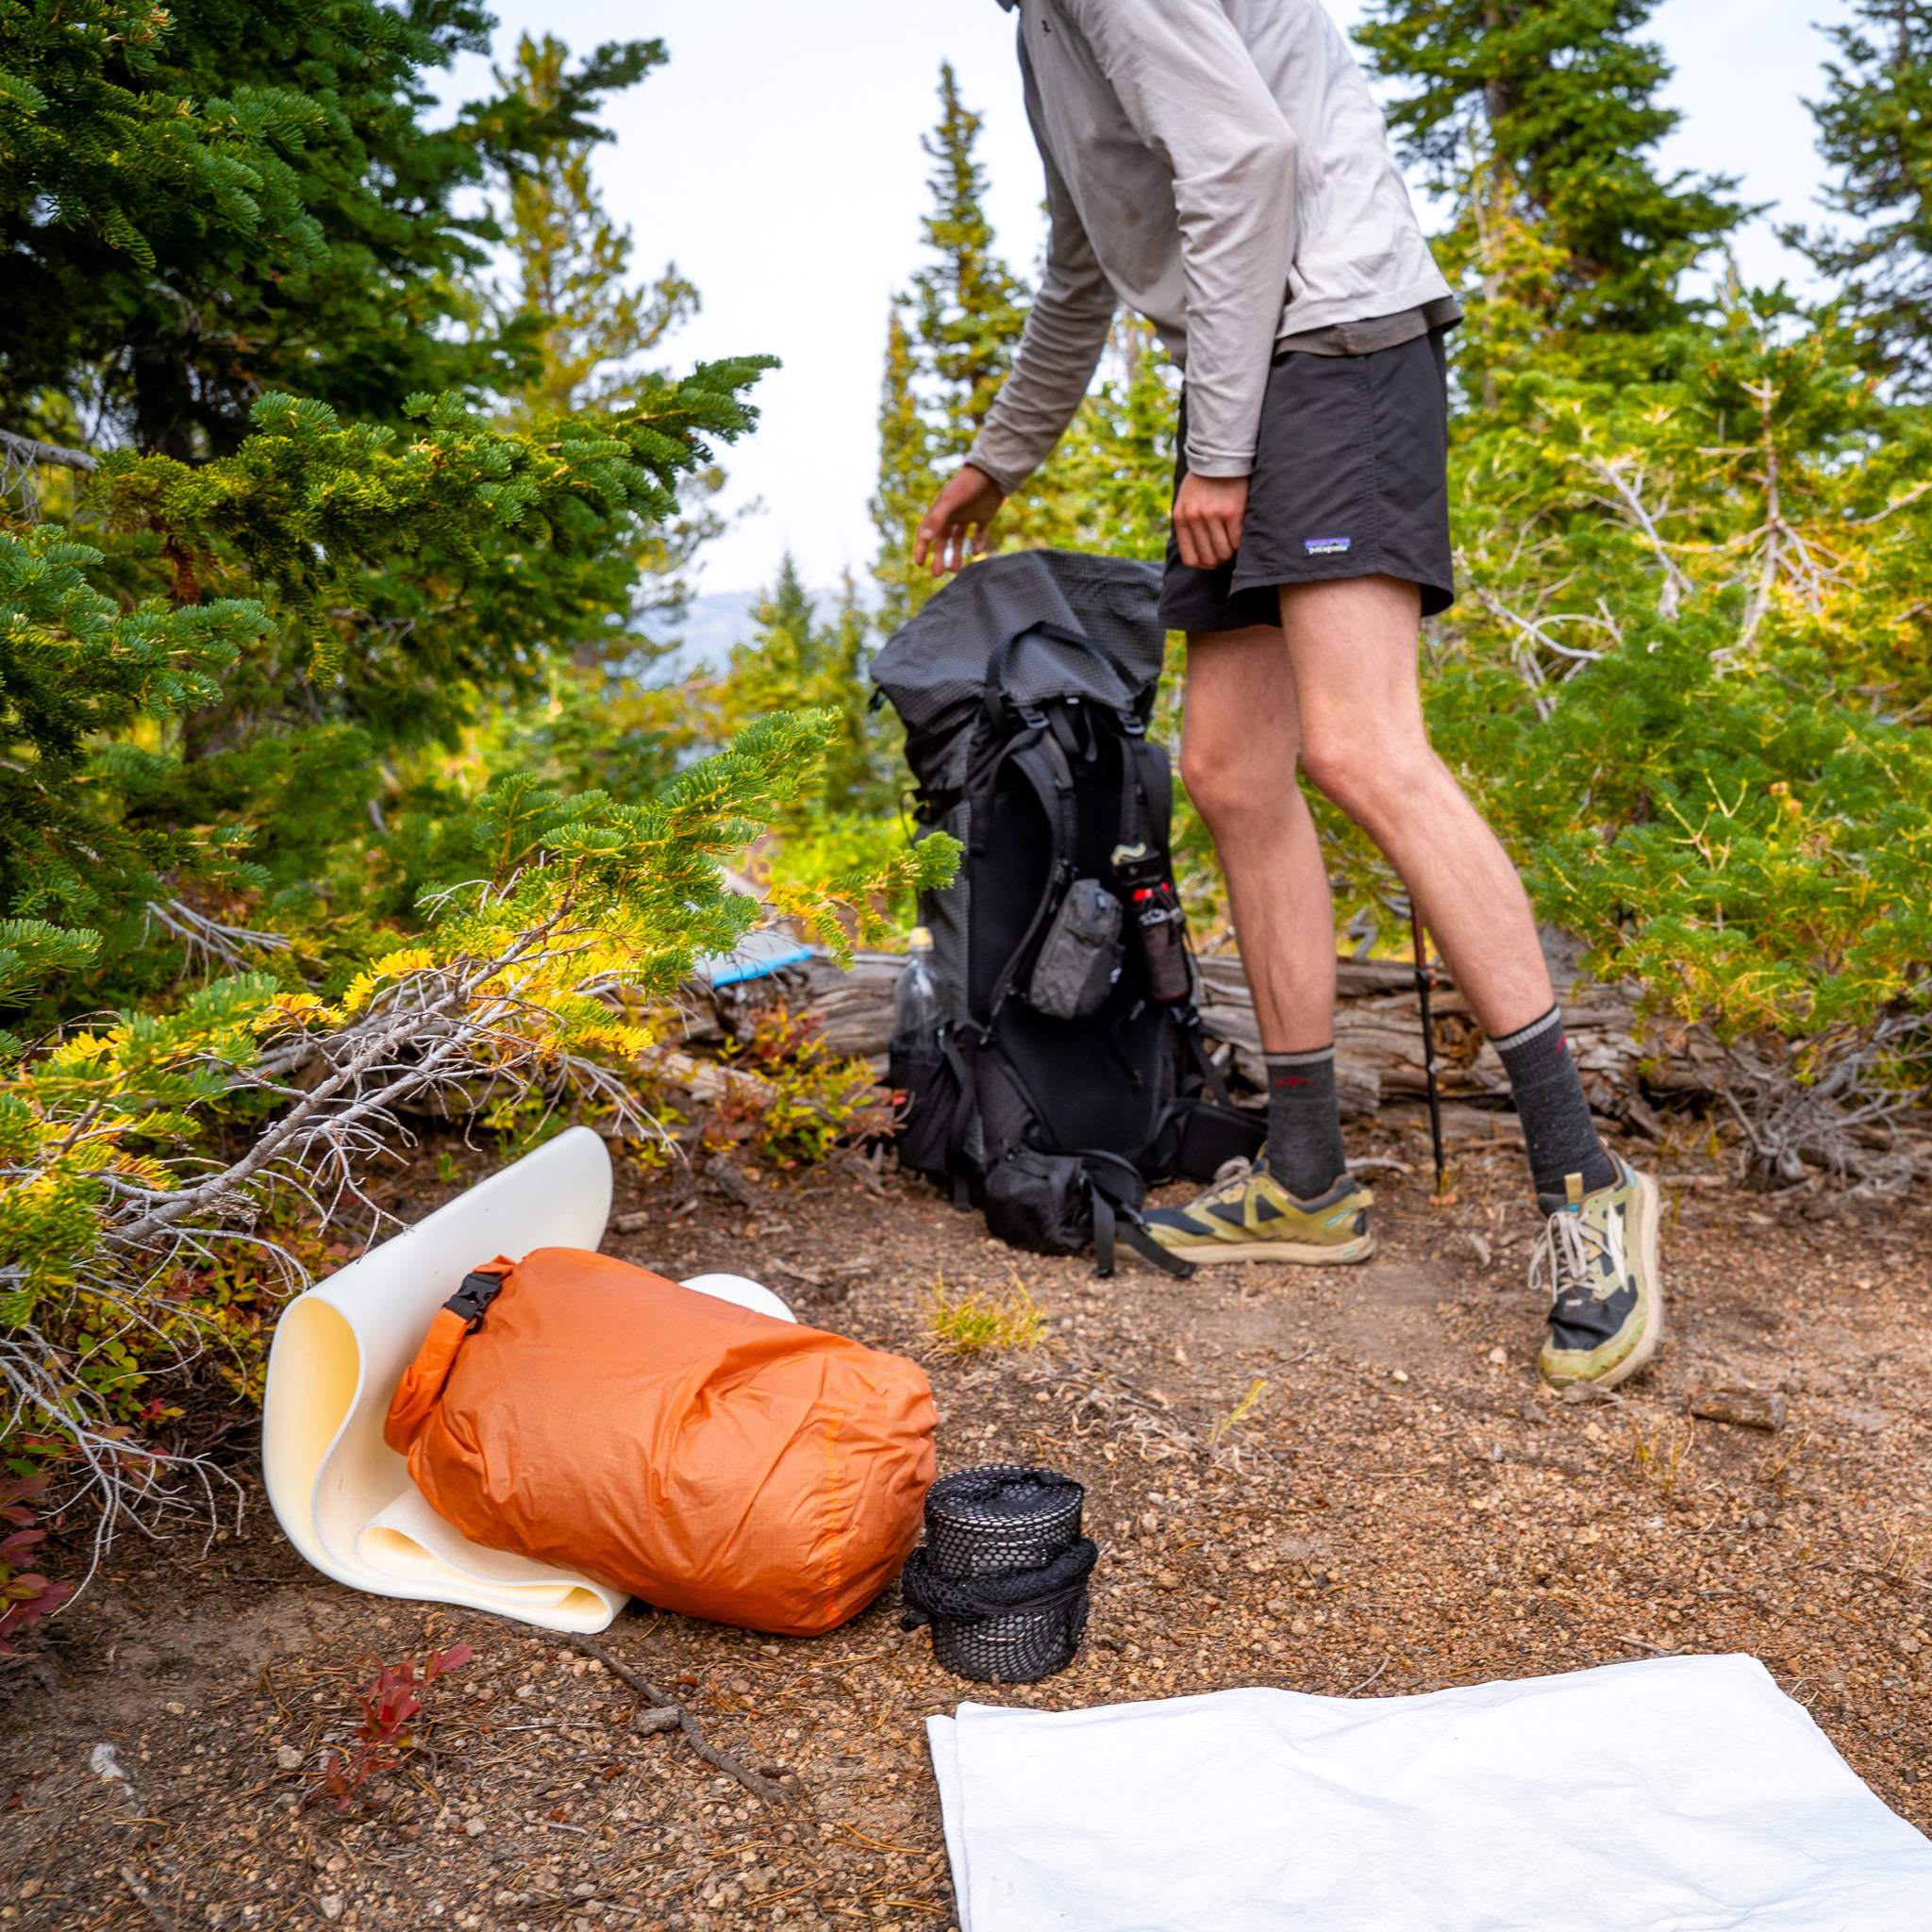
Ground Cloth: Always optional, whether your shelter comes with its own ground cloth or you opt for a sheet of tyvek cut to the shape of your tents footprint, ground cloths can help prevent pokey stuff from rupturing your tent floor, but these days most tent floors are made up of a strong enough material to not warrant one. Check out our shelter breakdown here.
Trekking Poles: We recommend trekking poles that are adjustable as they’re more useful in more situations than fixed poles. Adjustable poles will also give you more options for pitch tension when setting up shelters that utilize trekking poles. We’d recommend a budget friendly pole. Although more expensive poles feature replaceable parts, the quality of the poles isn’t always tied into this price. We’ve had buyers remorse when expensive poles slipped more than the budget ones we’d moved on from. Slipping here refers to the pole sliding down out of its set height as pressure is put on it from hiking.
Navigation: Navigation on trail often comes down to a mix of modern tools and traditional skills. GPS devices and phone apps like Gaia or FarOut make it easy to track your location, plan mileage, and spot water sources with just a glance. They are convenient and accurate, but batteries die and electronics can fail, so it is always smart to carry a paper map and compass as backup. A map gives you the bigger picture of the terrain, while a compass ensures you can orient yourself if visibility is low or you lose the trail. For water and trail conditions, do not rely solely on app comments, which can be outdated or inaccurate. Many trail organizations publish official water source reports and updates that are far more reliable, especially on long-distance routes. The best approach is to use your phone or GPS for quick checks and planning, while keeping your map, compass, and official reports handy in case technology or crowdsourced info lets you down.
Sungloves: Sun Gloves are exactly what they sound like, they’re gloves that are meant to protect your hands from the sun and are typically light weight material with a UPF value
Sun Umbrella: One of our favorite pieces of gear for desert and high sun exposure areas are sun umbrellas.
Sunblock: Always opt for the lotion kind as the sticks tend to get really grimey when used on a thru-hike.
Sunglasses
Ice Gear: Ice-Axe and or crampons will be used at some point in your thru-hiking career but not necessary on every trip. Ice axes come in different handle lengths so familiarize yourself with what you need before heading out.
Bear Spray: Not to be applied like bug spray. Point nozzle towards bear.


0 Comments