How to Choose Your Backpacking Gear: Pt.2 Sleep Systems + Clothing
When you’re heading into the backcountry, every ounce of gear you bring plays a role in your comfort, safety, and overall experience. In Part One of this series, we broke down two of the biggest decisions—choosing the right backpack and shelter—and how they set the foundation for a successful trip.
Now, in Part Two, we’re turning our attention to another critical piece of the puzzle: your sleep system and clothing.
These two categories work in tandem more than most people realize. The layers you wear, the quilt or sleeping bag you choose, and even the type of pad you sleep on all determine how well you recover overnight and how comfortable you feel during long days on the trail. Dialing in your sleep system and clothing isn’t just about warmth—it’s about efficiency, weight savings, and knowing you’ll be ready for whatever conditions your route throws at you.
Later in the series, Part Three will round out the conversation with everything else you’ll want to consider: electronics, first aid, cooking setups, and those auxiliary items that make backpacking more efficient and enjoyable. But first, let’s dig into how to choose a sleep system and clothing that works together to keep you safe, comfortable, and ready to hike for months on end.
Sleeping Bag or Quilt
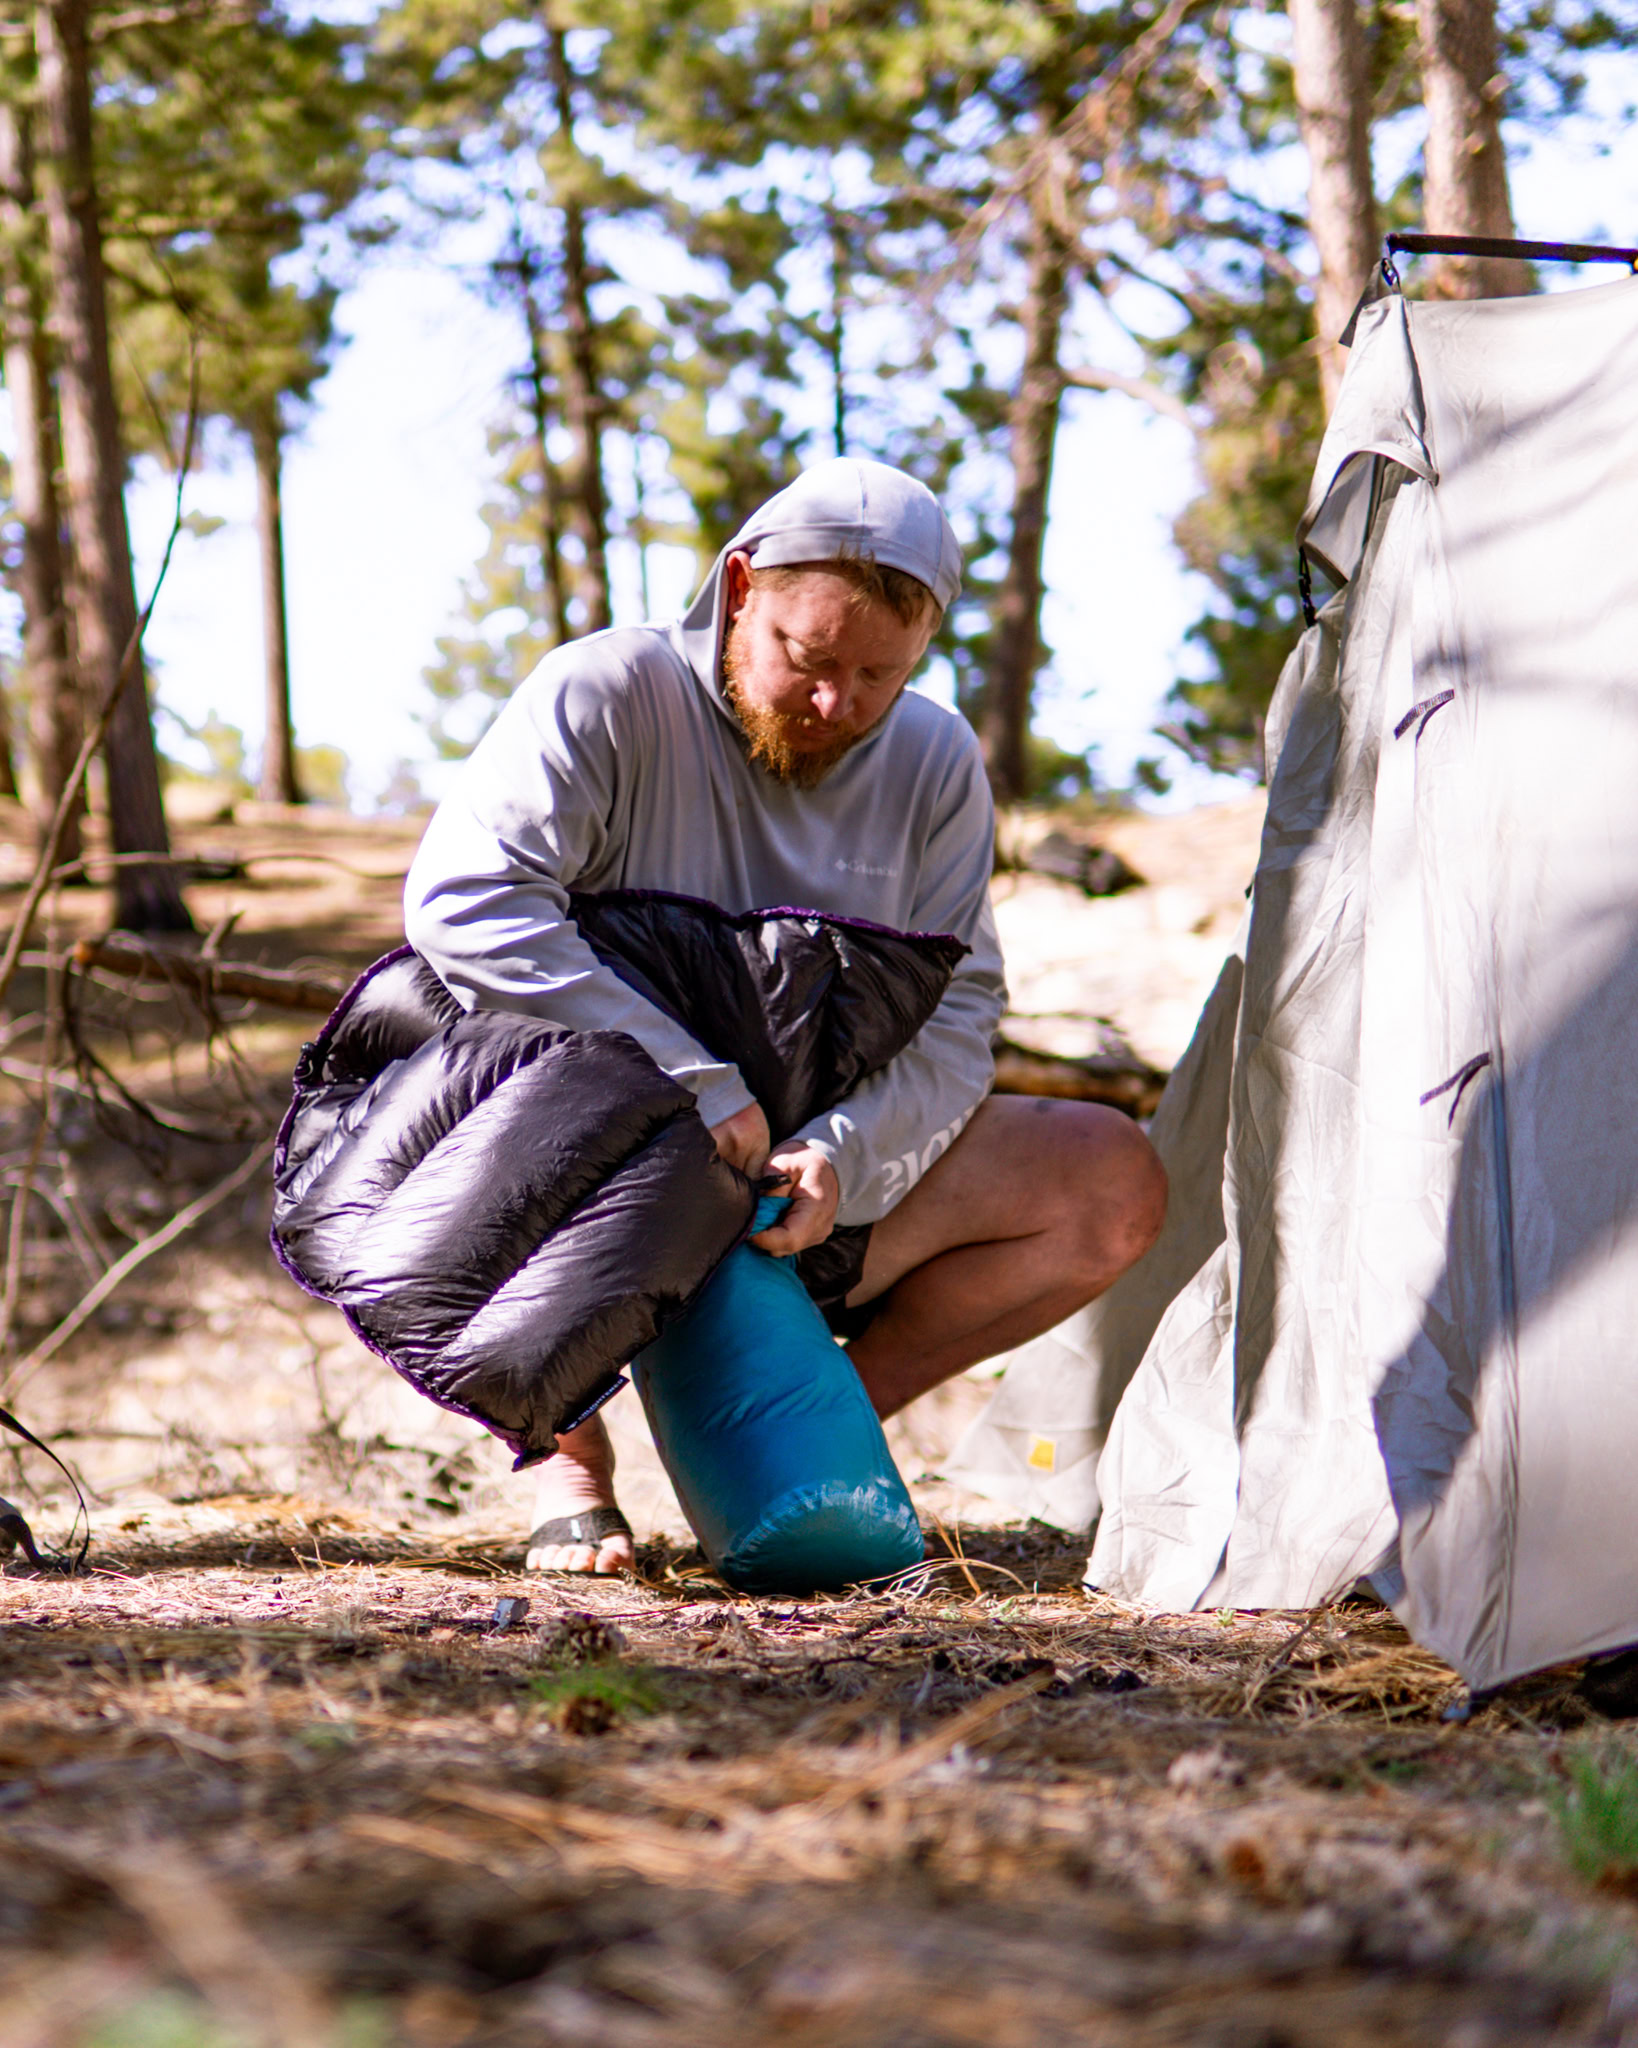
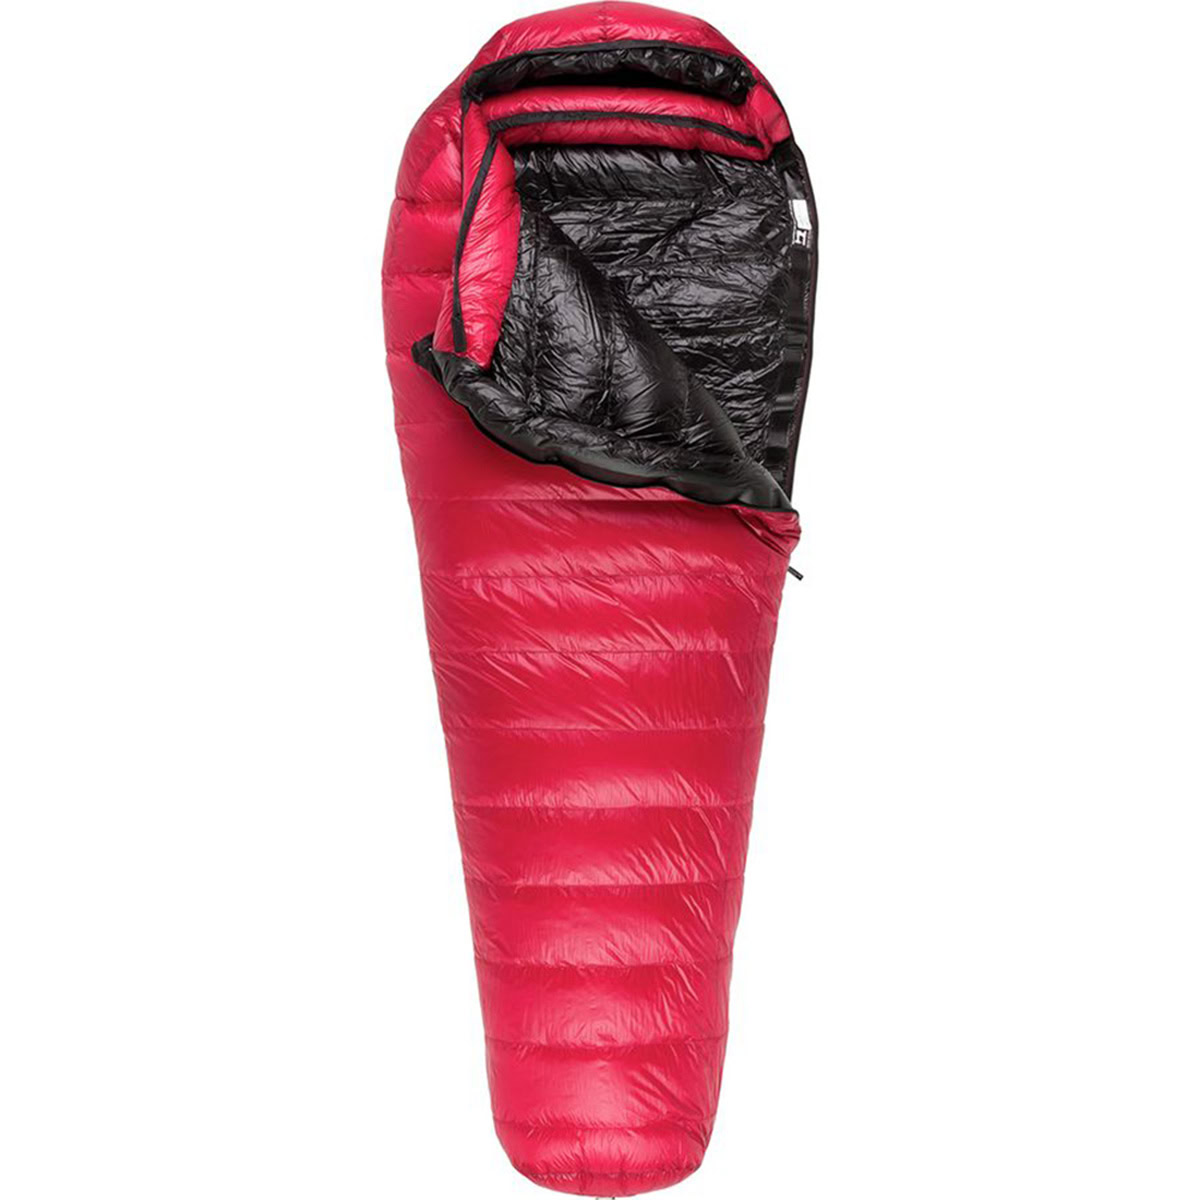
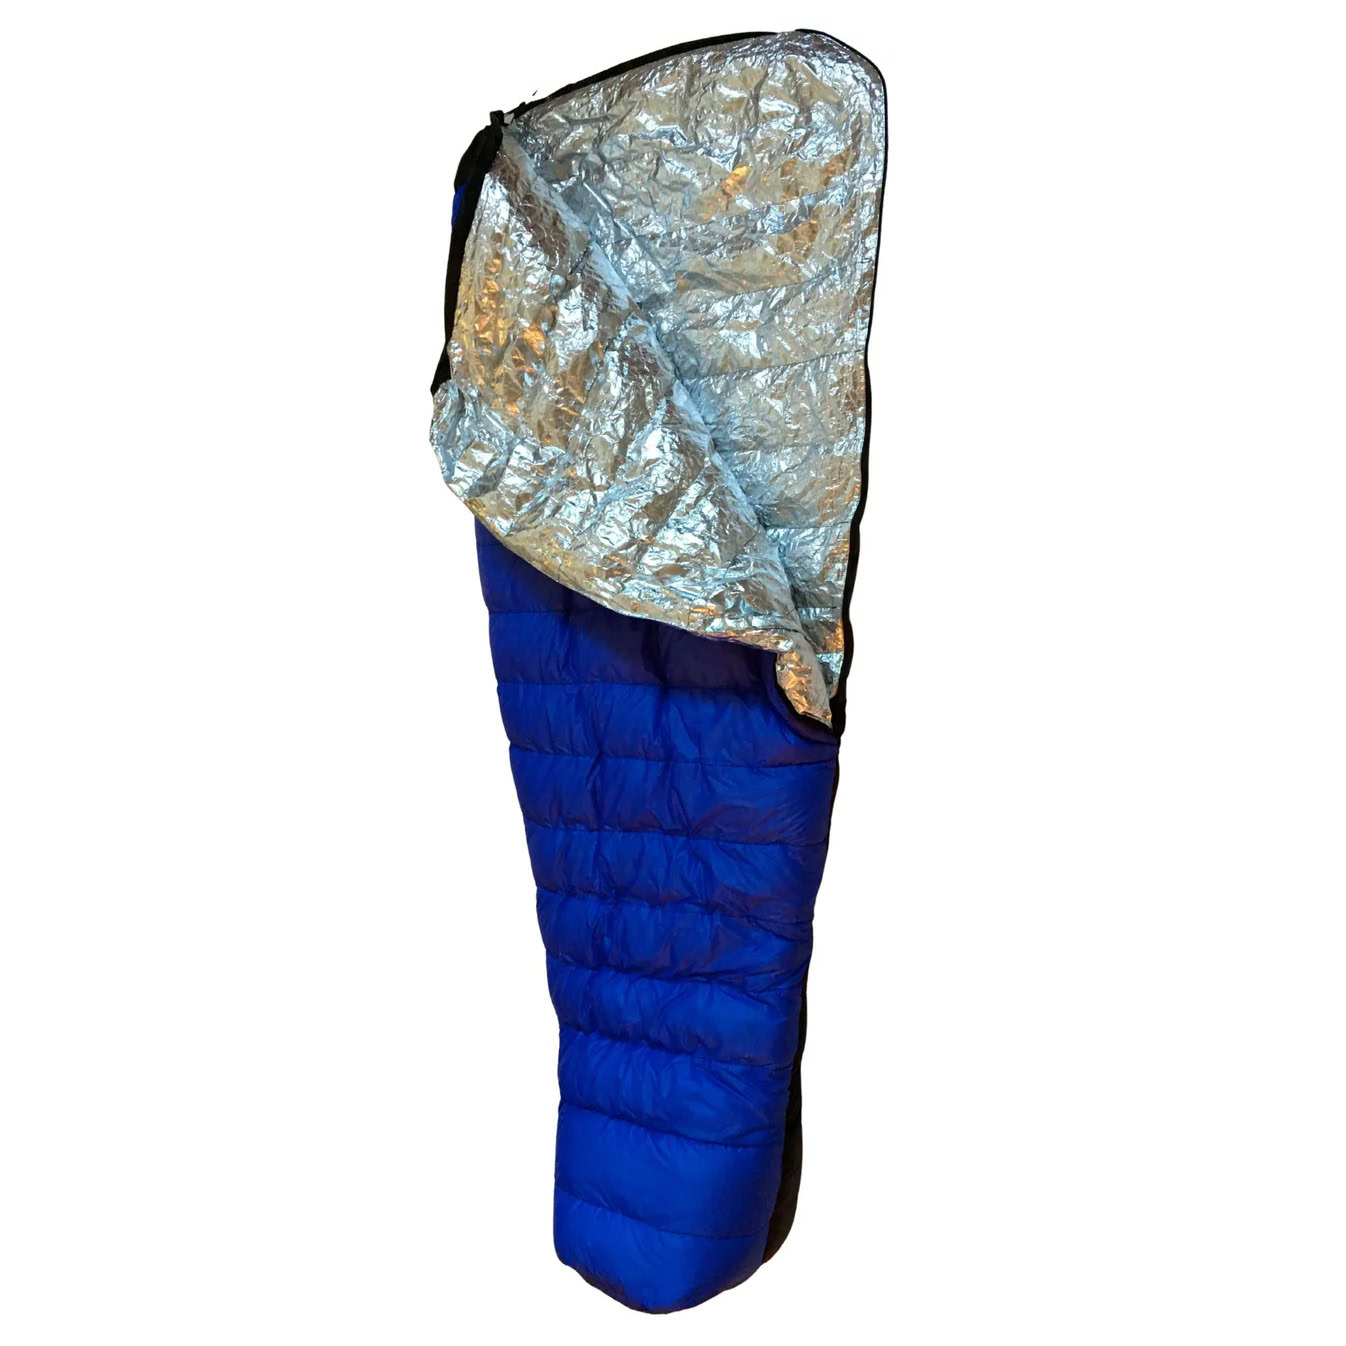
Your sleeping system directly impacts the quality of sleep you’ll be receiving and, consequently, your overall well-being on the trail. A good night’s sleep is essential for energy and recovery. Every person sleeps a little different, take note whether you sleep a little hotter or colder. There are two different options when it comes to what covers you up at night, some people prefer quilts, which don’t enclose all the way around and are more like a traditional blanket save for some zippered or sewn in areas from the knees down to the feet. Others believe sleeping bags to be the better move as they fully enclose around you. Let’s dive into each option in order to help you decide what you’d prefer.
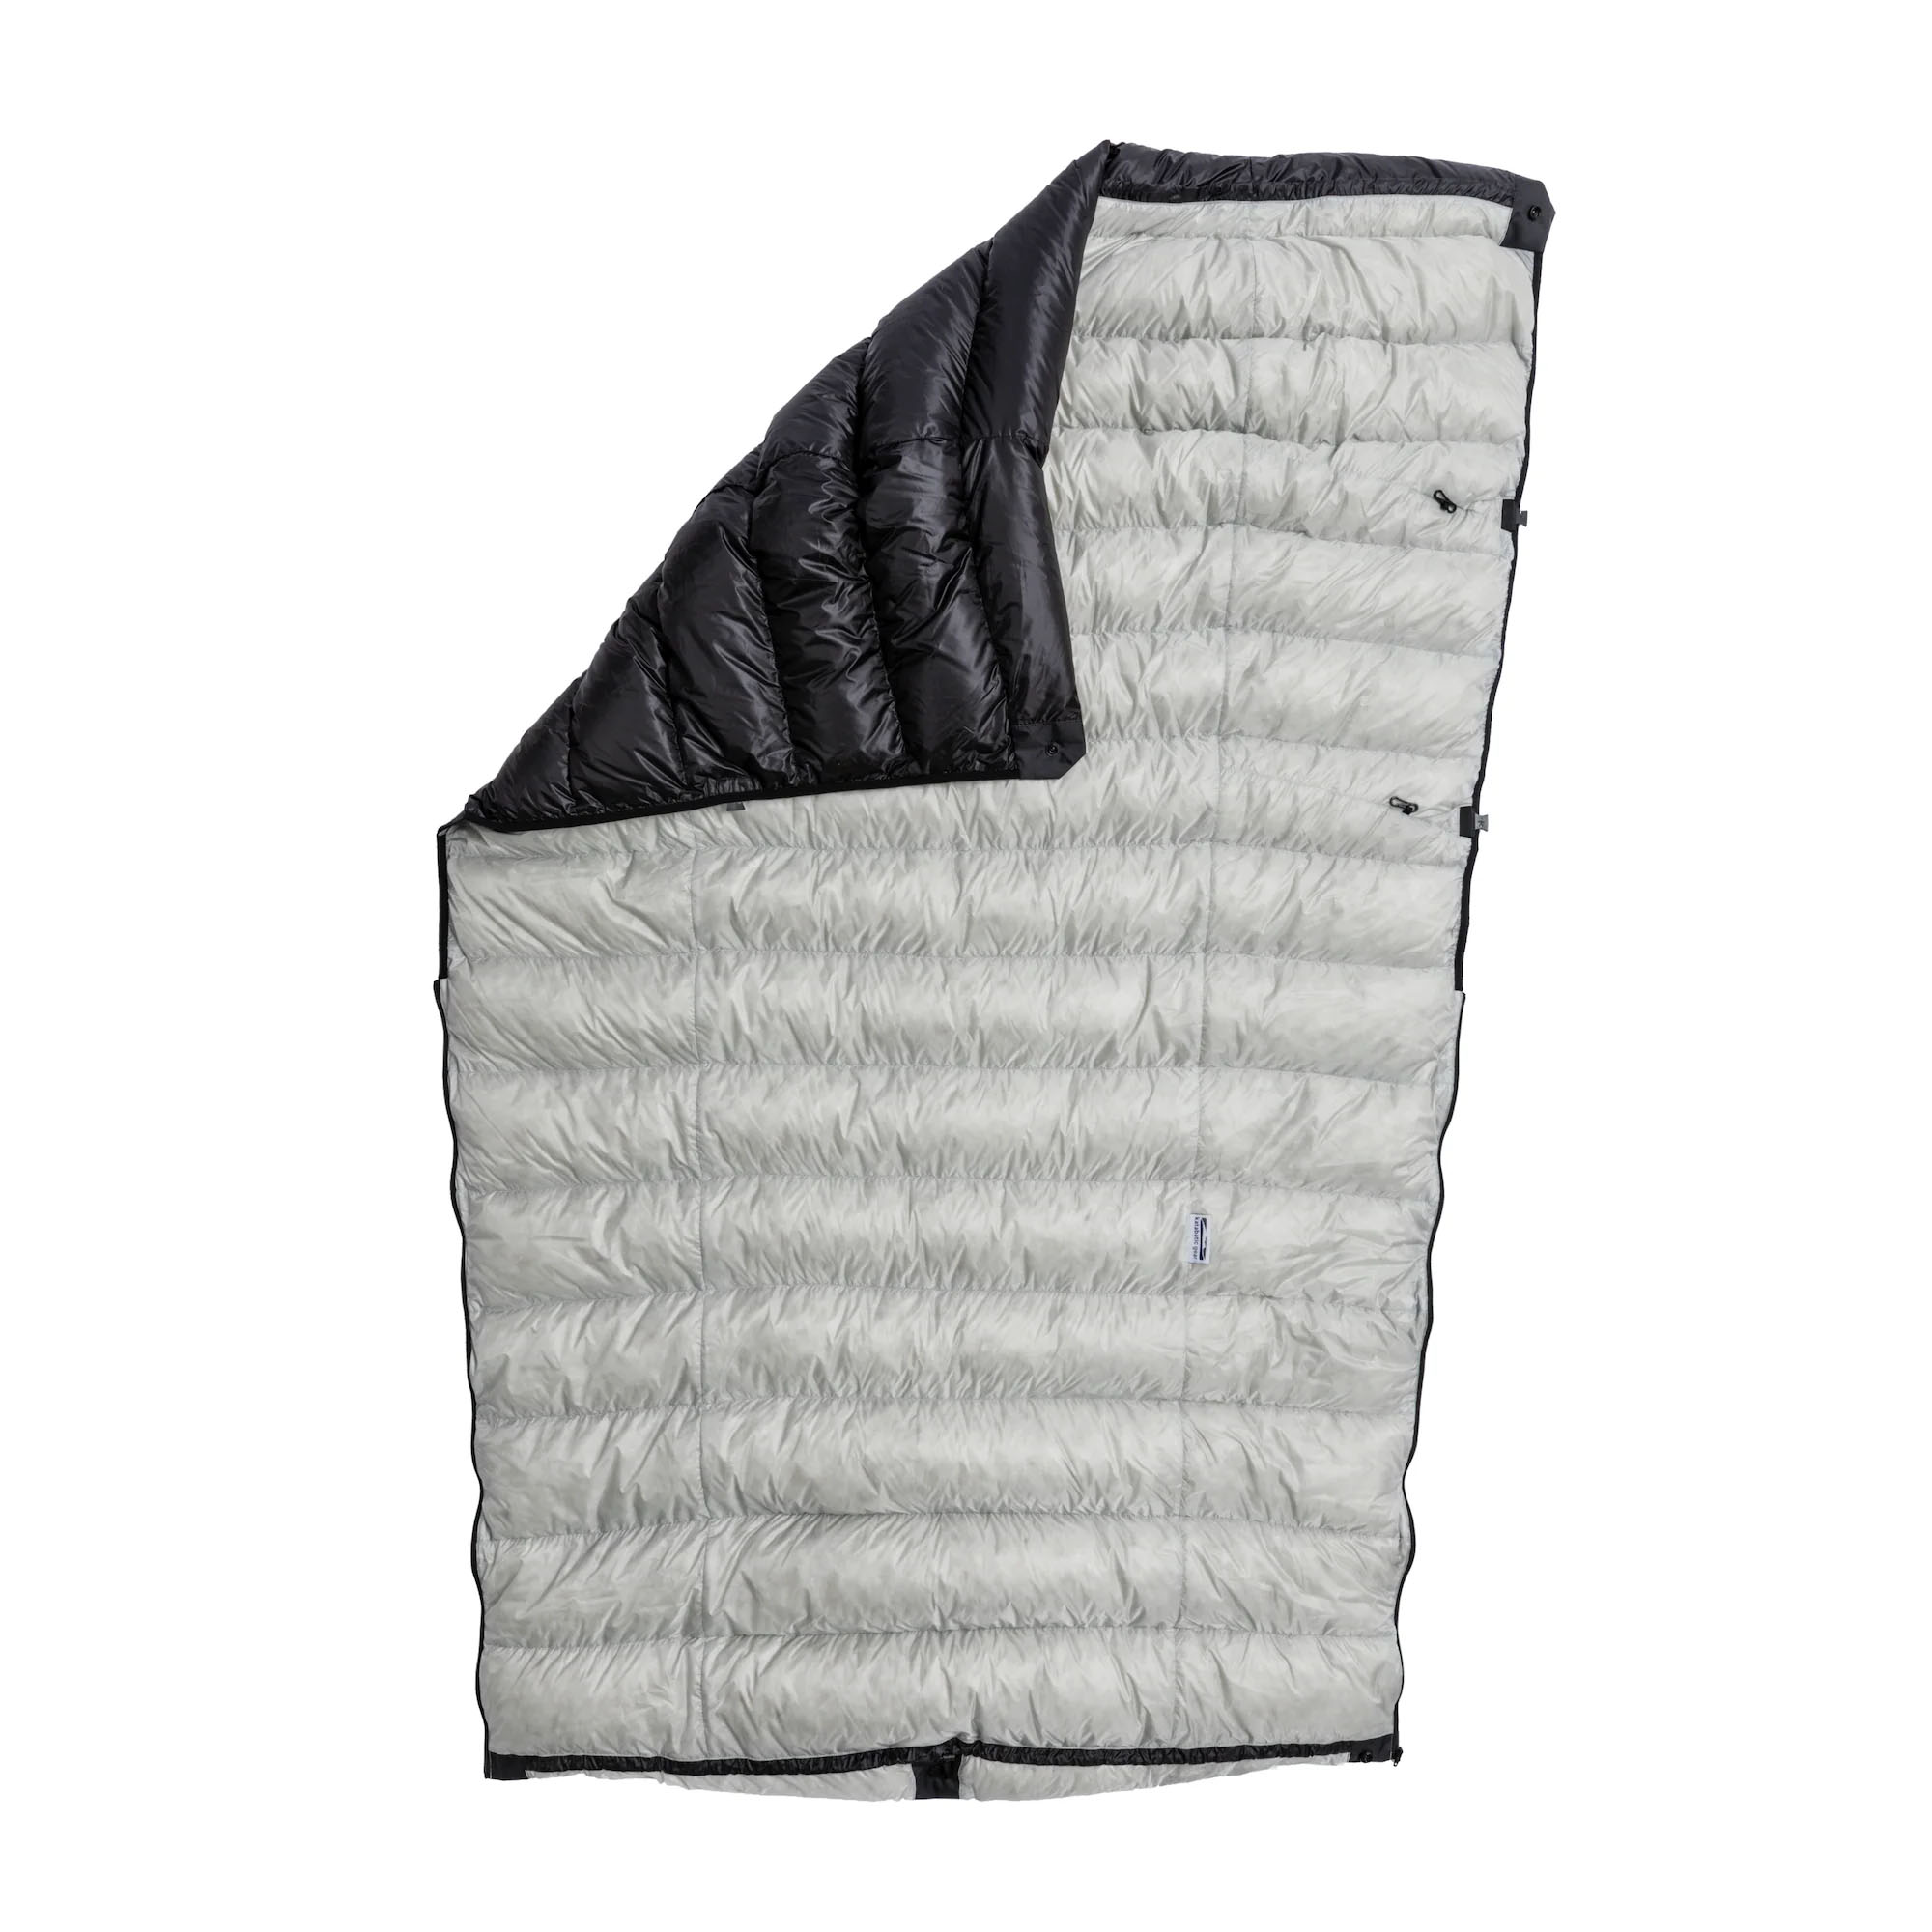
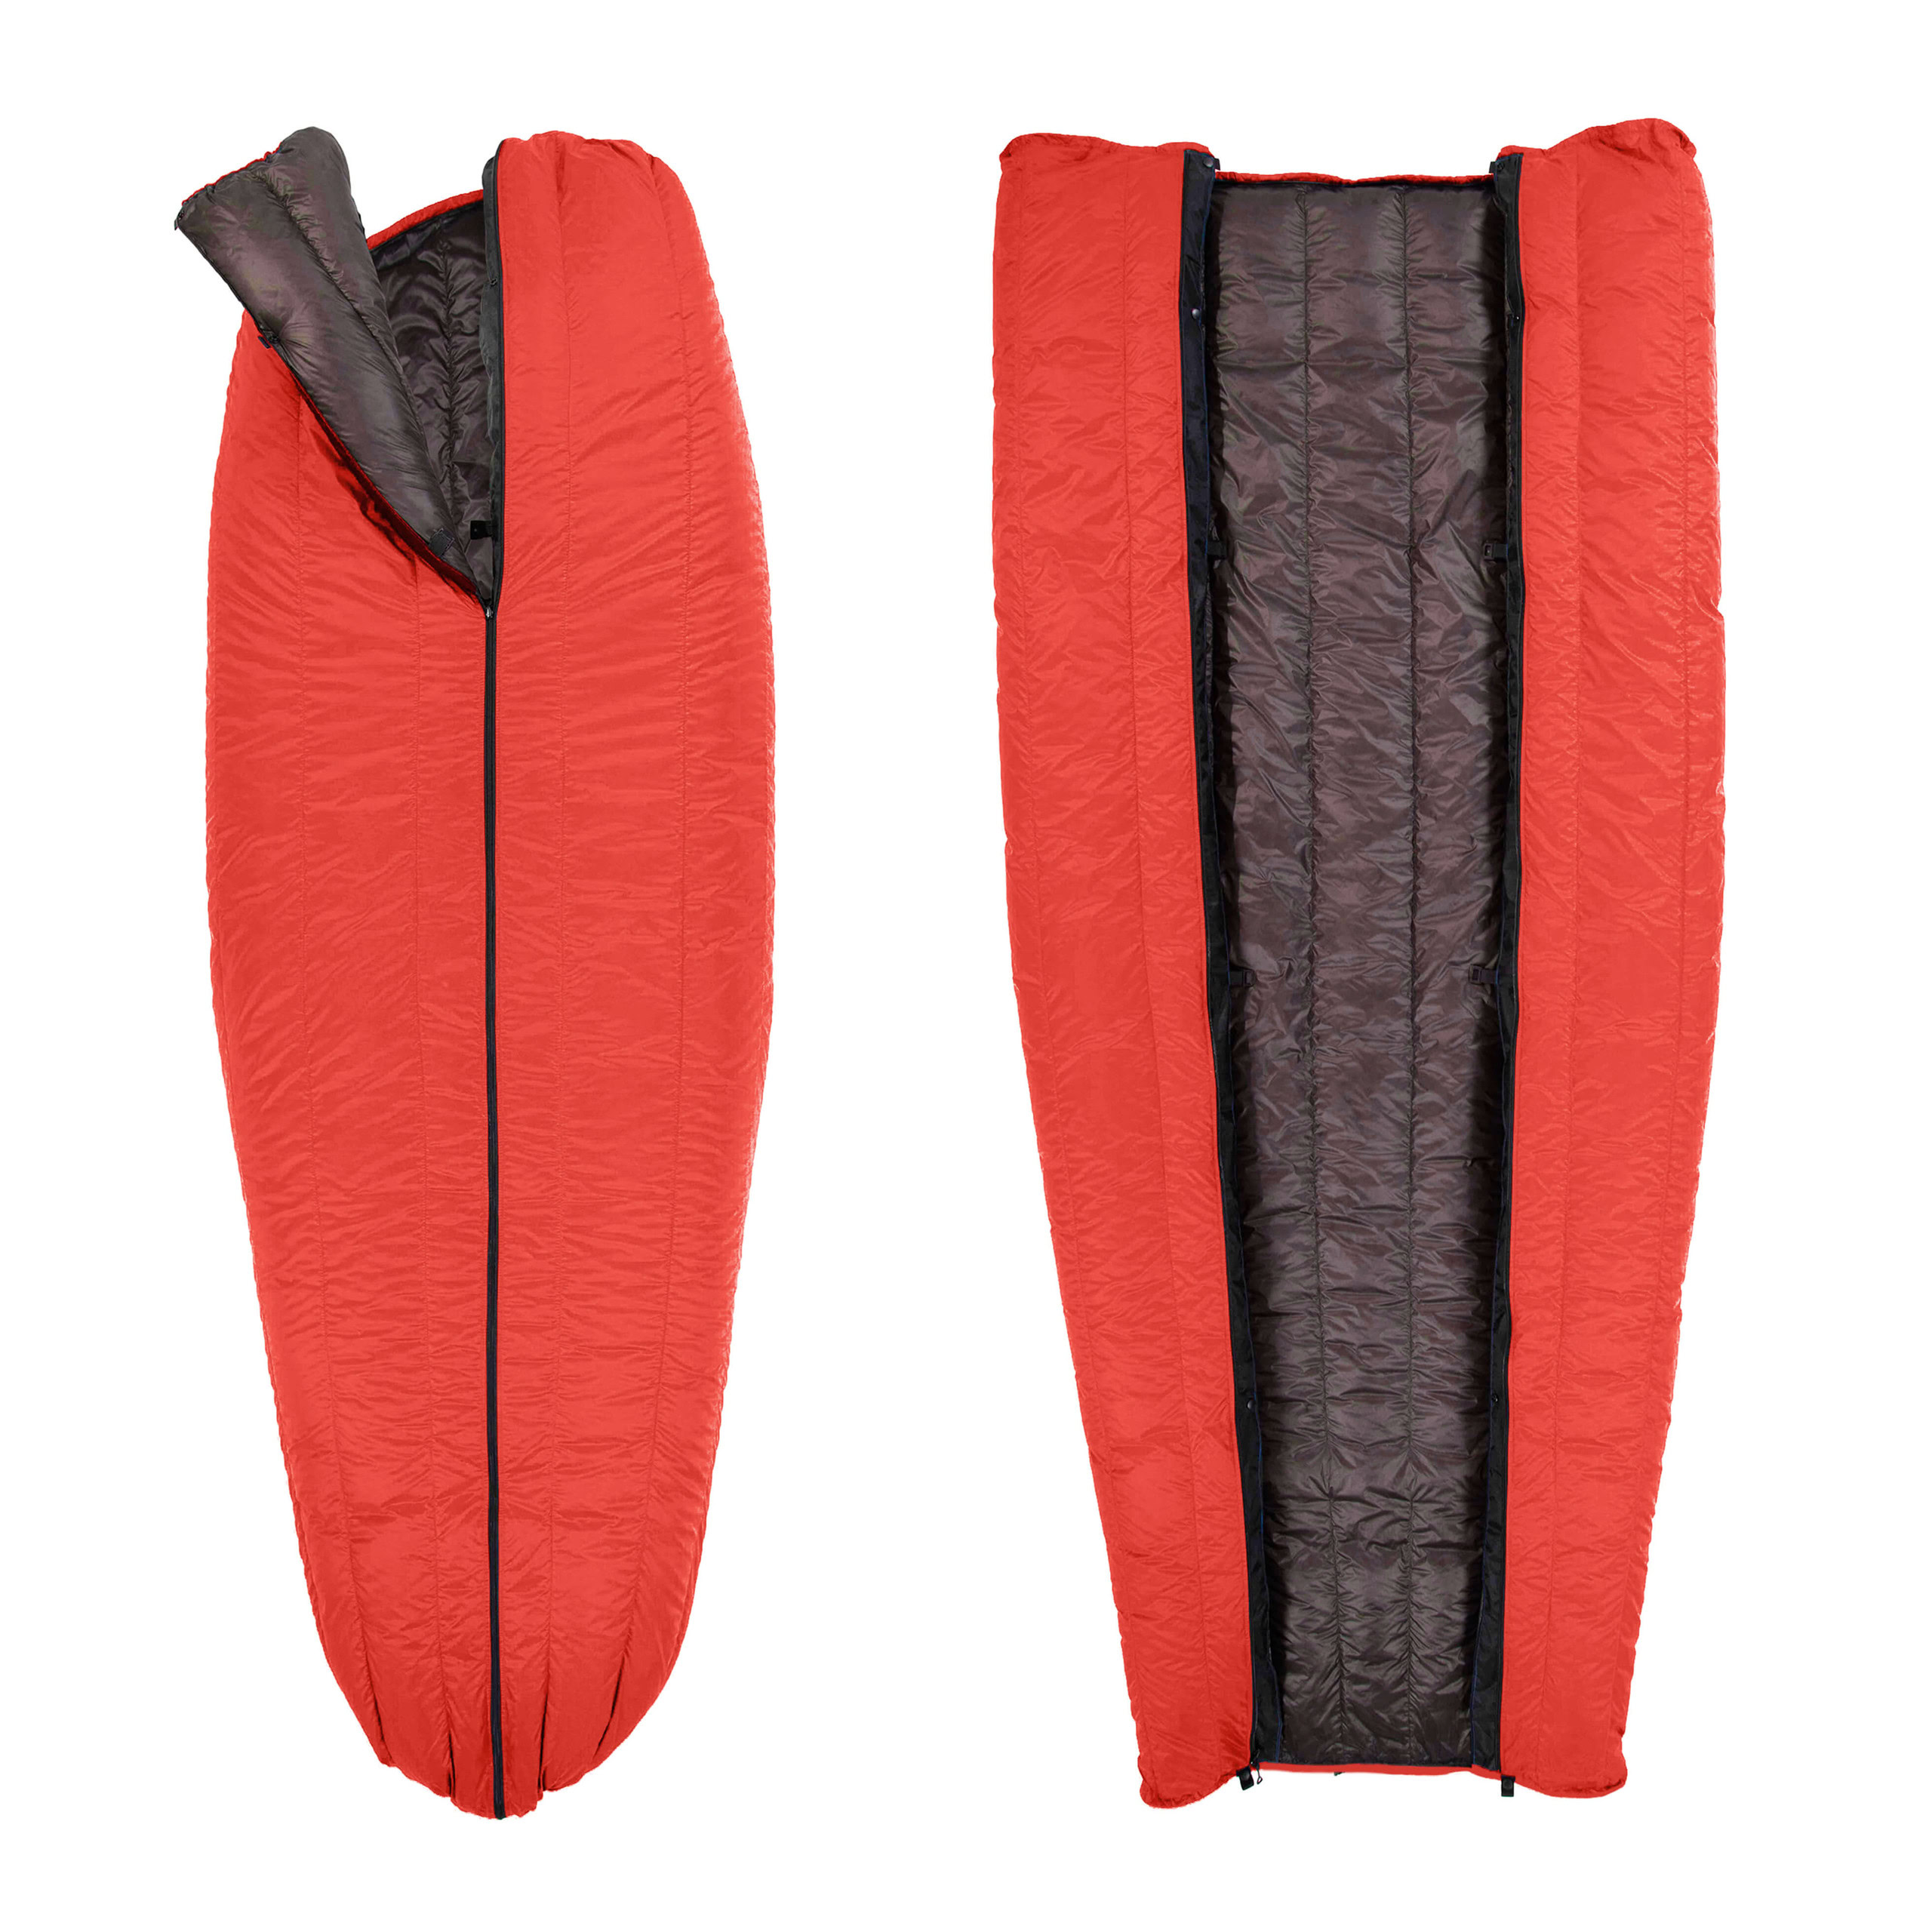
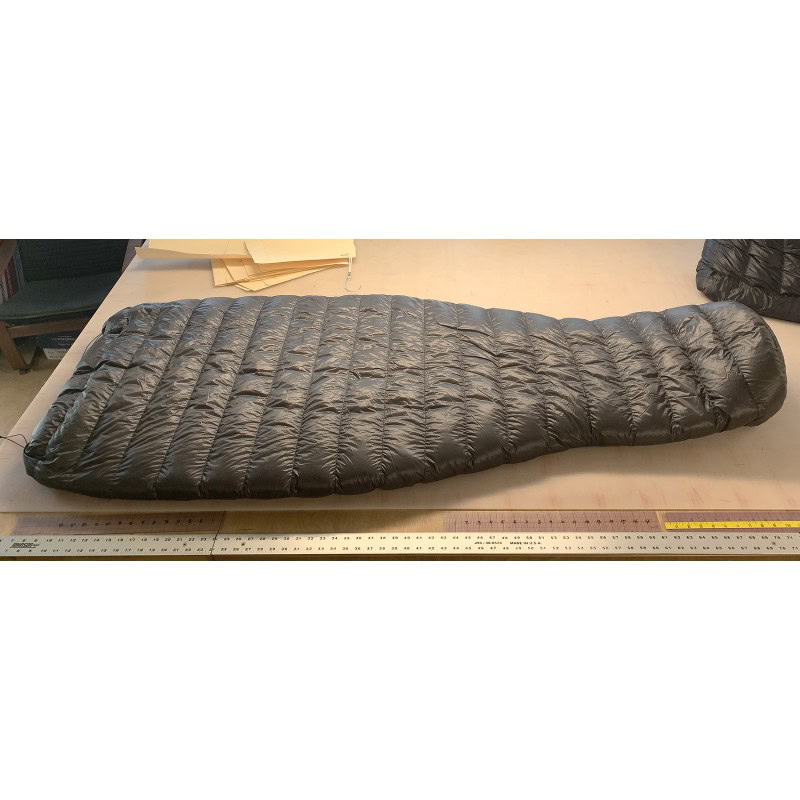
- Sleeping Quilts: For those hotter sleepers or those that are more prone to moving in their sleep, we recommend looking into a sleeping quilt- they’re versatile because of their ability to turn into a blanket rather than sleeping in a stuffy cocoon the entire night. Generally quilts will be lighter in weight depending on fill power and temp rating – the higher the fill power the lighter the weight, making them the perfect friend for an ultra-light fiend. The idea of the quilt is to take out the fabric section under your back as it assumes you’ll have some sort of sleeping pad that would act as your insulator and the compression of any sort of down that might be under you would prevent it from fully lofting making it not as efficient as it should be. These typically require a separate hood or beanie for head coverage as they don’t feature a head cover.
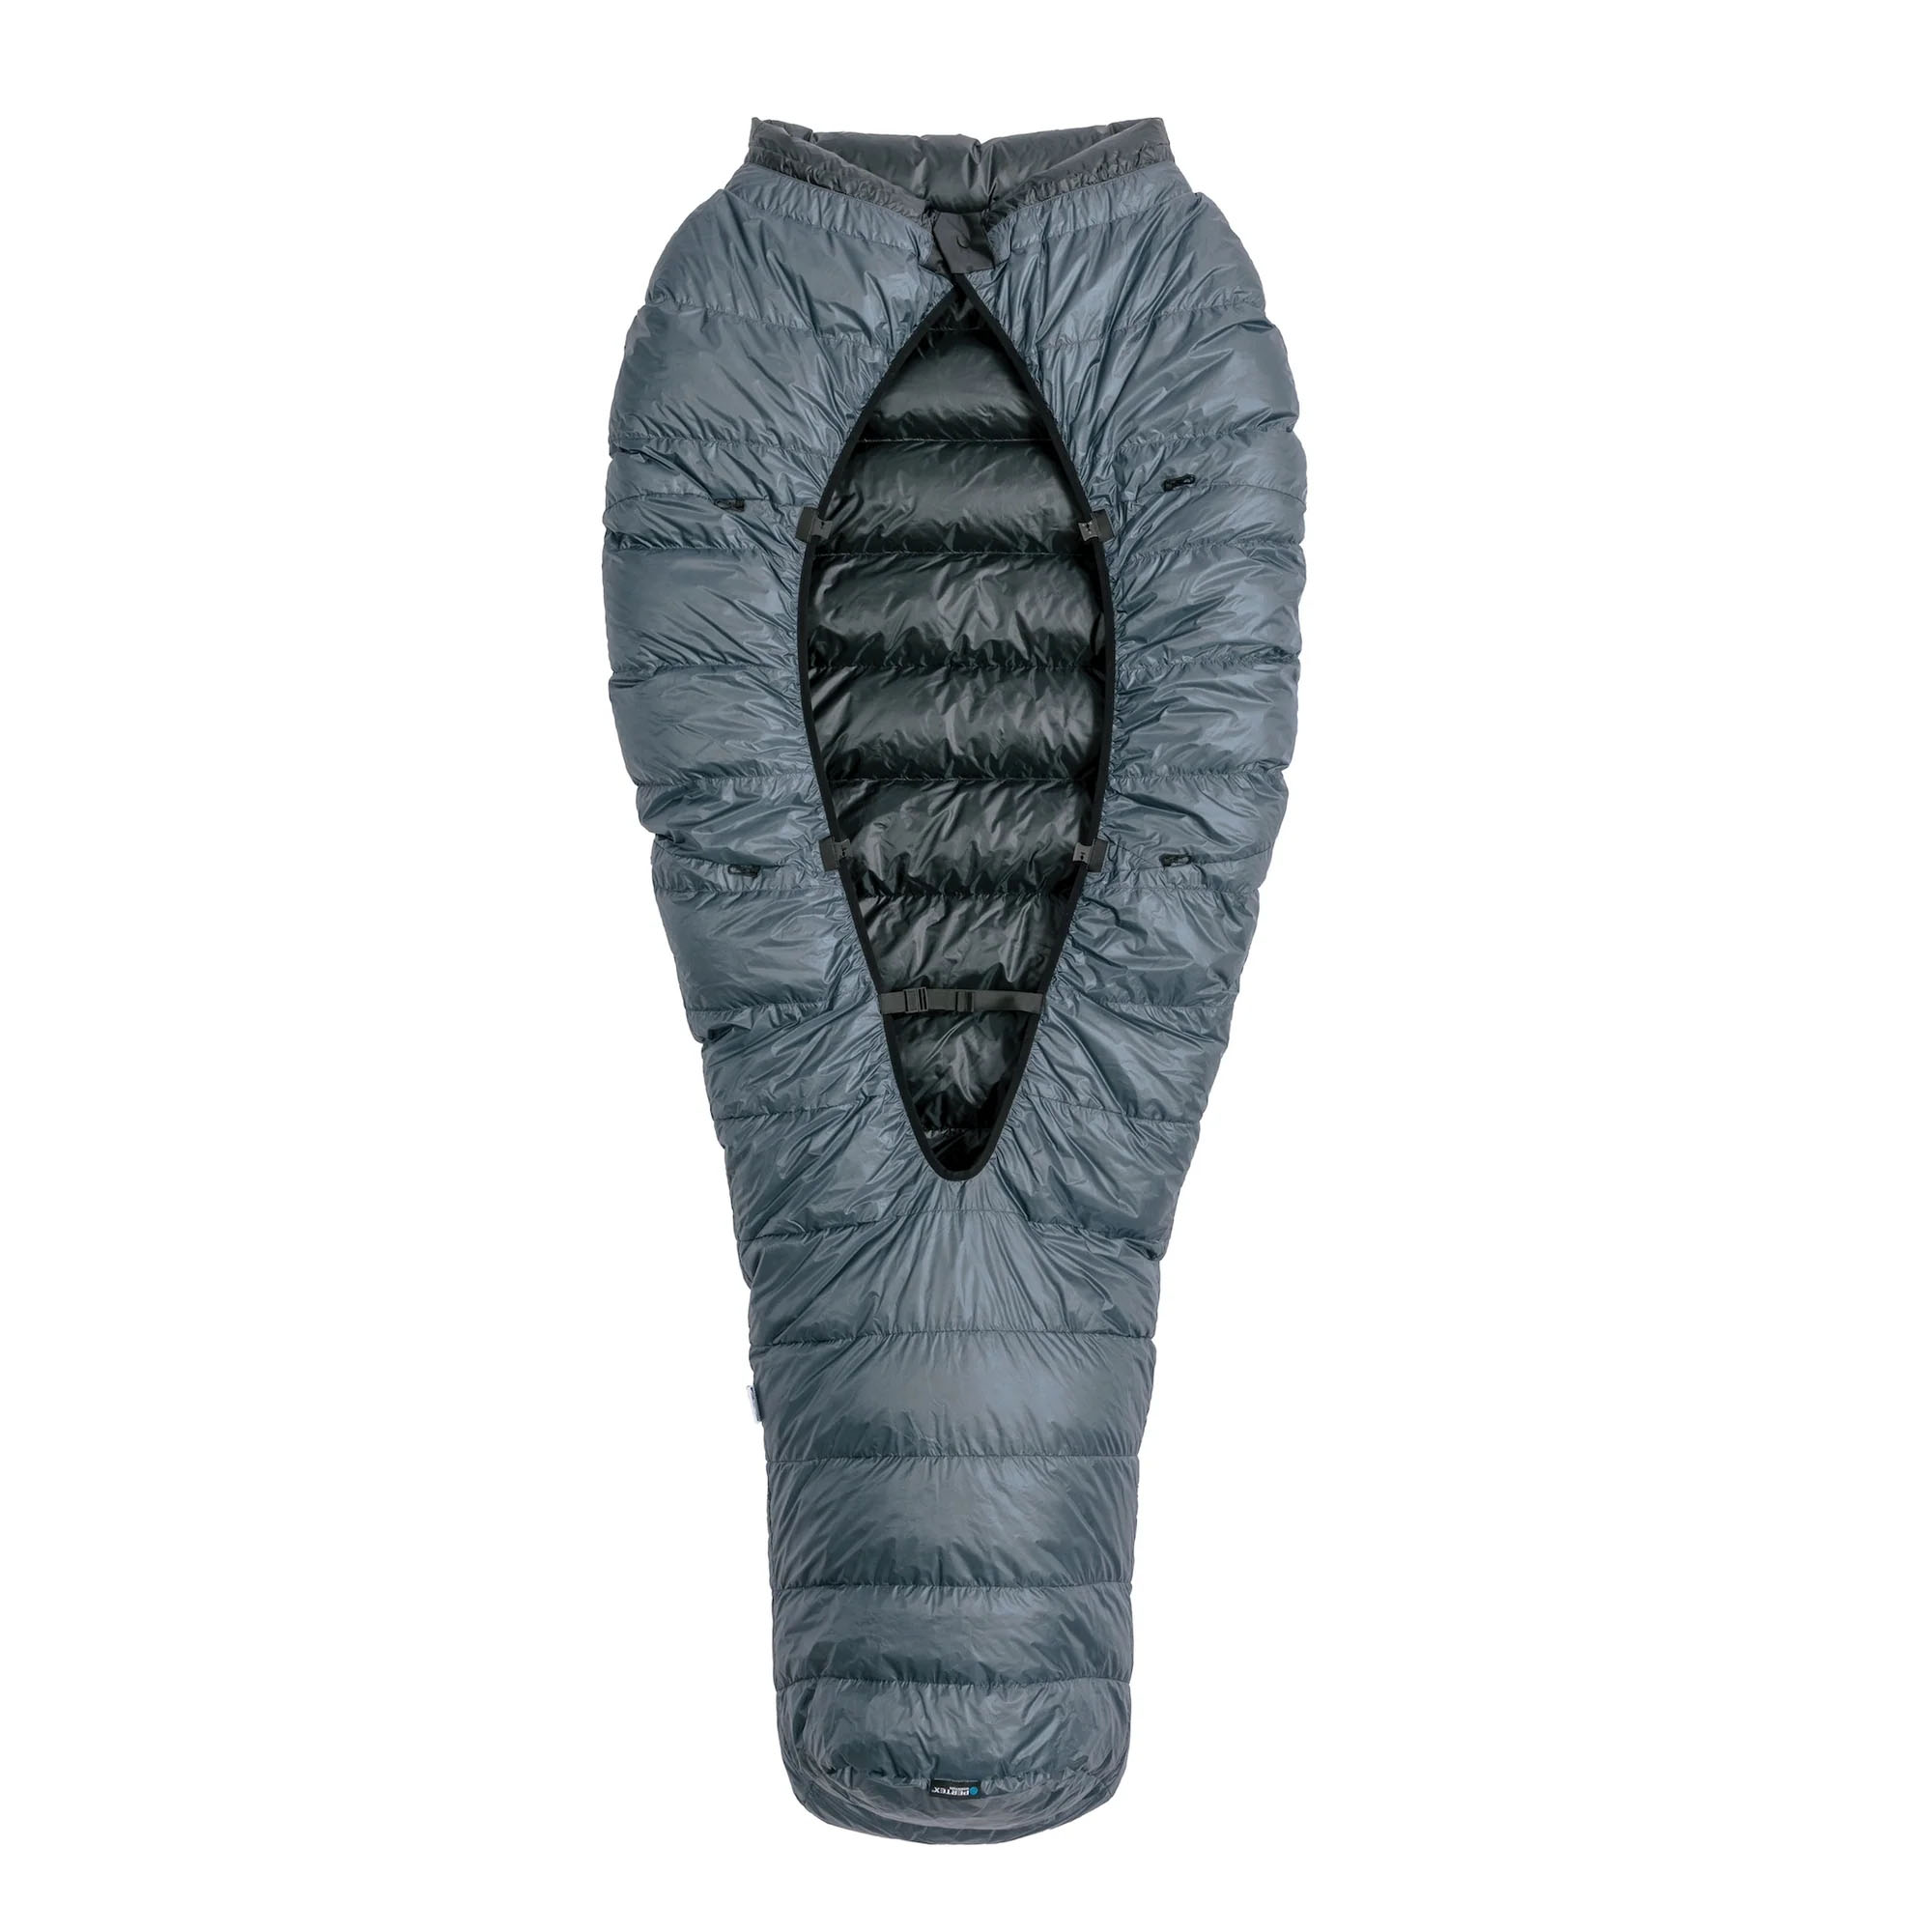
- Sleeping Bags: Sleeping bags typically trap heat more efficiently than sleeping quilts. They are usually heavier in weight but are perfect if you’re wanting a cozier night. Sometimes they include a “Mummy” shape which contours more tightly around the body. We recommend taller or larger hikers to “try on” their sleeping bag in store if possible, or speak with the manufacturer directly to ensure they have enough room to comfortably wiggle around. Some sleeping bags include a “hood” that keeps your head insulated at night. Those that tend to sleep colder and are anticipating cold temps are encouraged to lean towards the sleeping bag.
Now that we have an understanding of the design styles of quilts and bags, let’s look at some of the insulation options associated with them as well.
Synthetic vs Down
Note: This information is applicable to insulated apparel as well
Down: Comes from geese or duck feathers. Feathers “loft” or expand the amount of air between them and capture warm air keeping it insulated. When considering your sleeping bag or quilt it’s important to note its Fill Power as this can directly equate to the quality and the weight of the down bag or garment. Fill power is a number that indicates the quality of down feathers used in a product. Higher fill power numbers have greater insulating efficiency and loft. It’s typically measured in cubic inches per ounce (in³/oz) and can range from around 300 to 1,000 fill power, with 1,000 being the highest quality and offering excellent warmth-to-weight ratio. Items that are stuffed with a fill power of 750 or above are what you should aim towards in order to have a lighter and warmer sleeping system. It’s important to note that loft is the ability of the feathers to spread out and capture air, when they’re compressed due to being stuffed into something or wet, they lose their warmth. Air is an incredibly powerful thermal insulator. This is why it’s recommended not to keep your down items compressed for too long.
Pros: Lighter weight to warmth ratio. More compressible when stowing gear in your backpack meaning they take up less real estate.
Cons: Environmental/ethical considerations when it comes to the sourcing of the feathers. Not as useful when wet. Typically more expensive.
Synthetic: Synthetic insulation is an artificial alternative to natural down or feathers used in outdoor gear to provide warmth and insulation. It’s made from various polyester materials designed to mimic the insulating properties of down. Unlike down, synthetic insulation retains its insulating ability even when wet, dries quickly, and is usually more affordable. The drawback, however, is that it tends to be bulkier meaning it takes up more room in the pack.
Pros: Cheaper. Performs well when wet. More ethically sourced.
Cons: Heavier, doesn’t pack down as small. Environmental/microplastics exposure.
Some additional considerations when choosing a sleeping bag/quilt are the expected temperatures on your trip. Look for a bag that won’t suffocate you in the desert portion (up to 85+ degrees at night) but won’t cause you to shiver if it gets to freezing conditions. A good starting point would be a 20-30* bag for warmer sleepers and as low as a 0* – 10* for those that sleep on the colder side.
What we use:
Garrett: Warm Sleeper. Uses a 30* down quilt from Katabatic that has a zippered footbox so it’s able to open up when the temperatures are warmer at night. Uses a sleeping pad with an R-value of 4 for 3 season backpacking. Something to consider when purchasing your quilt is whether or not it has differential cut. Differential cut means the external fabric is slightly longer width wise than the internal fabric giving it a natural “wrap” that tends to stay in place and hug your body better throughout the night.
Hallie: Moderate Sleeper (not warm or cold). Used a 20* quilt with zippered footbox on her PCT thru-hike but has wished she had a 10*. Uses a sleeping pad with an R-value of 4.3 for 3 season backpacking.
Do your own research and determine how warm your sleep system needs to be. Not included in this write up is the amount of calories one needs to consume before bed to keep your body thermogenic throughout the night while it digests your food. Empty stomachs sleep colder, full bellies sleep warmer.
Additionally, the type of shelter you use will impact how warm you sleep as well. Open tarps don’t trap warmth as well as a double walled shelter with the vestibule closed.
Sleeping Pad
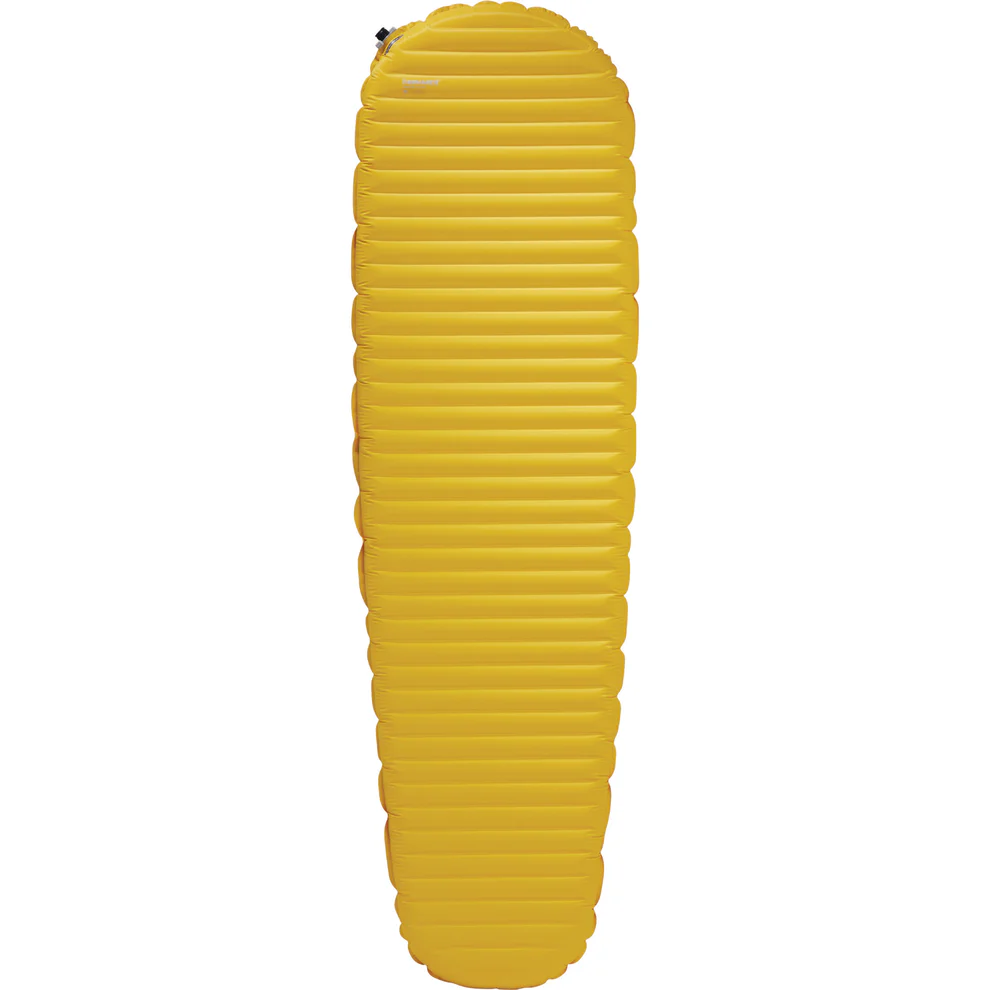
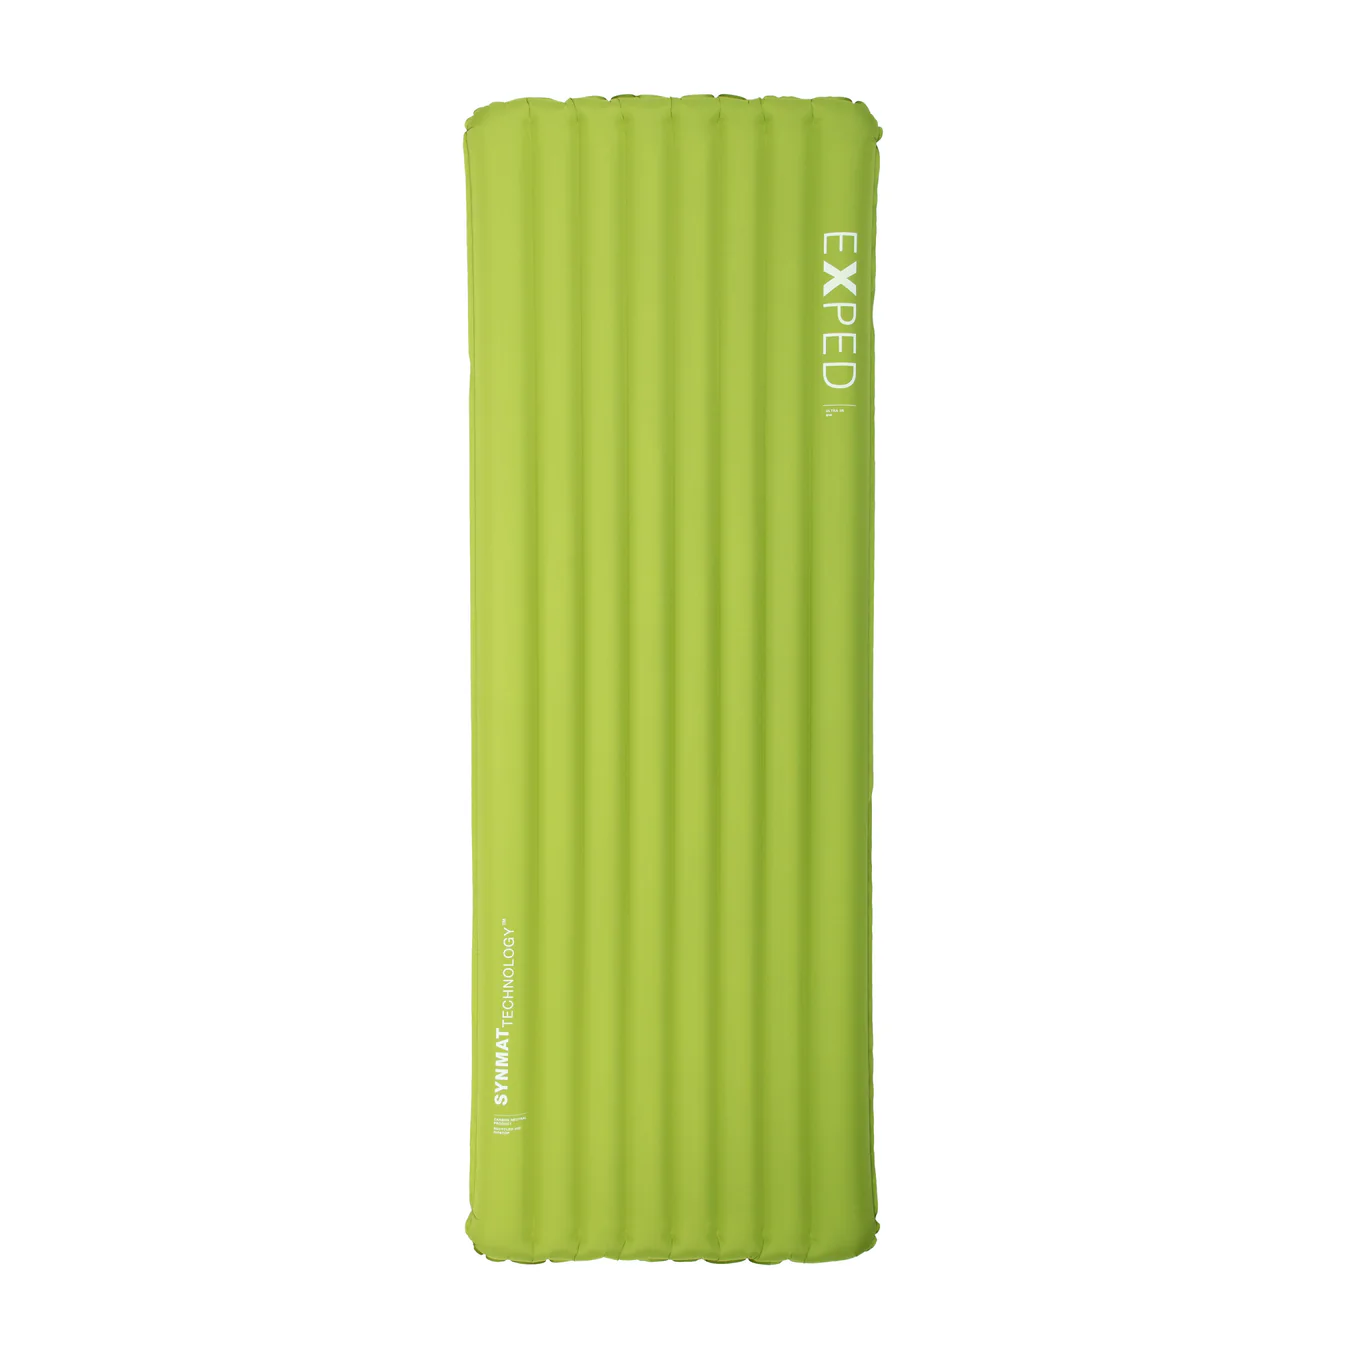
When choosing a sleeping pad, consider the climate and conditions you’ll encounter on your trip, your budget, and your personal comfort preferences. Also, make sure to check the size and weight of the pad. Ultralight hikers may prioritize lightweight options that feature mummy cuts or thinner materials, while others may opt for slightly heavier pads for added comfort and durability. Ultimately, the best sleeping pad for you is the one that meets your specific needs and enhances your overall backpacking experience.
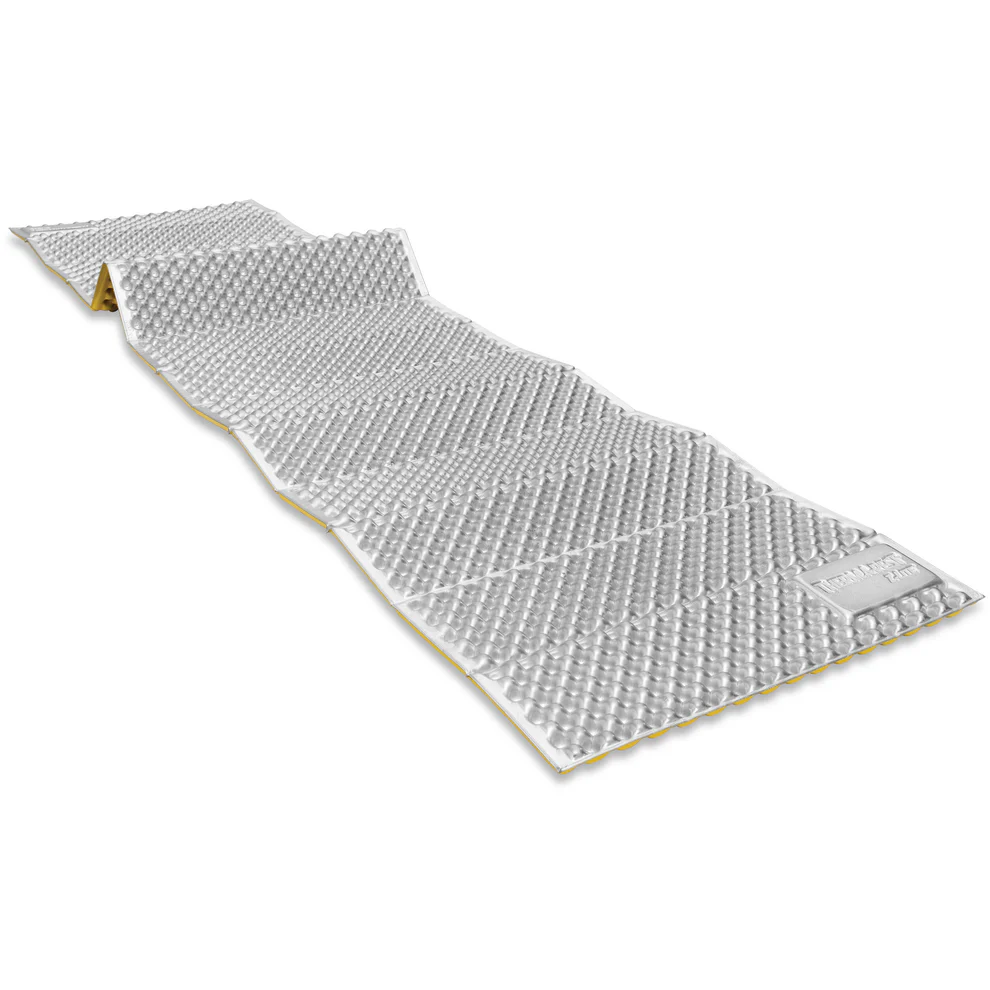
There are two main types of sleeping pads: inflatable air pads and closed-cell foam(CCF) pads. Inflatable air pads are usually more comfortable and offer better insulation but may require more care to prevent punctures. Closed-cell foam pads are a bit more durable, lightweight, and don’t require inflation, but they tend to be less comfortable. CCF pads are limited in their R-value and typically range from .5 for an 1/8th inch foam pad like our Siesta Pad, to and R-value of 2 for the accordion style CCF pads popular in any local outfitter. A hybrid between the two is a self inflating pad that doesn’t require as much to blow it up. These are still relatively comfortable but are typically bulkier and heavier than the other two options mentioned.
Some additional things to consider while choosing a sleeping pad are:
– R-Value: The R-value measures a pad’s insulation capacity. They are typically measured on a scale from 1-7, 7 being the highest value in insulation and warmth. For colder conditions, opt for a higher R-value. For 3-season backpacking anything in the 3-4 R value range should be sufficient. Anything above this is likely to be too hot during warmer nights, anything below is likely to be too cold on colder nights. Tent site selection and ground conditions impact all of this as well. Plenty of people use the lower R-valued CCF pads for thru-hiking and multi-nighters so although we recommend something with a higher value than these, it doesn’t mean it can’t be done with something that has a lower R-value.
-Weight: Ultralight backpackers prioritize lightweight gear. Consider the weight of the pad, but balance it with comfort and insulation needs. Lighter pads such as the Therm-A-Rest NeoAir Uberlite come at a shocking 8.8 oz while heavier pads can come out to 22 oz or above. Remember that lighter doesn’t always mean better. Another consideration with weight is the cut of the pad and the thickness the pad inflates to. Mummy shaped pads are great for lightweight but not always the most comfortable for those with wider frames or that are likely to move around more in their sleep. Additionally, some pads may not inflate to the right thickness you need for your own personal comfort. A good starting point for a balance of comfort and weight savings would be about 2.5 – 3.5 inches of pad thickness when inflated. This gives you enough space for your hips to not drive into the ground if you’re a side sleeper.
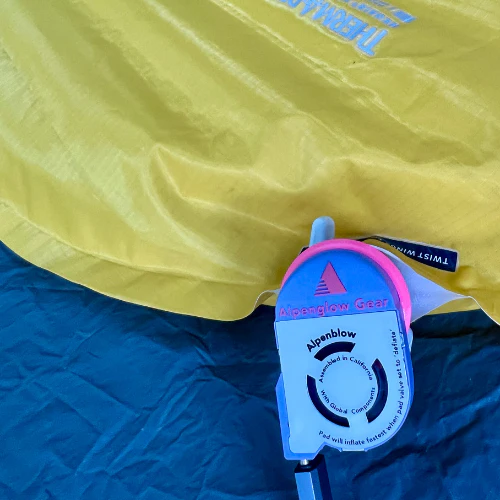
-Inflation and Deflation: Inflatable pads typically require a little bit of exertion to blow up. There are a few options to help avoid exacerbating your lungs such as a pump sack (a bag that doubles as a stuff sack and a device to blow up your pad for you) or an ultralight battery powered inflatable pump. Try out your pad before taking it on a longer trip and see how easy or difficult it is to inflate and deflate the pad, especially in cold or windy conditions. It’s important to note that inflatable pads are sometimes prone to slow leaks over time and might not hold their comfort or warmth rating when this occurs. It seems to be a luck of the draw when it comes to whether or not your inflatable pad will be a contender for a slow-leak valve, although it seems most manufacturers offer warranties/exchanges to address this and are implementing new valve styles to prevent it. When using a CCF pad inflation and deflation aren’t concerns, you just set it and forget it.
Now that you’ve got your Big Three figured out, let’s talk about other items that will be necessary in the backcountry. Going on long distance hikes that take you through various terrains, states, climates, elevations, etc that all demand a layering system that can perform in anything you’re thrown into. Resupply boxes come in handy during this time because you can send yourself different articles of clothing that are applicable to specific hiking conditions. What you’ll want to look into first however is base layers or your daily clothes.

Clothing
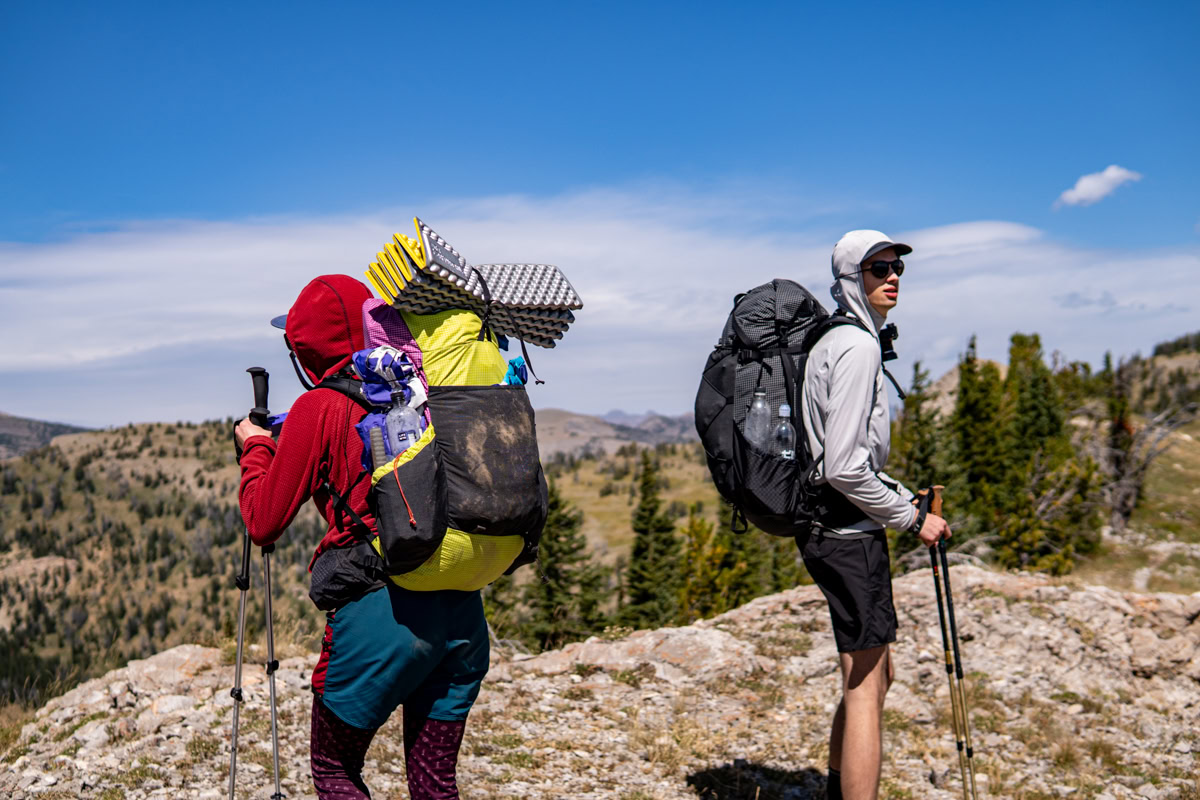
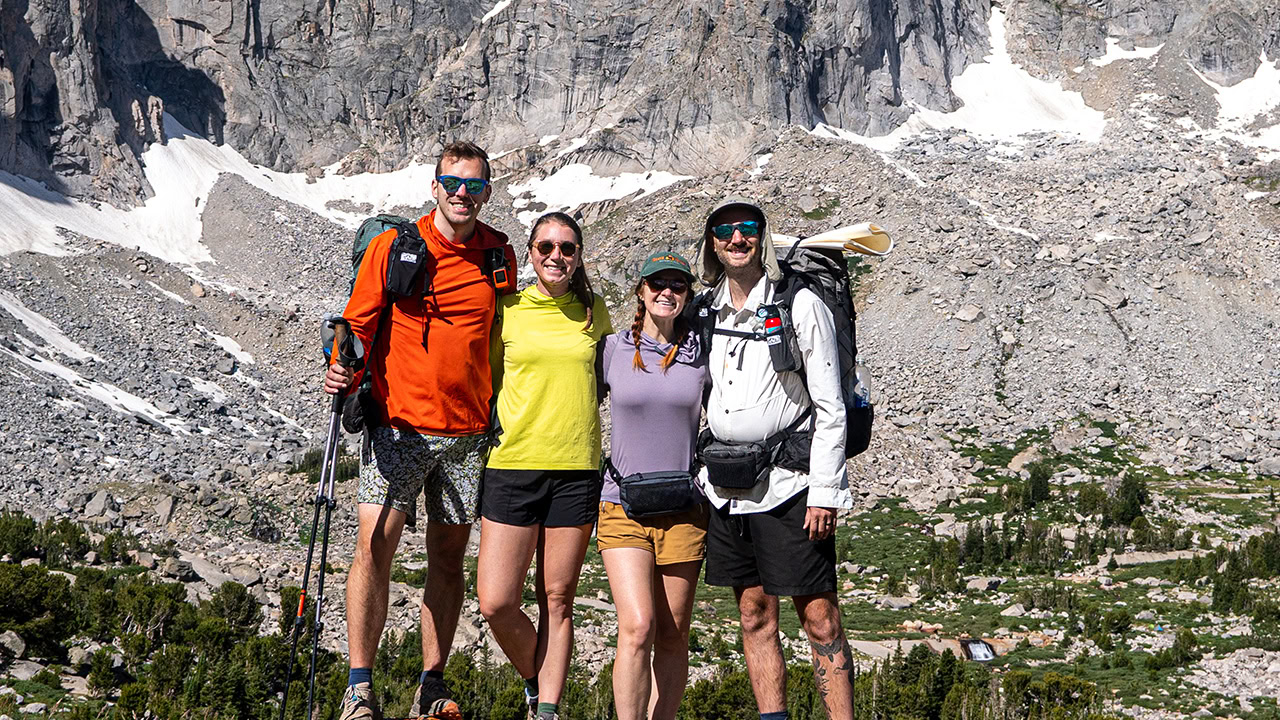
Base Layers: Depending on how lightweight you’re looking to go, a typical long-distance hiker will not bring more than one outfit to wear on trail. Hiking shorts or pants will be worn every day paired with a moisture-wicking shirt. We recommend something with long sleeves and modularity like a button down shirt or sun hoody. Underneath your shorts, lightweight, quick-drying underwear are a great option and bonus points if they’re antimicrobial. People will generally bring 2-4 pairs of underwear throughout their trip and 2-4 pairs of socks. Keeping one pair of socks clean and specifically for sleeping in helps to give a nice break from mud-caked ones.
Mid-Layer: This typically looks like a fleece jacket/hoody or some sort of natural fiber like alpaca, etc. Usually a 100 weight fleece will suffice and it doesn’t have to be something that requires you be on a waitlist to get.
Insulation Layers: We recommend some sort of down or synthetic puffy for the insulation layer. These are great for camp and hanging out on summits. We don’t recommend hiking with this layer on unless you have a synthetic version as down jackets are likely to lose their loft capabilities as you compress the jacket with your backpack and sweat. For a truly UL experience forego the midlayer and stay moving until in camp when it’s time to insulate.
Outer Layers: Waterproof and breathable rain jacket or poncho with a hood. Rain pants (consider the climate and season) or rain kilt. Wind Shirts and Pants are also great to have in the quiver.
Headwear: Wide-brimmed hat or cap for sun protection, beanie or warm hat for cold nights, sunglasses with UV protection, and a buff or neck gaiter. A bandana under the hat is a great way to keep sun off your neck and cool off by dipping it in a stream if you aren’t partial to the wide brimmed hat or hood of a sun hoody.
Footwear: Hiking boots or trail runners with good tread, gaiters to keep debris out of your shoes, moisture-wicking hiking socks, and liner socks for blister prevention. We prefer trail runners over boots as they’re typically lighter weight and dry quicker. We also don’t really use liners anymore. A good pair of Darn Toughs and properly fitted shoes should take care of you. You don’t have to outfit with everything mentioned here but taking care of your feet should be a main priority when backpacking.
What we use:
Garrett:
Underwear: I usually just take two pairs of antimicrobial underwear and up to 3 pairs of socks, 2 hiking pairs and 1 sleeping pair. I used to only take the underwear I was wearing but then I shit my pants in New Hampshire and started carrying a second pair.
Socks: I generally will use one pair of socks for up to 3 days depending on conditions before switching to the second pair between town stops, but ideally 2 days is a good sweet spot to preserve the integrity of the sock. I usually opt for a synthetic/wool blend sock and have gone down the fad of using cheap dress socks before, but something with a little cushion is my preference. I don’t hike in my sleep socks except for the day we’re hiking into town and a laundromat.
Headwear: I usually wear a normal hat in most conditions and add a bandana underneath it if on an exposed, sunny ridge. Wide brimmed sun hats make me feel like I’m missing out on things or impact my hearing, but wear what you like. I also usually wear sunglasses. I don’t wear beanies while hiking because if it’s that cold, I’m most likely already wearing a hooded sweater and prefer the feeling of that over sweating in a beanie.
Torso: I like a buttoned down shirt as I tend to get pretty hot and I enjoy being able to vent out, accordingly I don’t use solid sun hoodies or t-shirts during warmer seasons. Whether or not the shirt has sleeves just depends on how I’m feeling. On the AT I had a long sleeved button down and when summer hit I cut the sleeves off. Moving into shoulder season and colder conditions I’ll swap out the button down for a merino wool long sleeve
Bottoms: I usually only hike in shorts regardless of conditions during 3 season backpacking, they’ve most frequently been $10 swim trunks, I still wear the same pair that lasted me the whole PCT. If it’s really cold and nasty maybe I’ll add some leggings under my shorts or put on my wind pants. Many people would only ever recommend pants due to sun exposure, brush, and bugs – but I think being scathed adds to the mystique.
Midlayer: I use either my Melanzana hoodie which is made of micro-grid fleece or a MYOG alpha direct sweater.
Insulation layer: I use a synthetic insulated jacket which I prefer over the ultralight down jacket I used to use. Not only because of the properties synthetic insulation has, but also because there aren’t sew lines from baffles for air to travel through like the down jacket had, which I think keeps me warmer for similar weights and a more diverse use case.
Outer Layer: I use Frogg Togg rain jackets, I like the liner material that they have and feel it keeps me warmer than a traditional rain jacket. They’re not durable, but they are cheap and make a great fashion statement. I also carry a wind jacket which has worked its way into being one of my favorite pieces of kit, as well as wind pants. For lower body rain protection I use our Rain Kilt, I prefer this to rain pants because I tend to overheat and wet out the rain pants, I also have longer legs than most so the extra mobility the kilt grants over pants works great for me.
Extras: I also always carry wool gloves and a beanie, both of which weigh about an ounce. I will usually only wear the beanie in camp or while sleeping.
Sleep Wear: Everything I just listed is what I wear to sleep and I obviously omit certain items depending on temperatures. This system works for me although is not recommended for everyone given individual comfort levels and the possibility of all my clothes being wet without something to change into. This could be considered “stupid light” for some but it’s what works for me and what I’m comfortable with. There’s nothing wrong with carrying additional layers that are only worn while sleeping.
Footwear: I wear zero-drop, wide toe-boxed trail runners. I’ve only really ever worn Altras and they’ve served me very well with no blisters to report, but there are plenty of brands out there that offer similar amenities. If you’ve not used zero-drop shoes before make sure you educate yourself on their benefits and what to expect while hiking with them so you don’t risk an injury.
Conclusion:
What you wear in the backcountry makes all the difference on how prepared and comfortable you are. When it comes to sleep – taking the time to put careful consideration and even testing into what gets you the best nights rest is paramount. And the unfortunate hard reality is: you may never get a full night’s rest even with the most luxurious sleeping set up imaginable. Fatigue, elevation, achey bodies, etc all factor into how well you’re able to fall asleep and stay asleep. Some people claim to sleep better in the backcountry than they do at home, but if this isn’t your experience it’s not that you’re doing anything wrong.


0 Comments