How to Dial in Your Base Weight Without Sacrificing Comfort
Dialing in your base weight is one of the most important steps toward efficient and enjoyable backpacking trips. It doesn’t matter if it’s just an overnighter or a 5 month thru-hike, less weight on your back will mean more smiles in your miles. Base weight includes everything in your pack except consumables like food, water, and fuel. It impacts your endurance, comfort, and pace over long miles. In this guide, we’ll walk through how to lower your base weight intentionally—without compromising on safety or comfort.
Disclaimer: Although this article will cover base weight, it’s equally important to consider your total pack weight when choosing the right pack for your next adventure.
Understanding Base Weight
Before you start trimming ounces and scratching the logos off your trekking poles to save a little weight, it helps to understand what base weight really is. It includes all the gear you carry minus consumables like fuel, food, and water:
- Backpack
- Shelter
- Sleeping system (bag/quilt and pad)
- Clothing
- Cook kit
- Electronics
- Hygiene and first aid
- Miscellaneous extras (headlamp, repair kit, etc.)
A traditional base weight can be anywhere from 20-30 lbs. Ultralight backpackers aim for under 10 lbs. Most long-distance hikers fall somewhere in between – averaging about 12-15 lbs after they’ve had some time on trail and sent home their unnecessary items.
Step 1: Optimize the Big Three (Backpack, Shelter, Sleep System)
These three components usually make up 60-70% of your base weight. Focus here first.
Backpack: Balancing Weight With Functionality
It’s easy to look at the weight of your backpack and assume that lighter is always better. But while pack weight matters, it’s only one part of the equation. Your backpack is the foundation of your entire kit—it’s the structure that supports everything else you carry. Cutting weight here without considering your total gear loadout can lead to discomfort, poor weight distribution, and even injury over long distances.
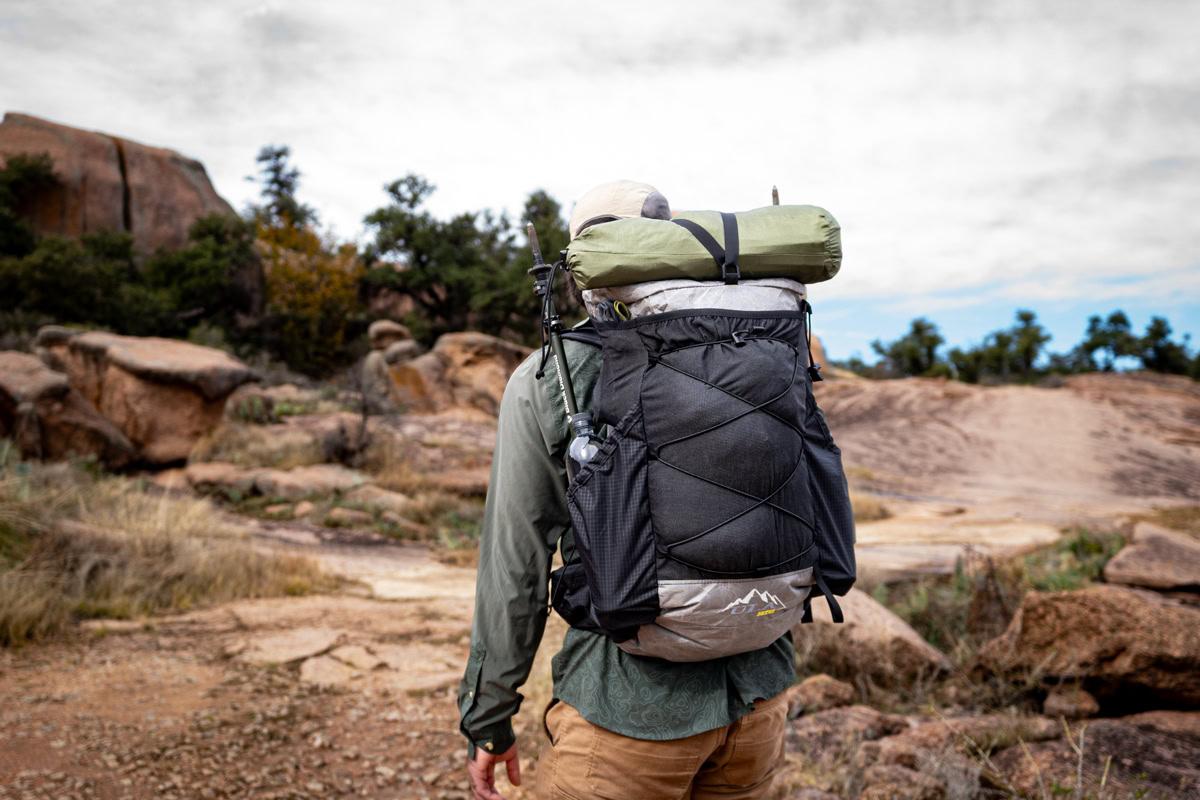
At sub 19 ounces with removables omitted, a frameless pack like the Nexus can be an excellent choice for seasoned hikers who’ve already trimmed their total pack weight down to under 25 lbs. Its 40L capacity and minimalist structure encourage discipline in gear selection. But this setup only works if the rest of your kit is compact and dialed. Without a frame or load lifters, frameless packs rely on your packing skill and a low total weight to remain comfortable. Stuffing a frameless pack with heavy or bulky gear will lead to sore shoulders and poor weight transfer.
On the other hand, the Ultra Circuit SV offers a sweet spot for hikers who want to go lighter but aren’t ready—or willing—to sacrifice the support of a frame. With a 48L volume and a robust suspension system, the Circuit SV comfortably carries total pack weights up to 35 lbs at only 35.8 ounces. That gives you the flexibility to bring cold-weather gear, a camera, or a bit more food and water on longer stretches.
In other words: your backpack choice should match your total system. Don’t choose a frameless pack just because it’s the lightest option. Choose it because your gear choices make it a functional one. Likewise, don’t feel guilty carrying a framed pack if it allows you to move more comfortably or confidently over long distances.
Dialing in base weight is about harmony between gear, volume, and support. Your pack should empower your hiking style—not hinder it.
Shelter: Go Light, Stay Dry
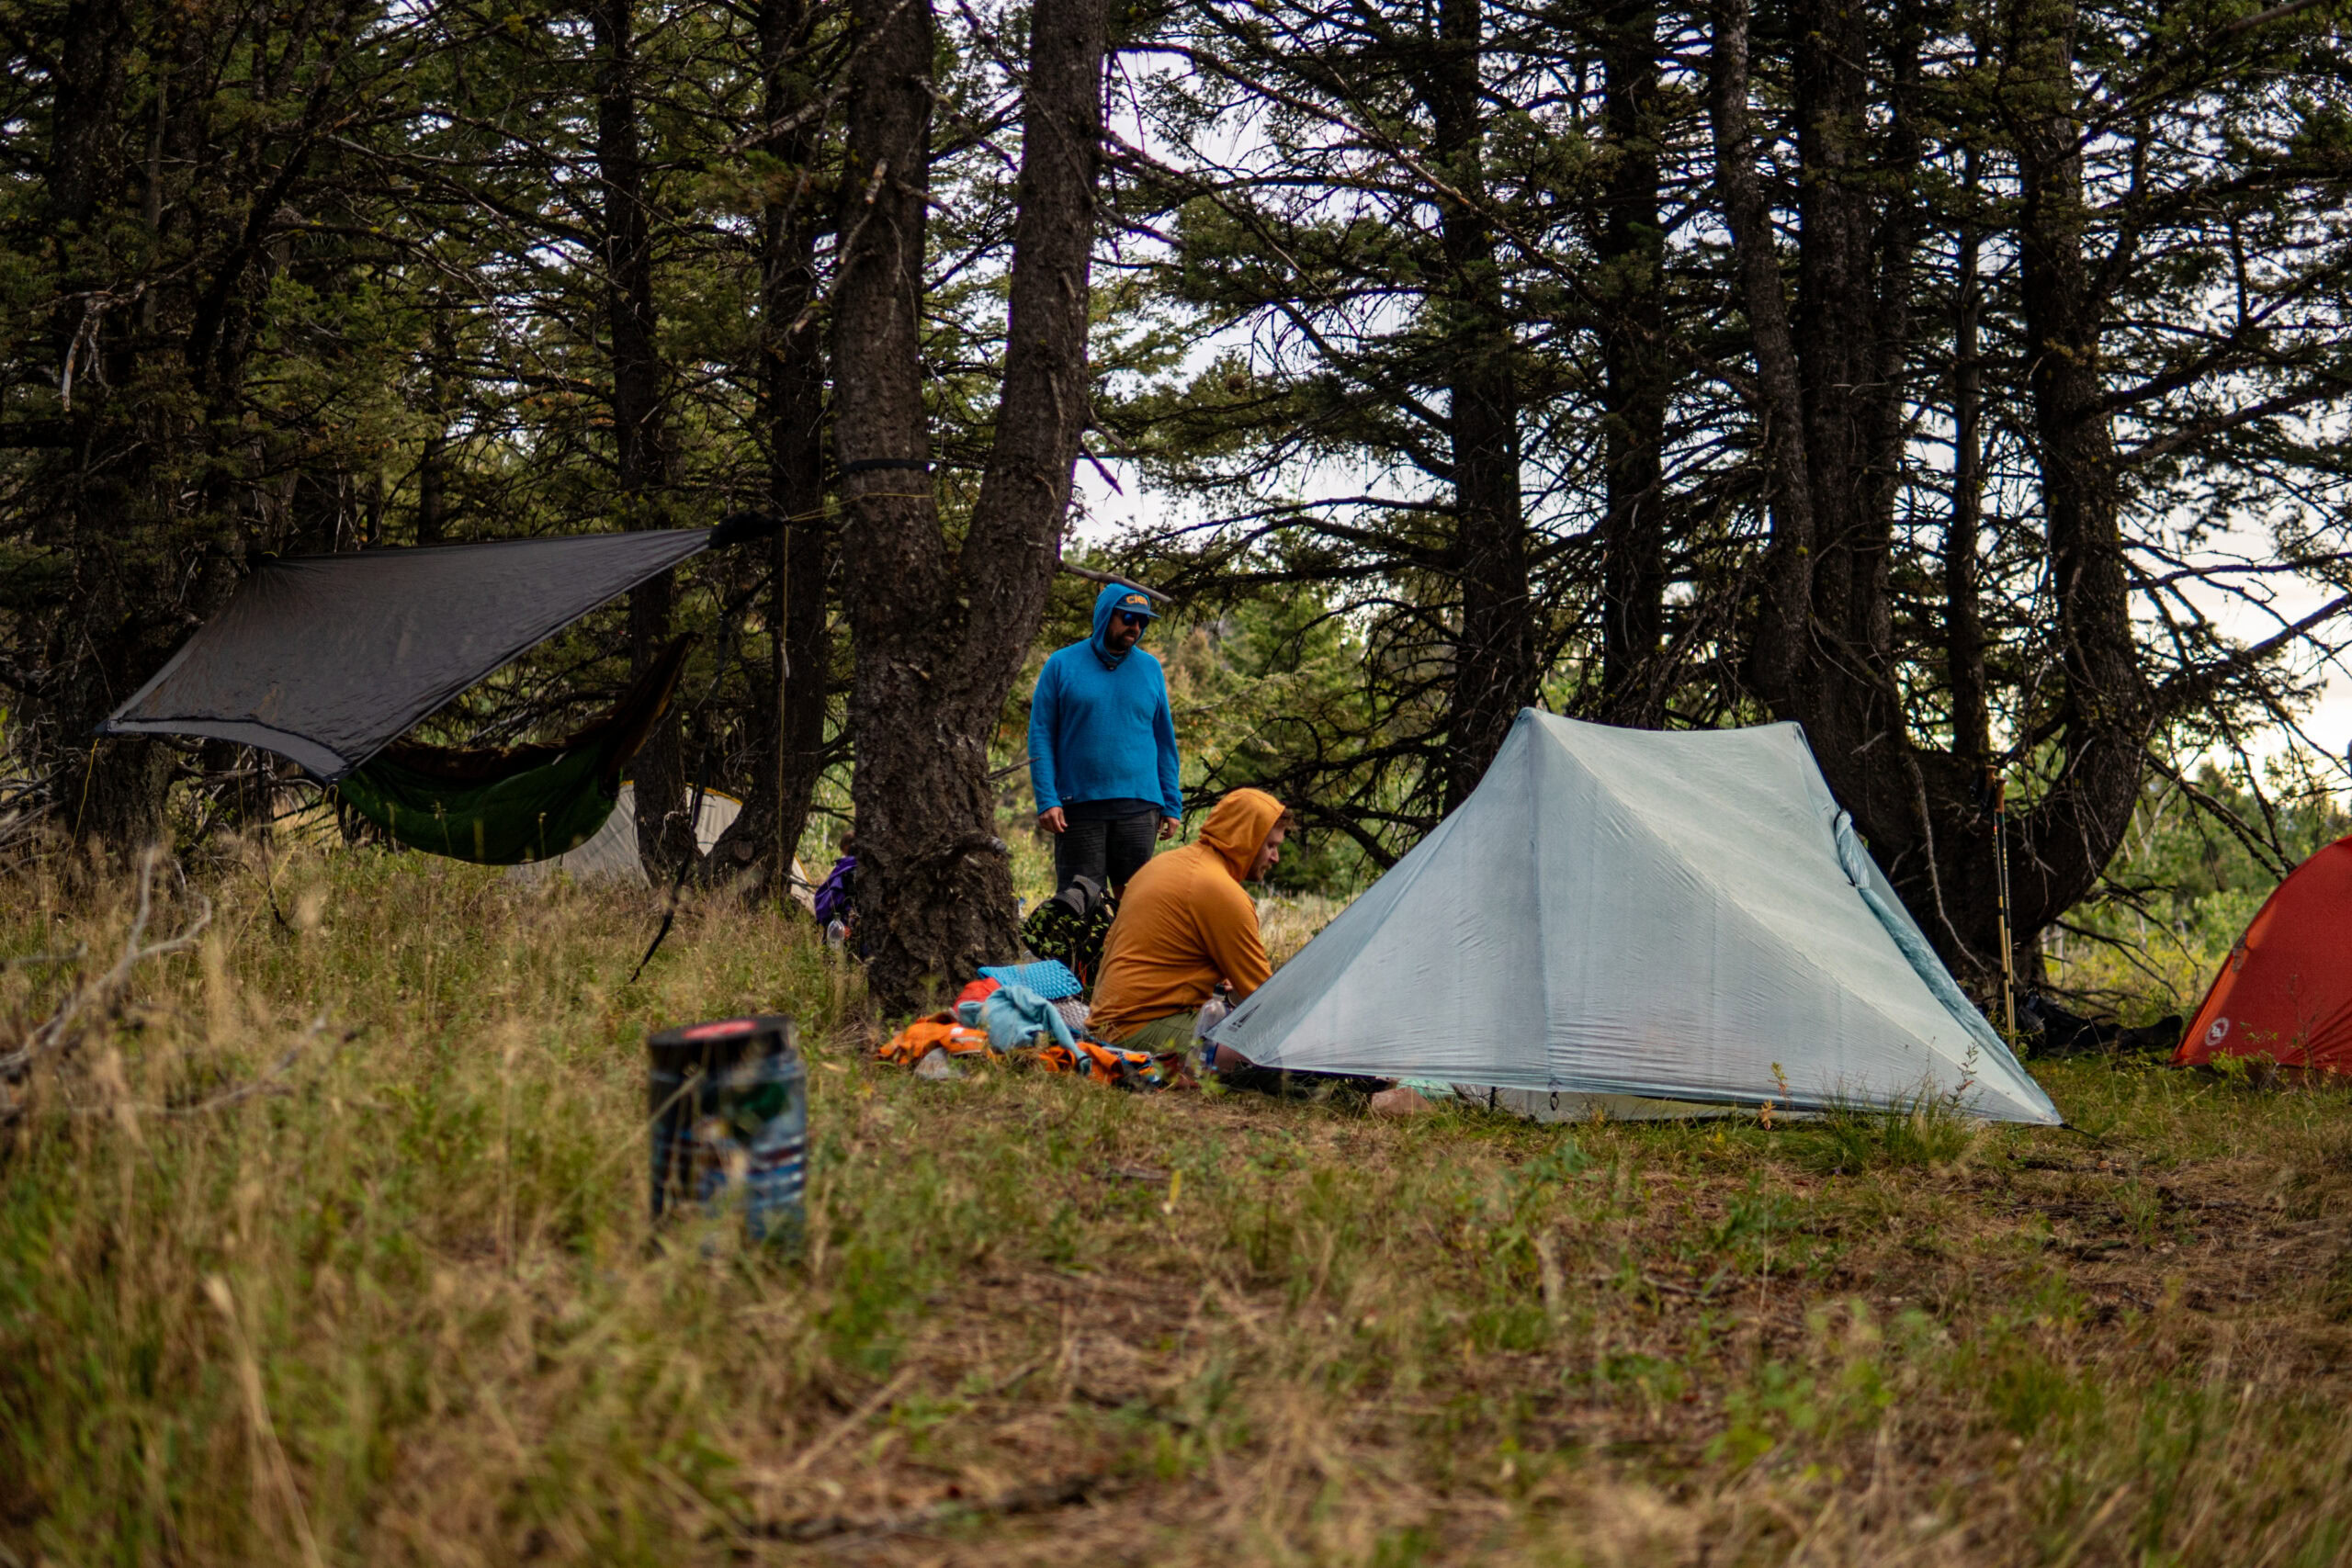
Your shelter is one of the “Big Three” pieces of gear that define both your pack weight and your level of trail comfort. While a 3–5 lb tent might feel familiar from car camping or casual backpacking, it’s excessive when you’re logging serious mileage. Luckily, ultralight shelters today are smarter, lighter, and more weather-resistant than ever.
Why Ditch the Freestanding Tent?
Traditional freestanding tents are popular for their ease of setup and interior space, but they come at a cost: weight, bulk, and moisture retention. The poles alone often weigh nearly a pound. For long-distance or weight-conscious hikers, that’s a luxury you may not need.
Smarter Shelter Options
- Single-Wall Trekking Pole Tents
These shelters ditch the traditional poles in favor of your trekking poles, which you’re already carrying. This dual-purpose setup can shave 1–2 pounds off your total shelter weight.
- Pros: Extremely lightweight, compact, fast to pitch once practiced.
- Cons: Because they use a single layer of fabric (instead of separate inner and outer walls), they tend to trap condensation, especially in humid or wet environments. Ventilation and site selection are key to reducing interior moisture.
- Best for: Dry climates, experienced hikers, and those who value minimalism.
- Double-Wall Shelters
Double-wall designs separate the mesh interior (bug protection and ventilation) from the rainfly (weather protection). While slightly heavier, they drastically reduce condensation and create a more comfortable sleeping environment—especially in the Pacific Northwest, New England, or other damp areas.
- Pros: Better condensation management, more forgiving setup, often roomier.
- Cons: Slightly heavier than single-wall alternatives.
- Best for: Wet or variable weather, beginners, or those prioritizing comfort.
- Dyneema Composite Fabric (DCF) Shelters
DCF is a game-changer in ultralight backpacking. Formerly known as Cuben Fiber, it’s a waterproof, non-stretch fabric with an unmatched strength-to-weight ratio.
- Pros: Incredibly light, doesn’t sag or absorb water, packs easily even when wet.
- Cons: Expensive (often $500–$800+), slightly more fragile under abrasive use.
- Best for: Ultralight purists, thru-hikers, or anyone willing to invest in the best weight savings.
- Tarp Setups
Tarps are the ultimate minimalist shelter—no floor, no bug net, and total exposure to the elements. But for seasoned hikers with solid pitching skills and an understanding of weather patterns, they offer unmatched flexibility and weight savings.
- Pros: Ultralight (as little as 6–10 oz), extremely compact, endless pitch configurations.
- Cons: Steep learning curve, poor bug protection, exposure risk in bad weather.
Shelter Tips to Stay Dry and Comfortable
- Choose your site wisely: Avoid depressions, dry riverbeds, and exposed ridgelines. Look for natural windbreaks and flat ground with good drainage.
- Master your pitch: Practice at home or during shorter trips so you can set up quickly in a storm.
- Ventilation matters: Open doors, use apex vents, and orient your shelter to catch airflow to reduce condensation.
- Use a groundsheet: Especially with DCF or tarp setups. Polycryo and Tyvek are popular options that protect your shelter floor and extend its life.
Bottom line: Your shelter is your safety and comfort zone. Choose the lightest option that matches your skill level and expected conditions. Don’t just go lighter—go smarter.
Sleep System: Prioritize Warmth-to-Weight Ratio
Getting quality rest is essential on trail—it’s how your body repairs, recharges, and stays sharp mile after mile. But your sleep system doesn’t need to be bulky or heavy to keep you warm and comfortable. With the right combination of insulation, smart layering, and weight-conscious design, you can shave pounds off your kit while still sleeping soundly in a range of conditions.
Quilts vs. Sleeping Bags
One of the biggest weight savings comes from switching to a down quilt. Unlike traditional mummy bags, quilts skip the full-length zipper, hood, and bottom insulation—features that add bulk but don’t provide much functional warmth (since compressed insulation under your body is ineffective). Instead, quilts use a minimalist approach, relying on your sleeping pad for bottom insulation and offering adjustable closures to retain warmth on cold nights.
Quilts offer key benefits:
- Lighter weight: Often 25–40% lighter than comparable sleeping bags.
- More packable: Compress down smaller in your pack.
- Modular comfort: Open them up in warm weather, cinch them tight when temps drop.
- Custom sizing: Many cottage brands offer sizing by height and width to eliminate dead air space (which saps warmth).
However, quilts can have a learning curve. Drafts are a common issue if you toss and turn or don’t properly attach the quilt to your pad. Look for quilts with secure pad attachment systems and adjustable neck collars to seal in heat. If you tend to sleep cold or are venturing into sub-freezing temps, a traditional mummy bag may still be the better option for thermal efficiency.
Sleeping Pads: R-Value and Strategic Weight Savings
Your pad is just as critical to your warmth as your quilt or bag. Heat loss to the ground is one of the biggest reasons hikers feel cold at night—even with a warm quilt. The R-value of your sleeping pad measures its insulation power. For 3-season conditions (late spring through early fall), aim for a minimum R-value of 3.5. If you’re expecting colder nights or shoulder season trips, look for pads rated R-4.5 or higher.
Pad options to consider:
- Inflatable Pads: Offer the most comfort and warmth-to-weight efficiency. Look for lightweight models that still offer a good R-value.
- Closed-Cell Foam (CCF) Pads: Extremely durable and inexpensive, though bulkier. Great for minimalists or as a backup in cold temps. Not for the faint of heart.
- Short Pads: Some hikers opt for torso-length pads and use extra gear under their legs and feet. This saves weight and space but may not be ideal in colder conditions. There are plenty of videos on YouTube with instructions on how to cut and reseal your sleeping pad. Just be aware it will void the manufacturer’s warranty so go UL at your own risk.
- Hybrid Layering: Combine a foam pad underneath an inflatable one for added R-value and redundancy and some protection from bad site selection.
Comfort vs. Weight: Know Your Priorities
While it’s tempting to go ultralight here, poor sleep impacts performance and decision-making. If you’re a side-sleeper, have joint issues, or just value comfort, choosing a slightly heavier pad or a warmer quilt may be the right call for you. Likewise, if you sleep cold, don’t sacrifice warmth for the sake of saving a few ounces. The goal is to strike the right warmth-to-weight ratio for your needs—not just to hit an arbitrary number.
Step 2: Reevaluate Your Clothing System
Clothing: Pack Less, Layer Smart
Most hikers bring too much clothing. It’s easy to fall into the “what if” trap—packing for every possible scenario—but the truth is, you only need a few key layers to stay comfortable, dry, and safe in the backcountry. Every item in your pack should earn its keep, and that includes your clothes.
The Golden Rule: Hike in One, Sleep in One
Hiking Clothes (your “dirty” system):
This is what you’ll wear every day while hiking. These clothes will get sweaty, dirty, and smelly—embrace it.
- 1 hiking shirt – Short or long sleeve depending on sun exposure and bugs.
- 1 pair of shorts or pants – Some prefer zip-off or convertible pants for versatility.
- 1 pair of socks – Worn while hiking.
- 1 pair of underwear – Synthetic or merino. Quick-dry, no cotton.
Pack:
- 1–2 extra pairs of socks – Rotate daily. Wash and dry on breaks or at camp.
- Optional: 1 extra pair of underwear – Yes, you can wear the same pair for multiple days. Just swap and rinse when needed.
Pro tip: We typically carry 3 pairs of socks total on a thru-hike—one to hike in, one to sleep in, and one in rotation. Socks wear out before shirts—expect to replace them throughout a long hike.
Camp & Sleep Clothes (your “clean” system):
These stay dry at all costs. Only wear them in camp or while sleeping to prevent hypothermia and promote recovery.
- 1 dry base layer top – Merino or synthetic long-sleeve shirt.
- 1 dry base layer bottom – Lightweight tights or thermal leggings.
- 1 clean pair of socks – Only worn in camp or inside your quilt/sleeping bag.
Never hike in your sleep clothes if you’re going to carry them. They’re your safety net for warmth and comfort at night.
Insulation: Stay Warm Without the Bulk
- 1 puffy jacket – A lightweight down or synthetic jacket (7–12 oz) is critical for cold mornings, high-altitude breaks, and evenings in camp.
- Down is warmer for its weight but loses insulation when wet. Synthetic is more forgiving in damp conditions.
- Consider a hooded version for added warmth without packing a separate hat.
Shell Layers: Wind and Rain Protection Without the Weight
Proper shell layers are essential for moisture and wind protection, yet many overdo it with heavy jackets. A smart combo can weigh under 12 oz total:
- Wind shirt (2–3 oz) – Blocks wind, dries fast, and can be worn all day in cool temps.
- Rain jacket (5–6 oz) – Waterproof and breathable enough for most conditions. Pit zips and adjustable hoods help regulate heat.
Layering is key. A base layer + wind shirt + puffy + rain shell can outperform a single heavy jacket while offering better versatility across conditions.
Headwear and Gloves: Don’t Overdo It
- Hat or buff – For sun protection and warmth. A merino wool buff can double as a headband, neck gaiter, or sleep mask.
- Gloves or glove liners – Lightweight fleece gloves (1–2 oz) provide enough warmth for chilly mornings or higher elevations.
Material Matters: Choose Smart Fabrics
- Merino wool: Naturally odor-resistant, soft, and thermoregulating. Great for base layers, socks, and underwear. Opting for anti-microbial will keep you smelling not so stinky.
- Synthetic: Dries faster than wool, usually more durable for outer layers, and typically less expensive.
- Avoid cotton: It holds moisture, dries slowly, and increases the risk of hypothermia in cool conditions.
Final Tips:
- Wash when you can – A quick rinse in a stream or with a little camp soap goes a long way. Just make sure to do it away from water sources.
- Dry in the sun – Clip damp clothes to your pack during sunny trail sections for easy passive drying.
- Don’t pack for comfort—pack for function. You’ll appreciate the lighter pack far more than that extra shirt you never wear.
Step 3: Simplify Your Cooking and Water Systems
Cooking
The average cook setup can be cut in half without sacrificing hot meals.
- Stove: A tiny canister stove (under 1 oz) saves weight over larger setups.
- Pot: One 550-750ml titanium pot is usually enough.
- Utensils: One spork. Leave the knife, fork, and spatula at home.
Consider cold soaking for no-cook meals to drop even more weight.
Water Filtration
Water is heavy, and water systems can be too.
- Use a Sawyer Squeeze or Katadyn BeFree for quick filtration without pumps.
- Replace hard bottles with lighter weight alternatives like reusable soft sided bottles or a standard bottle from the gas station.
- Know your water sources ahead of time to avoid carrying extra.
Step 4: Trim the Extras Without Cutting Safety
Extras are often where base weights balloon. Go minimalist without ditching essentials.
First Aid & Hygiene
- Build a minimalist first aid kit: a few bandaids, tape, ibuprofen, anti-diarrhea and blister care, as well as some sort of suture kit just in case.
- Pack small: toothpaste dots, a cut-down toothbrush, and a mini dropper bottle of soap. Getting everything travel size makes this pretty easy.
- Consider multi-use items: A bandana can be a towel, pot holder, head wrap, and filter pre-screen.
Electronics
- Carry one power bank that fits your needs (10,000 mAh is plenty for most trips and teetering into overkill).
- Eliminate duplicates: one cable, one charging block.
- If you’re not using GPS regularly, consider leaving it behind in favor of phone-based navigation.
Tools & Repair
- A micro knife or scissors will suffice for most tasks.
- Bring only essential repair items: a few safety pins, duct tape, Tenacious Tape.
Step 5: Weigh Everything and Track It
Knowledge is power. Create a gear spreadsheet or use a platform like LighterPack. We also recommend going on shakedown hikes to help keep only the essentials.
For each item, ask:
- Do I use this every day?
- Can something else do this job?
- Can I go lighter or smaller?
- Can I leave this at home?
Weighing every item helps eliminate unconscious redundancies and encourages smarter packing.
Final Word: Less Weight, More Joy
Reducing your base weight isn’t about being spartan. It’s about being intentional. Every ounce saved is energy you keep for the trail, comfort at camp, and miles you can enjoy rather than endure.
Whether you’re taking your first steps toward ultralight or refining an already lean setup, packs like the Circuit SV and Nexus offer a solid foundation for dialing in your system.
Start light. Go far. Hike happy.


0 Comments