How to Train for a Thru-Hike Without Living Near Mountains
You don’t need a mountain range in your backyard to prepare for one. Most thru-hikers start training from cities, suburbs, and flat towns—places where the steepest climb might be a set of stairs or a ramp in a parking garage. The good news is that you can still build the strength, endurance, and mindset needed for the trail, even without high elevation nearby. With the right approach, you won’t be left in the dust by your fellow hikers that trained in the mountains.
The foundation of any thru-hike training plan starts with one thing: time on your feet. The best way to prepare for walking 15–25 miles a day is, simply, to walk 15-25 miles per day. Start incorporating regular walks into your routine, ideally five or six days per week, with one longer session on the weekend. Over time, increase your distance gradually. Aim at adding around ten to twenty percent more mileage each week until you’re comfortable covering ten to fifteen miles in a day. As you progress, begin carrying your pack during these walks. Start light and slowly add weight to simulate the feel of trail conditions. This not only strengthens your shoulders, hips, and core, but also helps you fine-tune your pack setup and comfort before you’re hundreds of miles from home.
More than just walking.
While walking builds endurance, strength training builds the foundation your body needs to handle steep climbs and long descents. Even without access to a gym, you can develop trail-ready legs and core strength from home. Exercises like step-ups, lunges, squats, and calf raises strengthen the lower body, while planks and side planks develop core stability. Simple tools like a sturdy chair or stairs can become your best training equipment.
Adding resistance bands can help target smaller stabilizer muscles in your hips and glutes—essential for carrying a loaded pack over uneven ground. These exercises don’t just make you stronger; they help prevent injuries when the miles start adding up.
If you live in a flat area, the lack of elevation might seem like a major disadvantage—but you can get creative. Stairs are one of the best substitutes for hills. Parking garages, office buildings, or even high school bleachers can turn into your vertical playground. If you have access to a gym, try walking on a treadmill set to a steep incline. Bridges, levees, and small neighborhood hills can all help simulate the sustained climbs you’ll face on trail. Don’t overlook the value of hiking downhill either. Controlled descents help strengthen your quads and knees, which often take more of a beating than your lungs do.
As your physical fitness improves, focus on endurance and consistency. Thru-hiking is less about peak athleticism and more about showing up every day, even when you’re tired. Plan back-to-back long walks on weekends to get used to hiking on fatigued legs. Mix up the terrain by walking on pavement, dirt, gravel, and grass to condition your joints and feet for variety. Occasionally train in less-than-ideal conditions—rain, heat, cold, or wind. These “mental miles” build the kind of resilience that can’t be measured in heart rate or mileage.

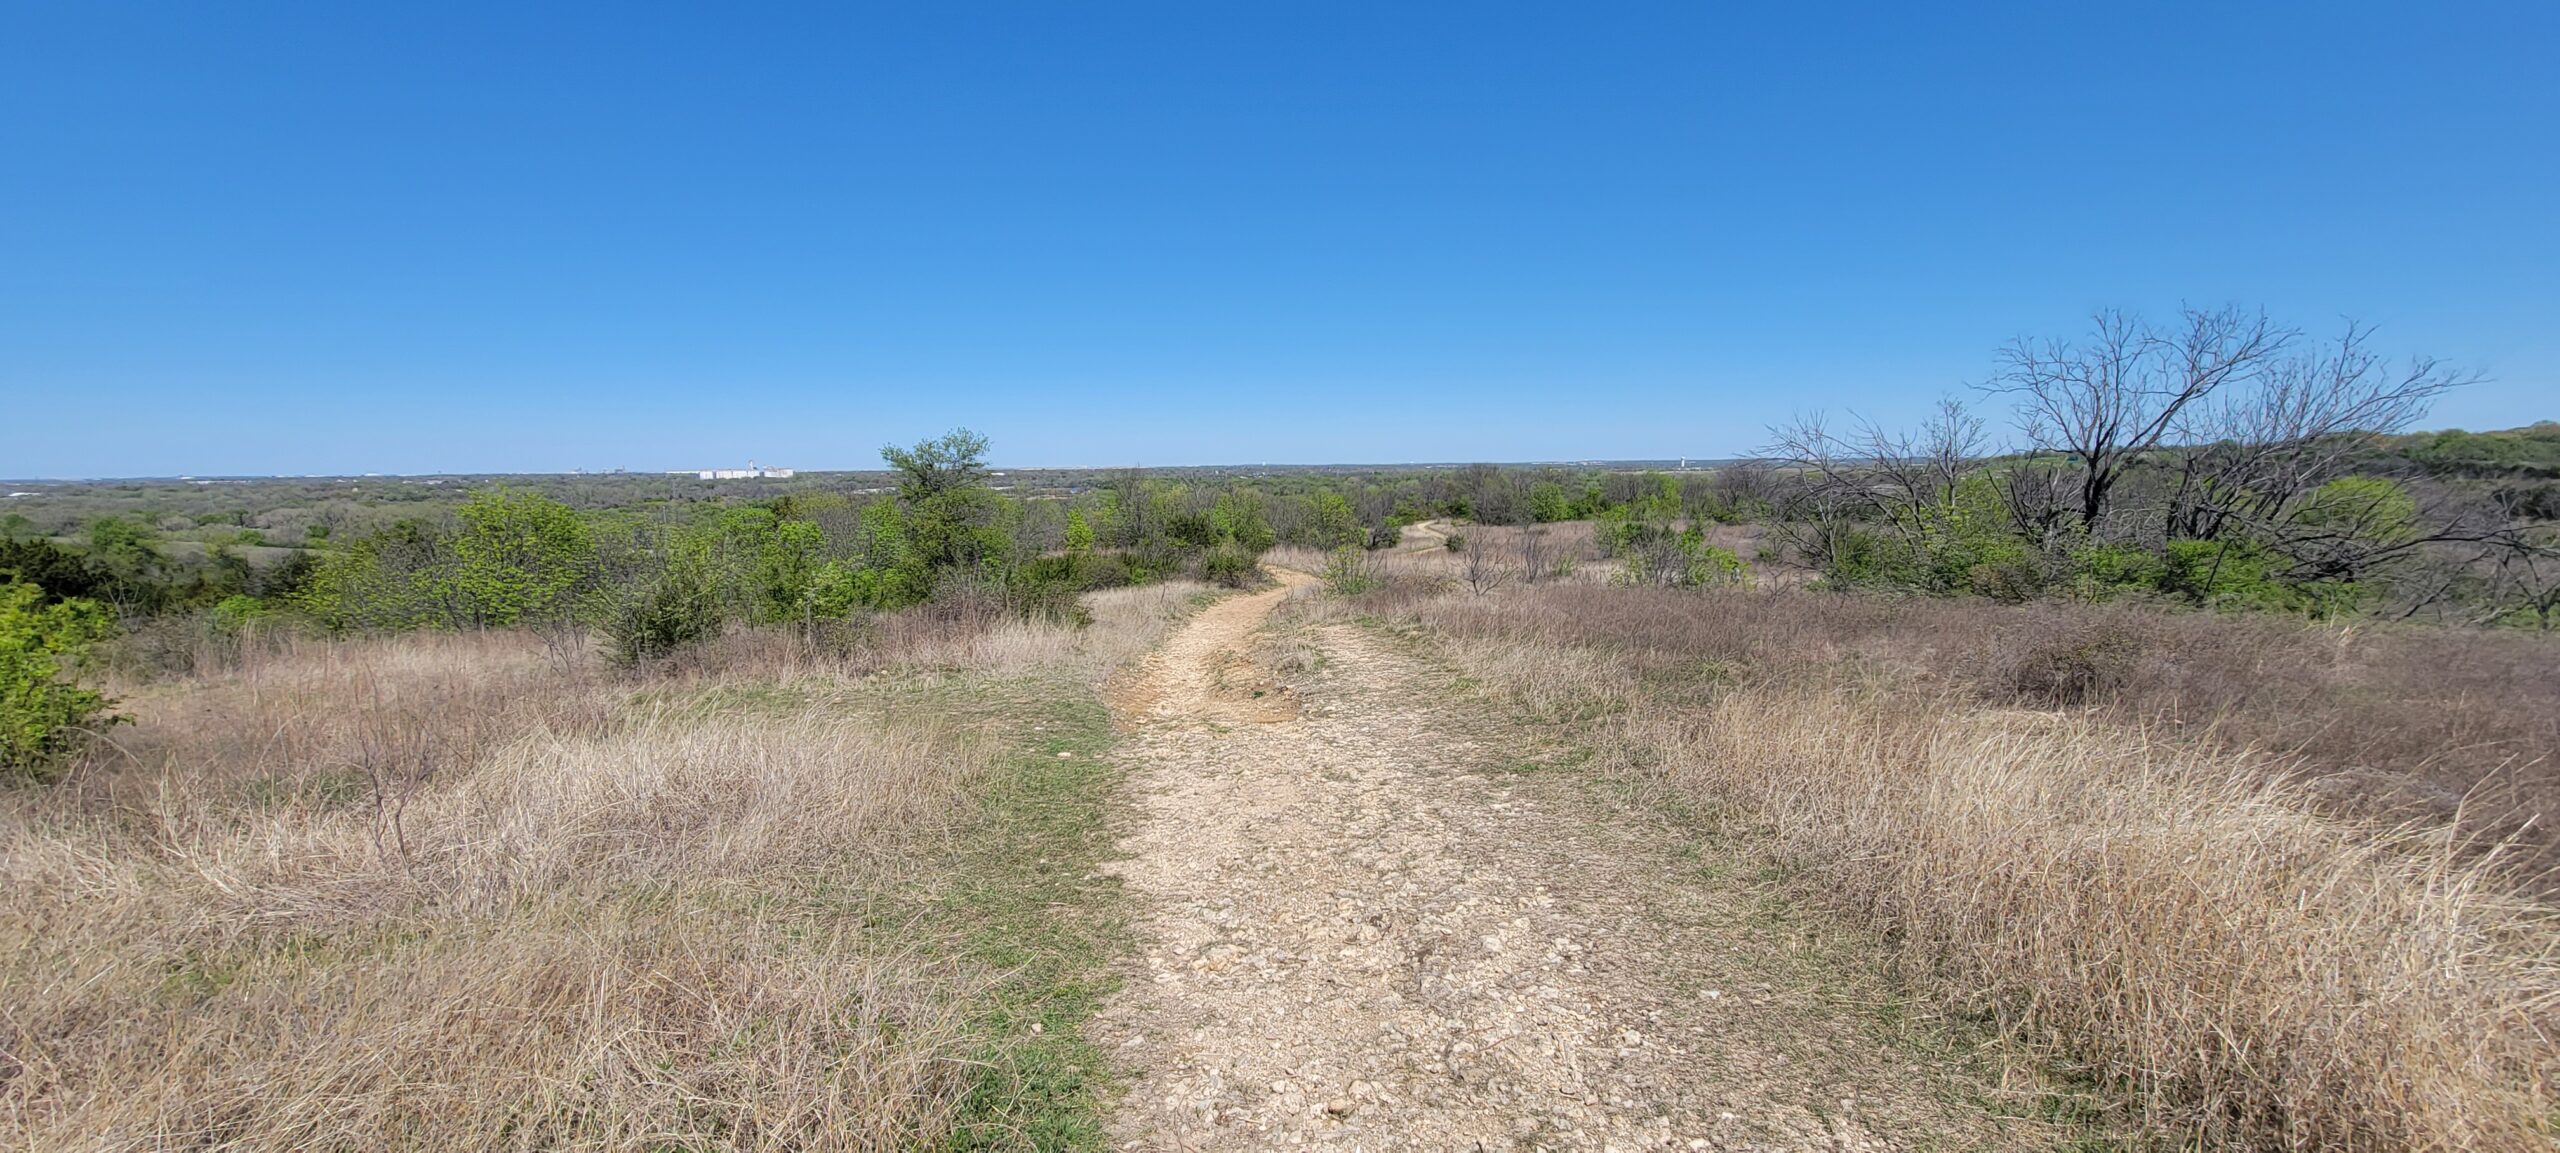
Sometimes this is the only terrain you have access to and that’s ok!
Preparing your feet
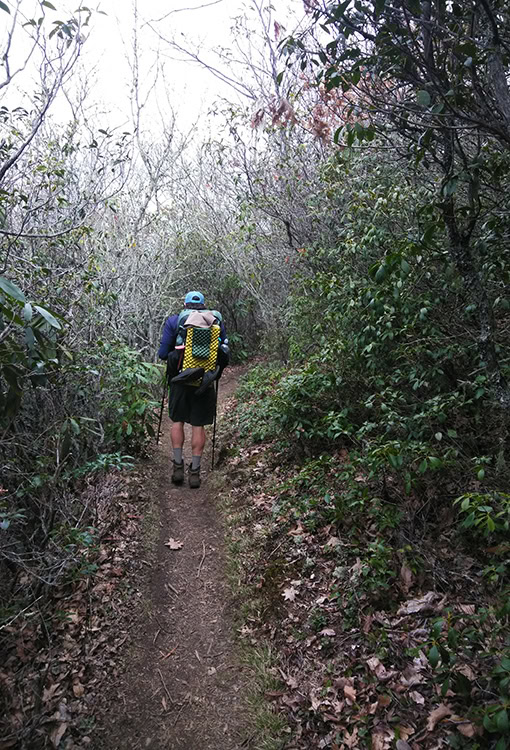
Speaking of feet, treat them as your most important gear. Break in your hiking shoes long before your first day on trail, and wear the socks you plan to hike in so your skin can toughen up and reveal any potential hot spots. We recommend some socks with slight padding in them for additional cushion. It might seem unnecessary but it’s incredibly helpful for long days. Going barefoot around the house can also strengthen small stabilizer muscles in your feet and ankles, making them more resilient. If you plan on wearing zero drop shoes, like Altras, where your toes are meant to splay out, we recommend getting used to this style of shoe and learning how to walk in them. That might seem counterintuitive but, there’s a right way and a wrong way to walk in zero drops. Stretching your calves and achilles regularly will go a long way in preventing tightness and strain on long climbs. If possible, spend a few weekends hiking on rocky or uneven terrain to train your balance and joint stability. Even if it’s not a proper hill, but more of a mound, whatever you can expose yourself to that’s uneven will go a long way.
To round out your fitness, include a few cardio sessions each week. Activities like cycling, rowing, and the stair climber build aerobic capacity without excessive impact. These are especially good for not putting excess load on your joints like running or weighted hiking do. The goal is to strengthen your heart and lungs for long days of steady movement, not to become a sprinter. Three to four sessions of 45–60 minutes of cardio per week is plenty to complement your hiking. You don’t need to go full speed for that amount of time but a Zone 2 workout – about 60%-70% of your max. When you get to a section with high elevation you’ll be glad you did some cardio before your hike.
As your trip approaches, start combining all these elements into “mock backpacking days.” Load your pack with your full setup and hike 10–15 miles, ideally on varied terrain. Start out with half of your total pack weight you plan to carry on trail and work your way up. If you plan on carrying 30lbs with food, water, and gear, start out with 15lbs while you train. Use these sessions to practice your trail nutrition. Test out snacks, hydration routines, and pacing. Maybe even work on learning to eat a bar while walking for maximum on-trail efficiency. Notice where fatigue sets in, or if certain parts of your body ache more than others. These are cues to adjust your training or your gear. You’re not just preparing your body at this point; you’re preparing your systems and routines for life on trail.

A pair of Altras after 500 miles. You will walk a lot!
Strengthening Your Tendons and Glutes for the Trail
Strong muscles move you up mountains, but it’s your tendons, ligaments, and stabilizers that keep you injury-free while doing it day after day. Hiking miles under load puts huge stress on your hips, knees, and ankles, so developing glute strength and tendon resilience is key to long-term performance and comfort.
To condition your glutes, prioritize exercises that target the full range of your hip motion. Glute bridges and hip thrusts are two of the best, building the large glute muscles that power your stride and stabilize your hips. Single-leg variations—like single-leg glute bridges or step-ups—add balance and coordination. Bulgarian split squats are another great functional movement that simulates the uneven load-bearing you’ll experience on the trail. Incorporate lateral band walks or monster walks with resistance bands to engage the smaller glute medius muscles, which are critical for knee and hip stability.
For tendon and joint health, you want slow, controlled movements that strengthen the connective tissue itself. Calf raises are an easy go-to: perform them slowly, holding the top position for a second before lowering back down to stretch the Achilles. Eccentric (slow-lowering) squats, lunges, and step-downs from a small platform train your tendons to absorb impact and resist strain. Jump rope or light plyometric drills—like gentle hops in place—can also help your tendons adapt to repetitive load, as long as you start gradually.
Adding isometric holds, like holding a lunge or wall sit for 30–60 seconds, is another proven way to build tendon stiffness and endurance. These static exercises teach your body to maintain stability when your pack weight shifts or when you’re balancing on uneven terrain.
It’s easy to overlook this kind of training because it’s not flashy, but the hikers who stay injury-free are usually the ones who focus on these foundational movements. Just 10–15 minutes, two or three times per week, can make a huge difference once you hit the trail

How Pelvic Tilt Contributes to IT Band Pain
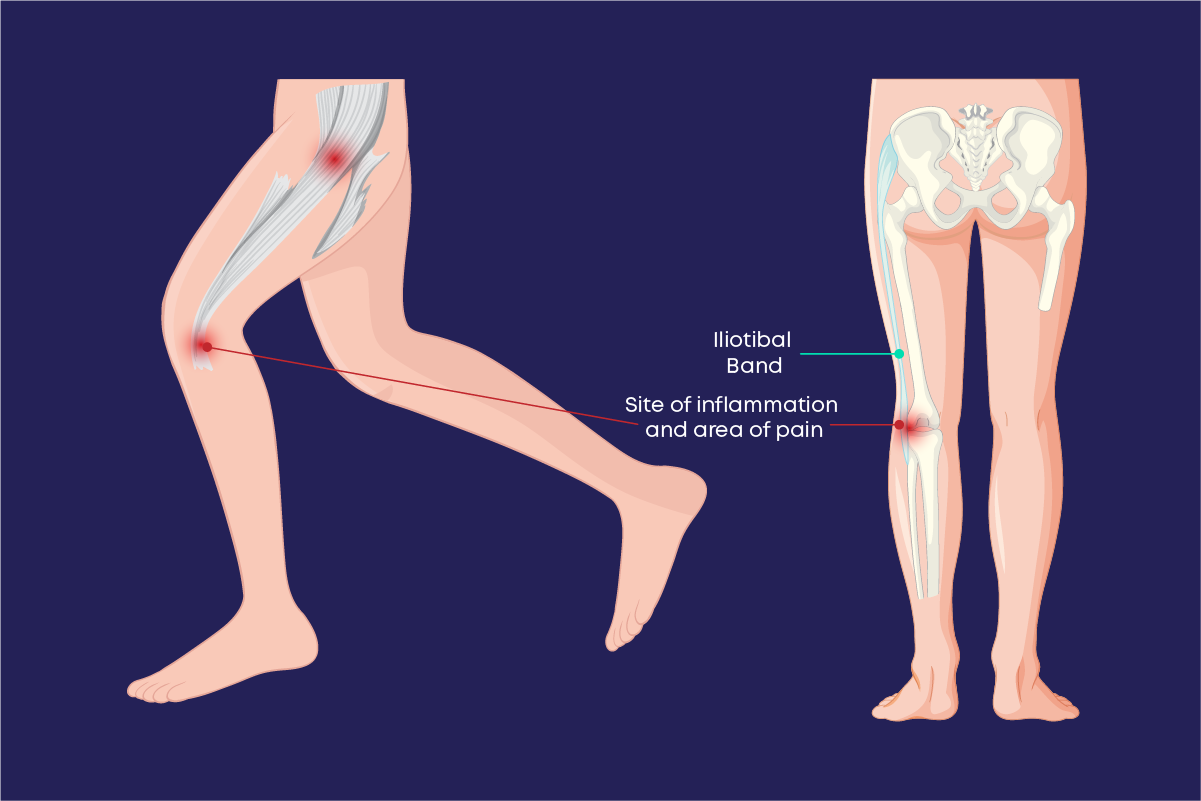
If you’ve ever felt a tight, aching sensation running along the outside of your thigh or around your knee while hiking, you’ve probably experienced IT band discomfort. The iliotibial band, or IT band, is a thick band of connective tissue that runs from the hip to just below the knee. This is one of the most common strains people experience on trail when not properly conditioned before their thru-hike. Its job is to stabilize the leg during movement, especially when you’re stepping on uneven terrain or carrying a heavy pack.
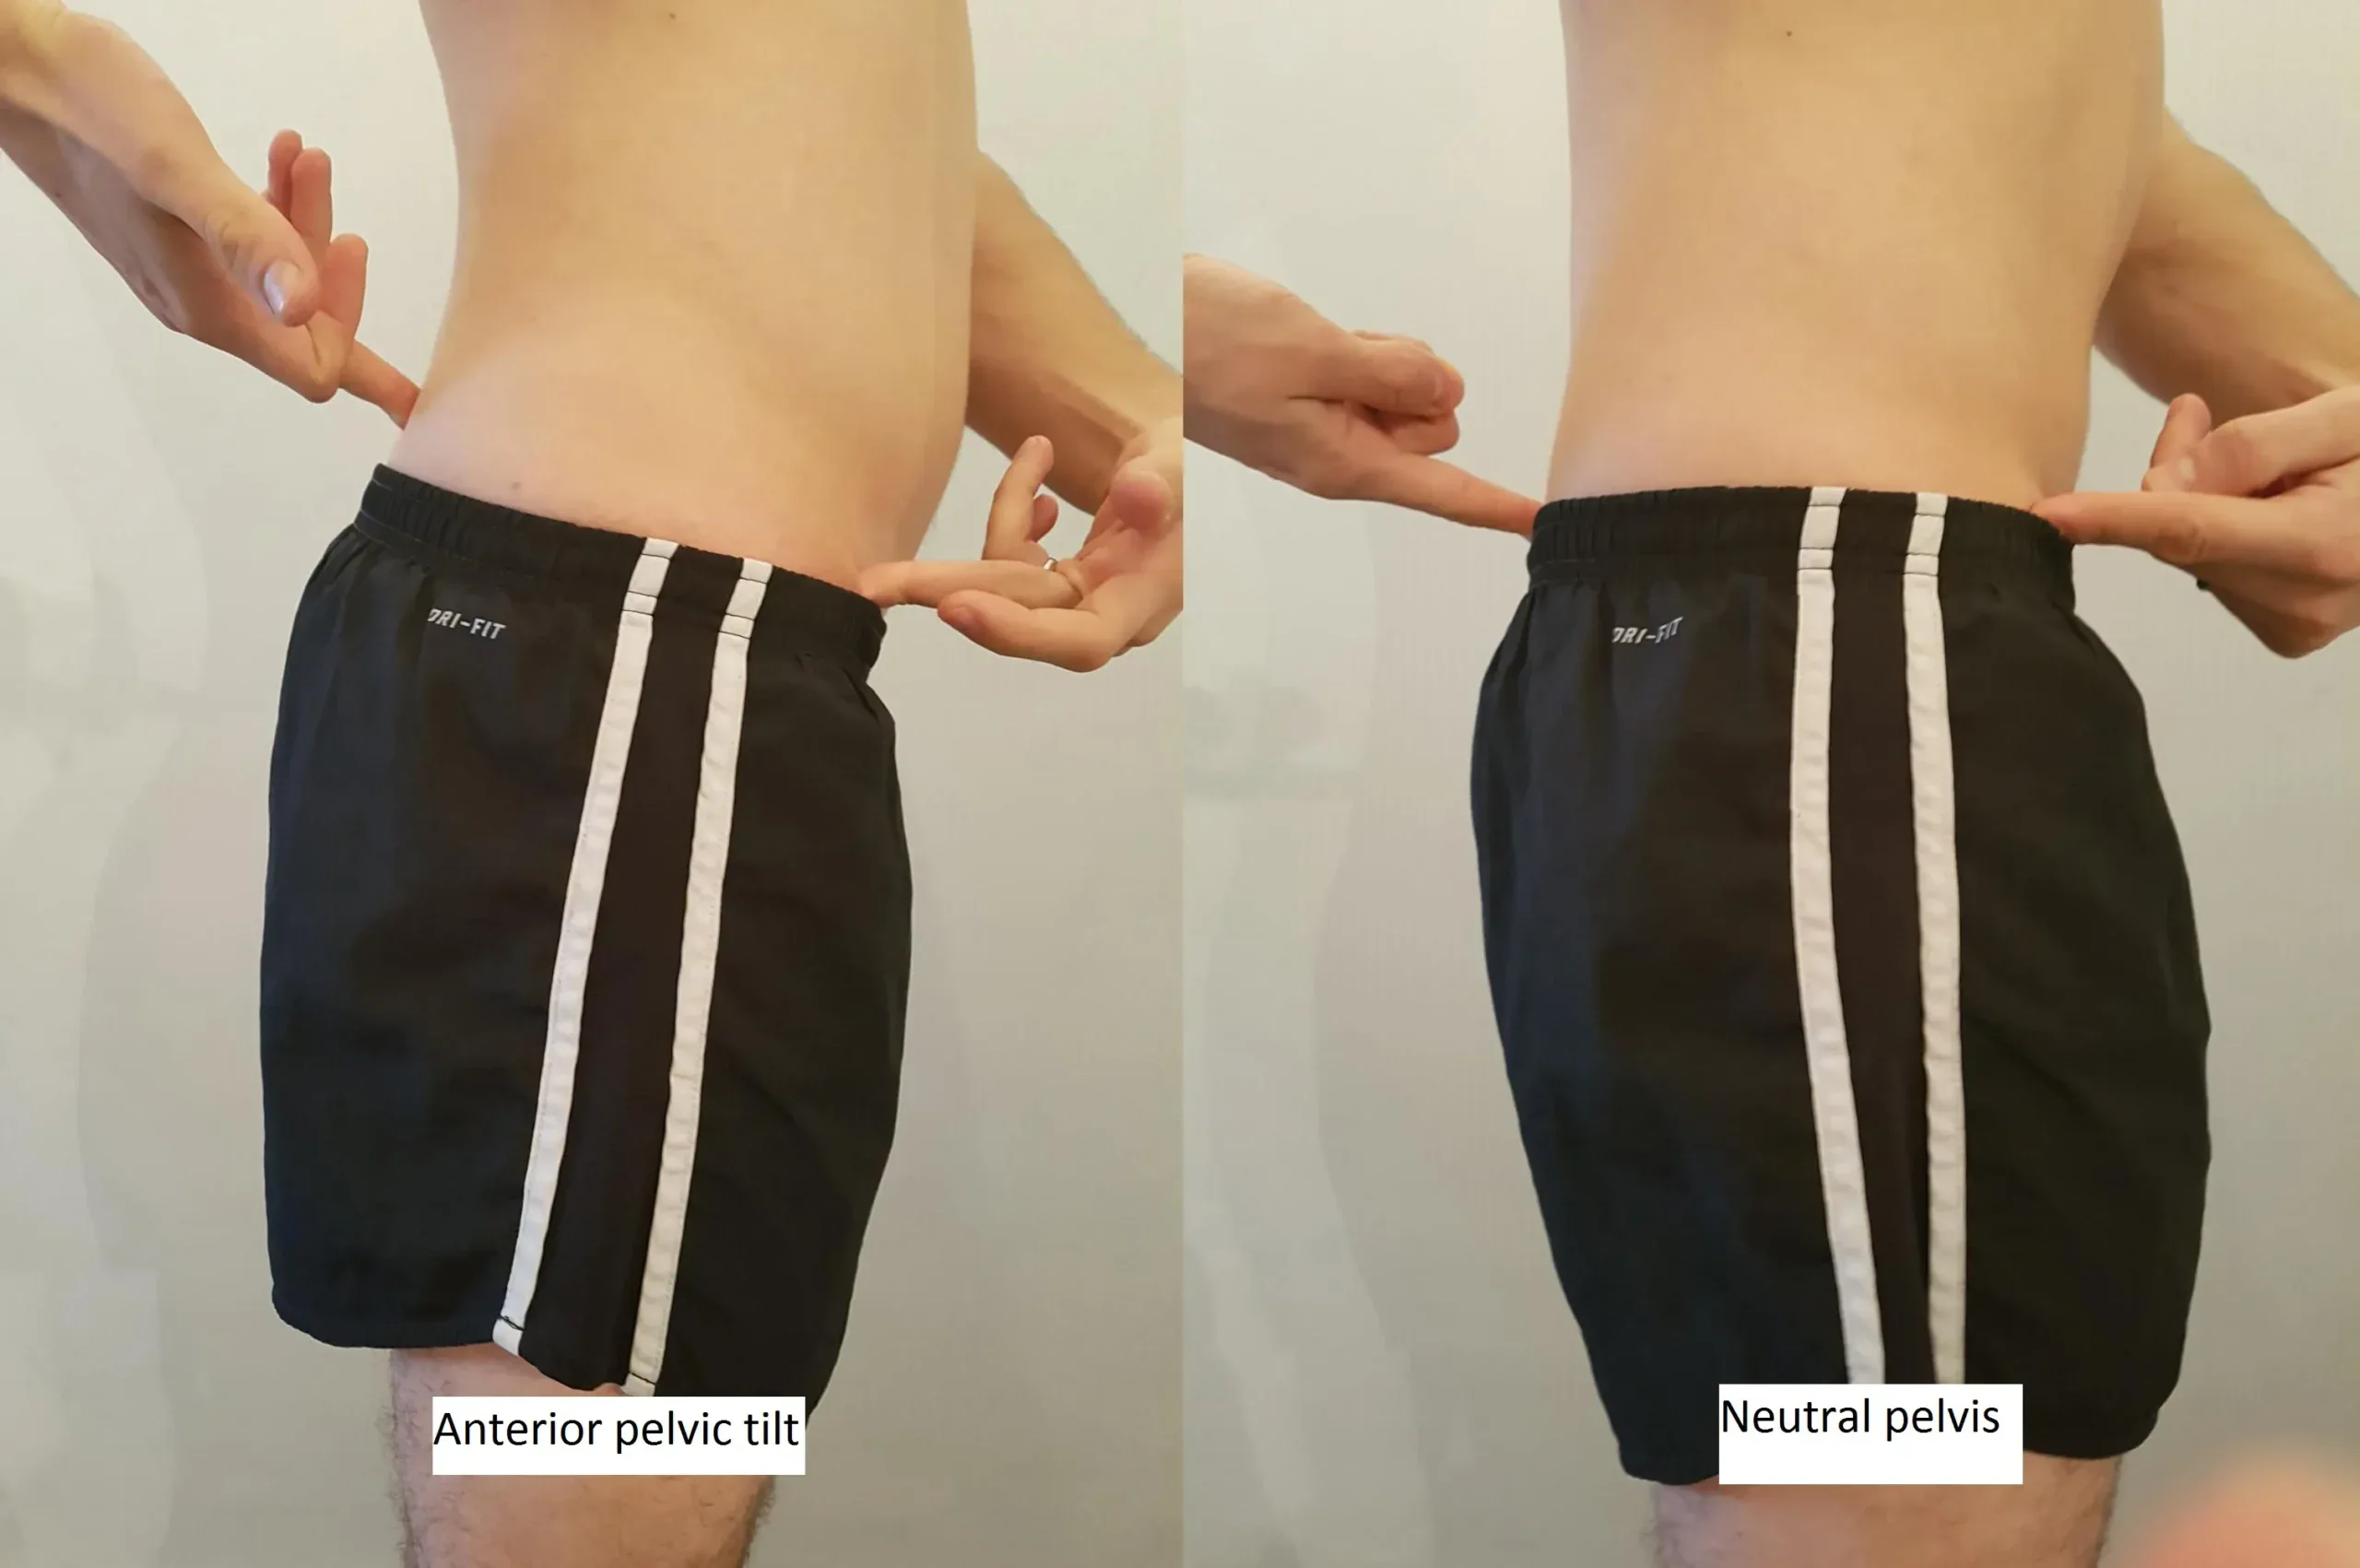
When your pelvis is misaligned — as it often is from years of sitting or weak glutes — the muscles that connect to the IT band are pulled out of balance. An anterior pelvic tilt (where the hips tip forward) causes your glutes to switch off and your hip flexors and quads to tighten, which in turn changes how your leg tracks when you walk. If you’ve got an office job which requires hours sitting in front of a computer, you likely have pelvic tilt and don’t even realize it. Without strong glutes to stabilize the hip, the tensor fasciae latae (TFL), a small muscle on the front of the hip that connects into the IT band, has to pick up the slack. It overworks, tightens, and starts pulling the IT band taut along the thigh.
Over time, this constant tension creates friction at the knee and outer thigh, especially during downhill hiking or long days with a heavy pack. That’s why IT band syndrome is one of the most common overuse injuries for thru-hikers, runners, and backpackers.
The fix isn’t just stretching the IT band (which doesn’t actually “stretch” much, since it’s thick fascia), but addressing the cause at the hip and pelvis. To correct this imbalance, you’ll want to focus on restoring pelvic alignment and strengthening the glutes and lateral hip stabilizers. Exercises like glute bridges, hip thrusts, clamshells, lateral band walks, and single-leg Romanian deadlifts all help reactivate the glutes and take pressure off the TFL. Pair that with hip flexor stretches, foam rolling the quads and TFL, and light mobility work to release the tight muscles that pull the pelvis forward.
This combination of mobility and strength helps your hips move symmetrically again, allowing your IT band to glide smoothly instead of tugging painfully on the knee. Think of it like fixing the hinge on a door: if the top hinge (your pelvis and glutes) is misaligned, the bottom hinge (your knee) will always wear unevenly.
For hikers, this is more than just a comfort issue, it’s a performance issue. A neutral pelvis and strong glutes mean a more efficient stride, better balance under load, and fewer overuse injuries on trail. Fixing your posture at home now is one of the best investments you can make in your trail miles later. You shouldn’t have to hike with a knee brace if you don’t have any pre-existing injuries when you get on trail. However, if you get on trail and find that you have IT-Band discomfort, you can supplement with a small brace that keeps the IT-Band in place while you hike. You should also decrease your mileage if you experience this. Give it a few weeks with the brace and decreased mileage and you should be conditioned enough to not need the brace even on your longest days.

Finally, remember that thru-hiking is as much a mental challenge as it is a physical one. You’ll face long, grueling days, unpredictable weather, and moments of loneliness or doubt. The best way to prepare mentally is to embrace discomfort now. Train when you don’t feel like it, go out in bad weather, and learn to find calm in the rhythm of repetitive movement. Building mental endurance now will carry you through when the novelty of the trail wears off and it’s just you, your pack, and the next climb.
At the end of the day, training for a thru-hike doesn’t have to be complicated or perfect. You’re not preparing for a sprint—you’re preparing for months of consistent effort. Every walk, every stair climb, and every workout is a deposit in your trail fitness bank. You don’t need mountains to train for them. You just need the commitment to start moving and the discipline to keep going.
Below you’ll find a mock exercise plan to get you started.
Weekly Thru-Hike Training Plan (Flatland Edition)
Goal:
Build trail endurance, hip and tendon strength, and movement efficiency while correcting common imbalances from sedentary lifestyles.
Monday – Glute Activation + Strength
Focus: Reset your posture, activate the posterior chain, and strengthen foundational muscles.
- Warm-up (5–10 min):
- Hip circles, leg swings, and cat-cow stretches
- 1–2 rounds of 30-second planks and glute bridges
- Hip circles, leg swings, and cat-cow stretches
- Workout:
- Glute bridges – 3 x 15
- Bulgarian split squats – 3 x 10 each leg
- Lateral band walks (with resistance band) – 3 x 15 steps each direction
- Romanian deadlifts (with dumbbells or pack) – 3 x 10
- Wall sit (isometric hold) – 3 x 45 seconds
- Glute bridges – 3 x 15
- Mobility & Stretch (5–10 min):
- Couch stretch or half-kneeling hip flexor stretch – 1 min each side
- Seated or standing hamstring stretch – 1 min each side
- Couch stretch or half-kneeling hip flexor stretch – 1 min each side
Tuesday – Endurance Walk / Pack Hike
Focus: Build time on your feet and condition tendons for long days.
- Walk or hike 4–6 miles at a brisk pace
- Wear your backpack with light weight (10–15 lbs)
- Include stairs, small hills, or incline treadmill work if possible
- Focus on posture: engage core, slight pelvic tuck, smooth stride
Optional: Add 2–3 short “hill repeats” on any incline to mimic climbs.
Wednesday – Core & Mobility
Focus: Stabilize your pelvis and spine while improving flexibility.
- Core Circuit (3 rounds):
- Side planks – 30 seconds each side
- Bird dogs – 10 reps each side
- Dead bugs – 10 reps each side
- Glute bridge march – 10 each leg
- Side planks – 30 seconds each side
- Mobility & Stretching (15 min):
- Pigeon pose or 90/90 hip stretch – 1 min each side
- IT band foam rolling – 1–2 minutes each leg
- Cat-cow to child’s pose flow – 2–3 minutes
- Thoracic spine rotation stretch
- Pigeon pose or 90/90 hip stretch – 1 min each side
Thursday – Strength & Tendon Conditioning
Focus: Build tendon stiffness, joint stability, and lower-body durability.
- Workout:
- Step-ups (weighted if possible) – 3 x 15 per leg
- Calf raises (slow eccentric) – 3 x 20
- Walking lunges – 3 x 12 per leg
- Isometric lunge hold – 3 x 30 seconds per leg
- Mini hops or jump rope – 3 x 30 seconds (optional plyometric work)
- Step-ups (weighted if possible) – 3 x 15 per leg
- Cool-down:
- Foam roll quads, calves, and TFL
- Hip flexor and hamstring stretches
- Foam roll quads, calves, and TFL
Friday – Recovery & Posture Reset
Focus: Realign the pelvis, decompress the hips, and release tight muscles.
- Gentle yoga or stretching session (20–30 minutes)
- Focus on opening the hips, hamstrings, and lower back
- Include breathing work or light core engagement (pelvic tilts, cat-cow)
- Optional light walk or spin for active recovery
Saturday – Long Pack Hike / Simulated Trail Day
Focus: Simulate a real trail day for endurance and gear testing.
- Distance: 8–12 miles
- Backpack weight: 15–25 lbs
- Terrain: varied if possible — mix grass, pavement, and trails
- Include breaks every 2–3 miles to snack, hydrate, and adjust gear
Goal: Practice trail nutrition, pacing, and footwear comfort. Build mental endurance.
Sunday – Rest or Active Recovery
Focus: Let your body absorb the week’s work.
- Light stretching or yoga
- Optional easy walk (2–3 miles)
- Hydrate and focus on recovery nutrition
Progression Plan
- Weeks 1–3: Focus on form and consistency. Keep pack light (~10–15 lbs).
- Weeks 4–6: Add load to your pack (15–20 lbs) and increase long-hike distance.
- Weeks 7–9: Include more incline training (stairs, treadmill) and longer back-to-backs.
- Weeks 10–12: Simulate trail weeks — two long hikes and one recovery day between.


0 Comments